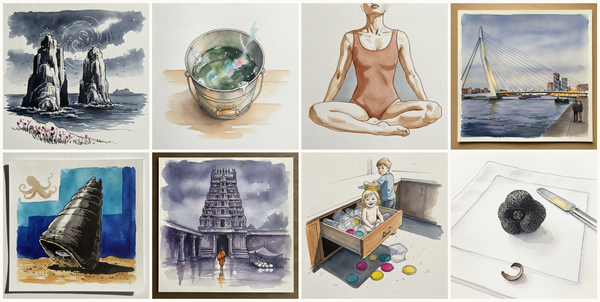
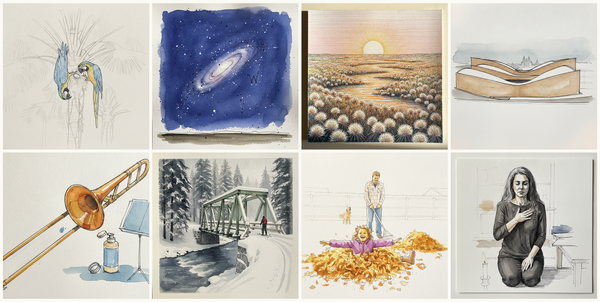
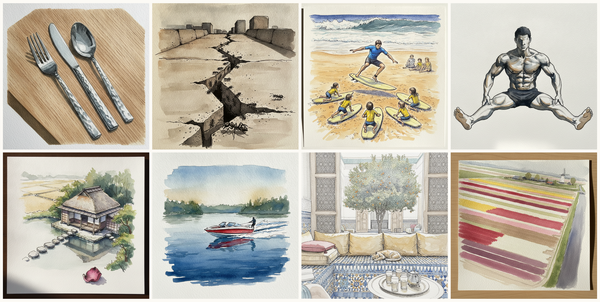
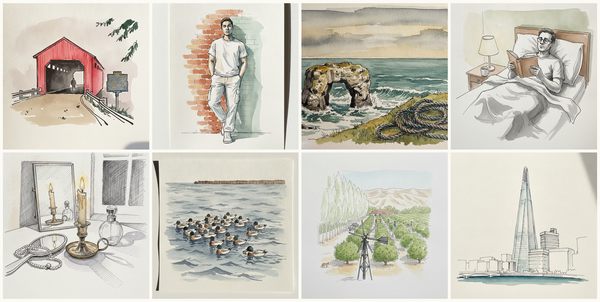
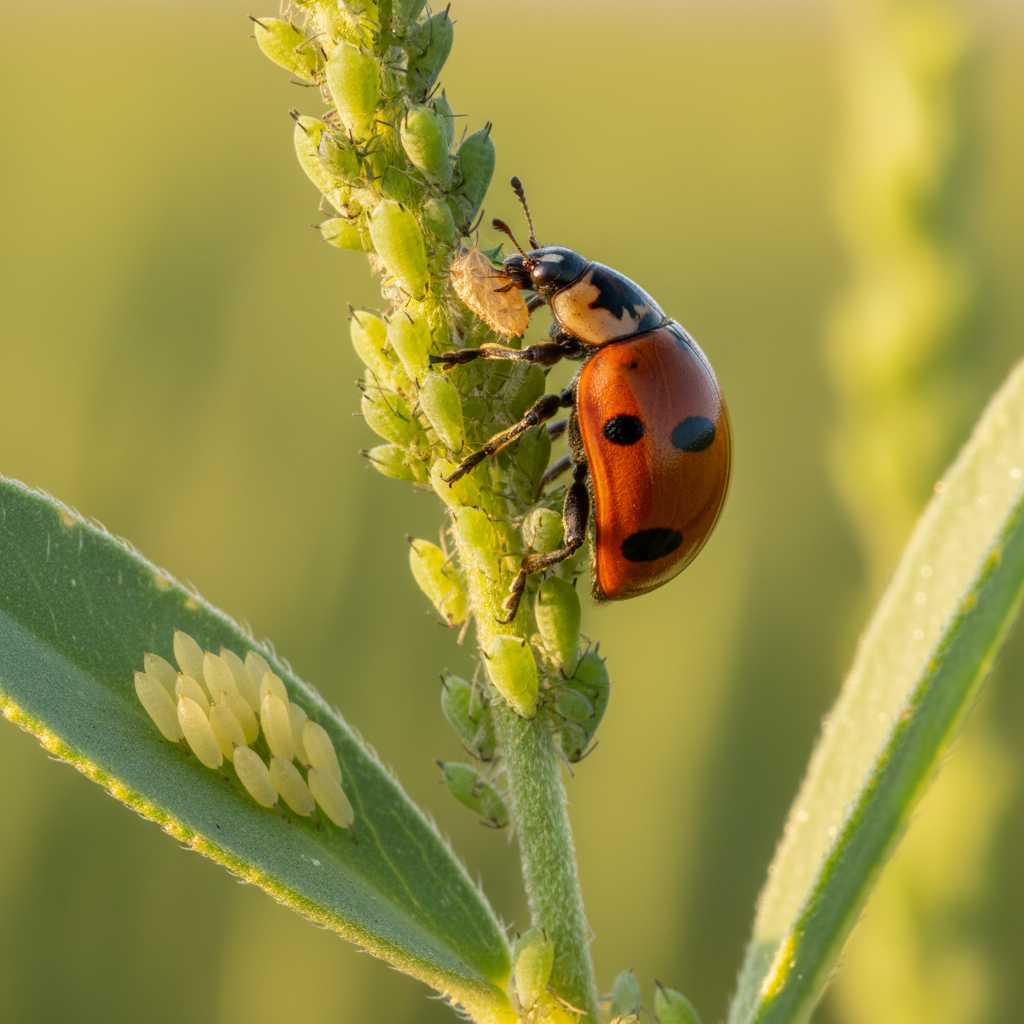
Convergent lady beetle, Bike share station with bikes, Aachen Cathedral, Aachen, Germany, Single magnolia bloom, north window, and more — pen + watercolor tutorials for May 23, 2026
Today's pen-and-watercolor tutorials: Convergent lady beetle, Bike share station with bikes, Aachen Cathedral, Aachen, Germany, Single magnolia bloom, north window, Dyrhólaey arch from above, Iceland, Full T, Plus-Size White Woman on Linen, A-line shift dress on padded hanger.

Today's 7 pen-and-watercolor tutorials: Convergent lady beetle, Bike share station with bikes, Aachen Cathedral, Aachen, Germany, Single magnolia bloom, north window, Dyrhólaey arch from above, Iceland, Full T, Plus-Size White Woman on Linen, A-line shift dress on padded hanger. Each comes with a photo reference, the finished piece, and 15 step-by-step images from first marks to finished drawing.
Tutorial 1 — Convergent lady beetle
Pen + Watercolor · Loose pen and watercolor line-and-wash

15 Steps
Each image shows where your drawing should be at the end of that step.
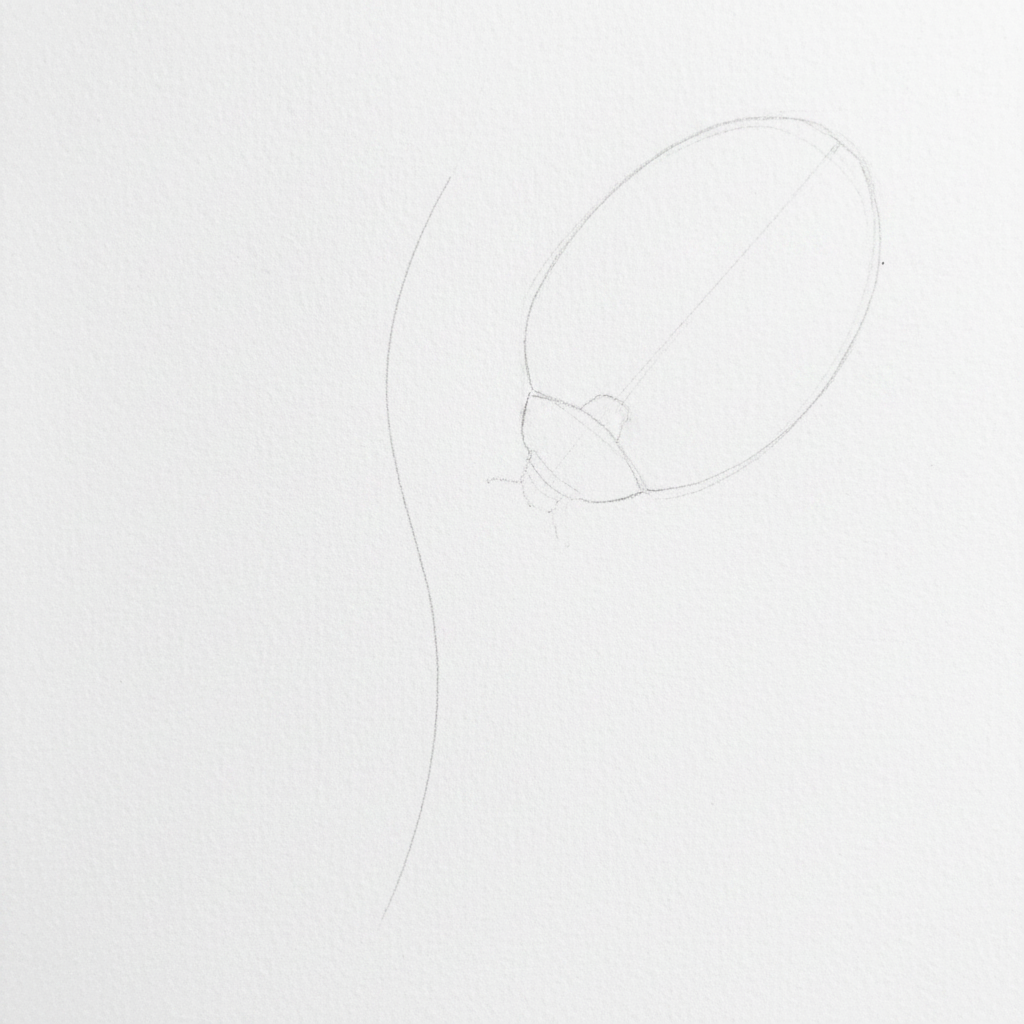
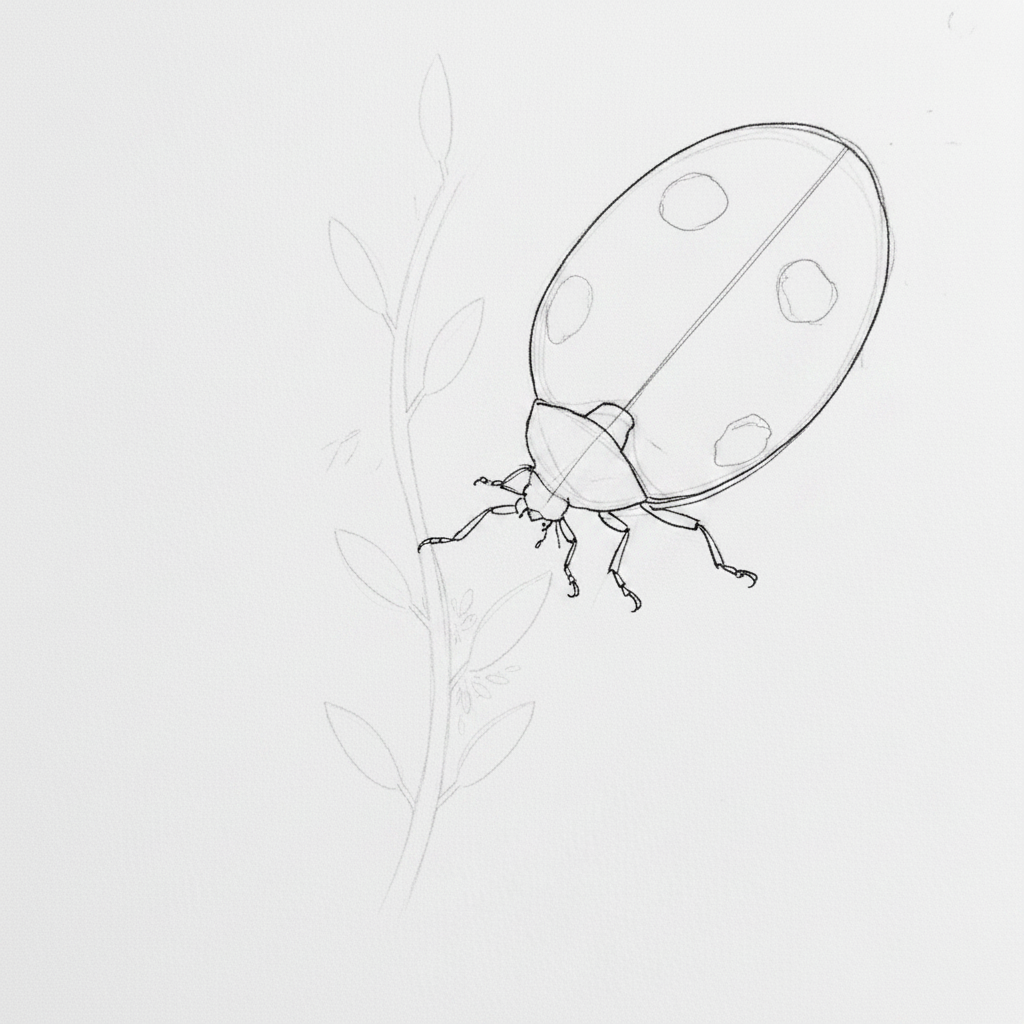
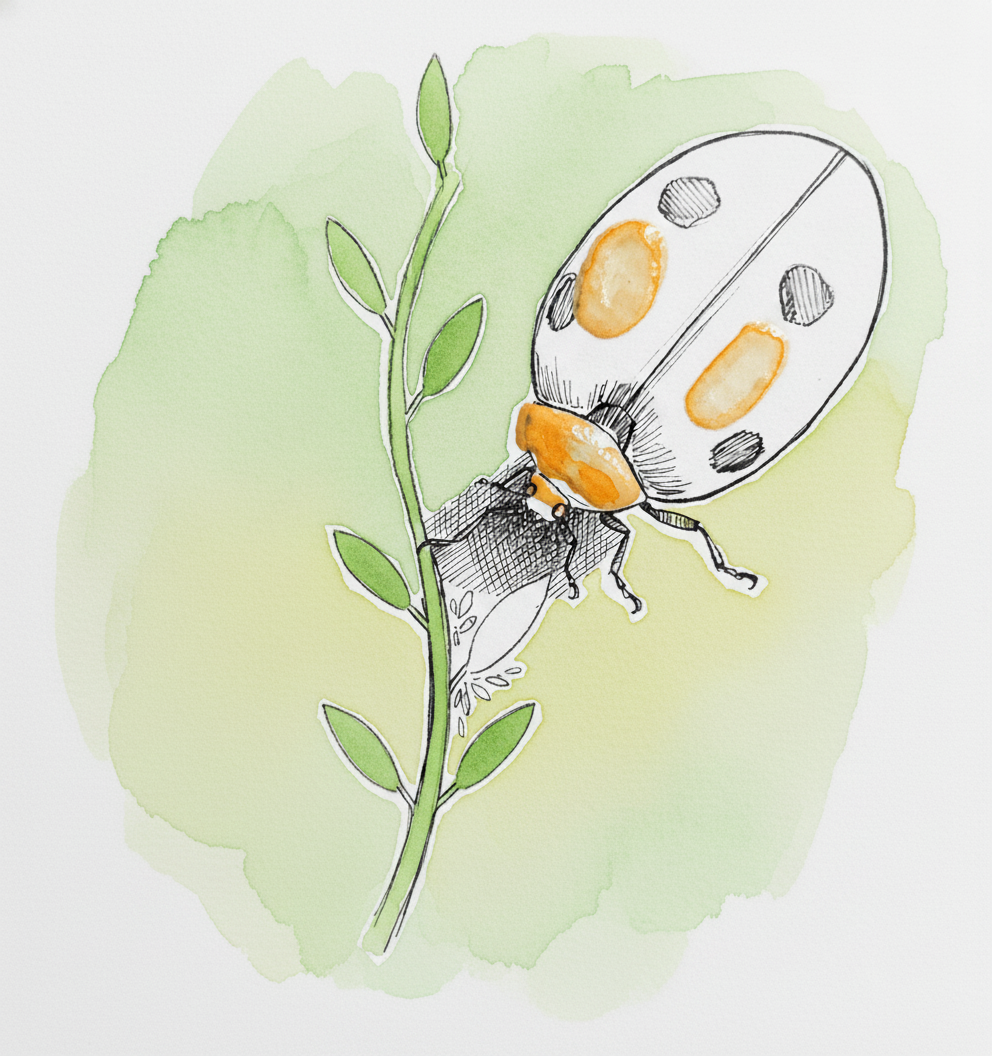
Step 1
Begin by lightly sketching a tilted oval for the beetle's body and a gentle curve for the stem. These first marks establish your composition on the page.
Step 2
Refine your initial shapes, defining the beetle's head area, giving the stem thickness, and blocking in the basic leaf shapes.

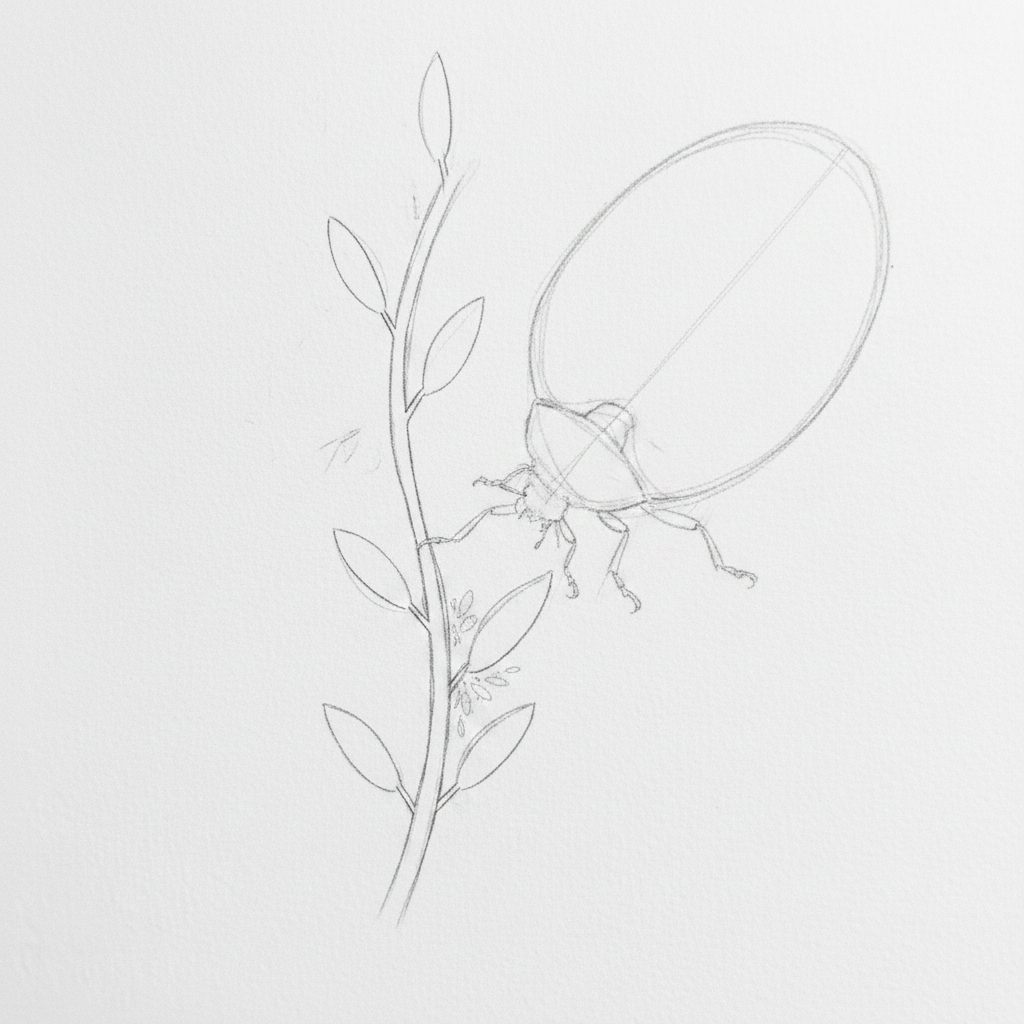
Step 3
Add the next level of detail in pencil, including the centerline on the beetle's back, the position of its legs, and its key markings.
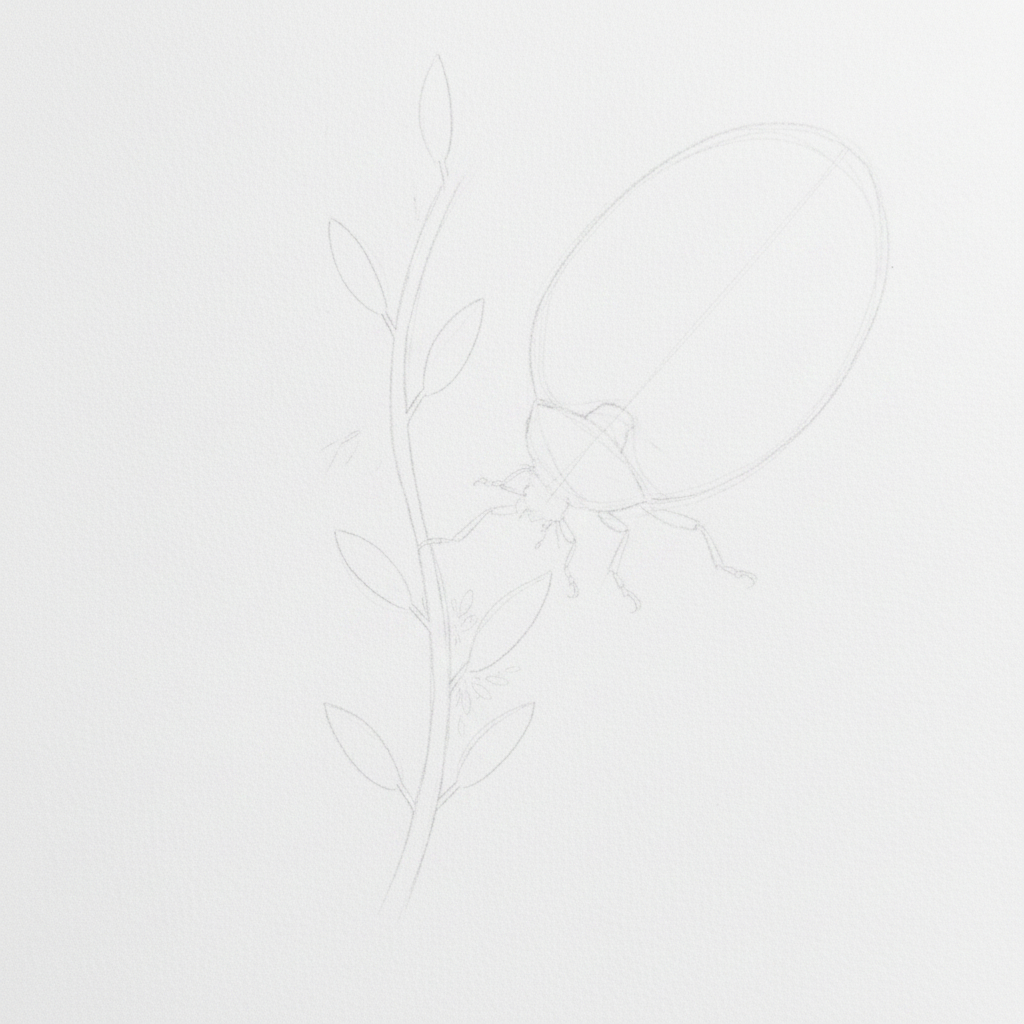
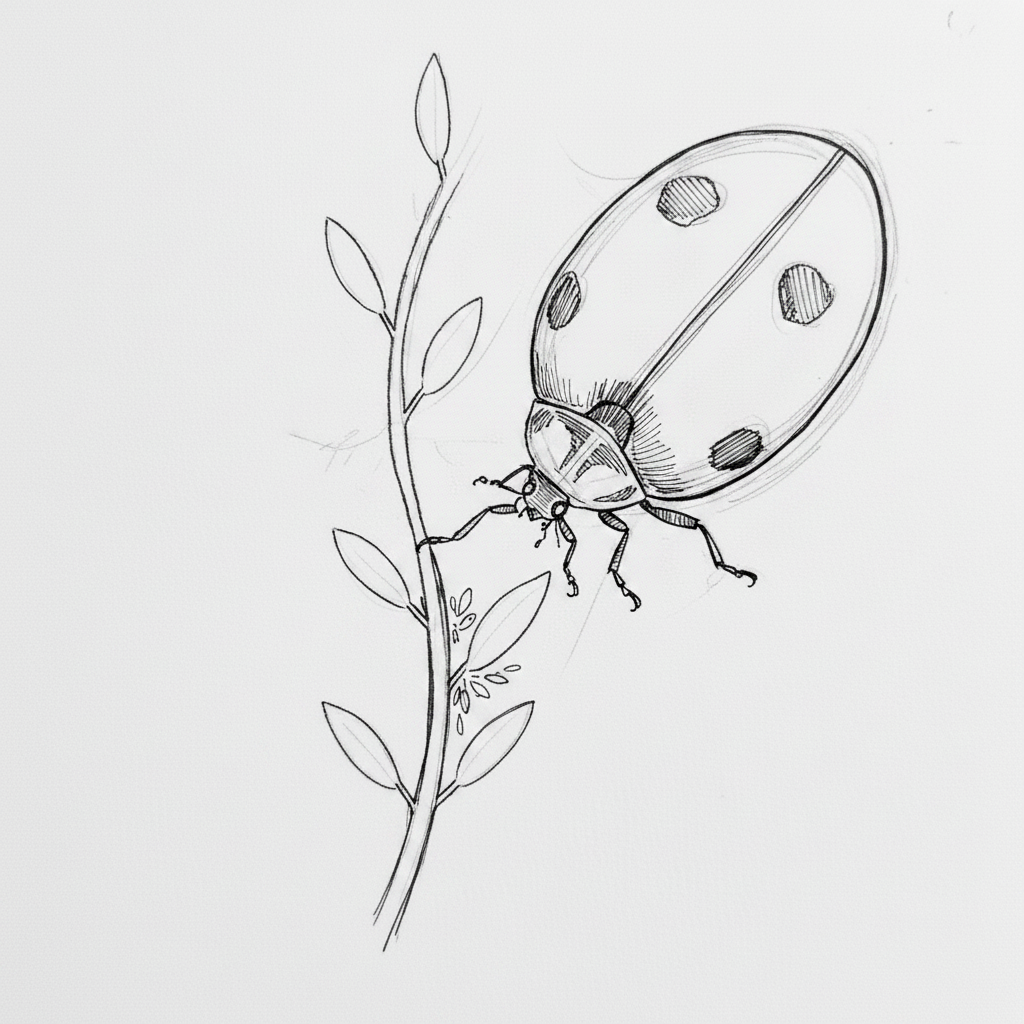
Step 4
Finalize your pencil sketch, then gently lighten the whole drawing with a kneadable eraser until only a faint guide remains.
Step 5
Begin inking with confident strokes, starting with the main outlines of the beetle's body and the stem.
Step 6
Continue inking the remaining details like legs and leaves. Vary your line thickness, making lines heavier on shadowed sides to build form.
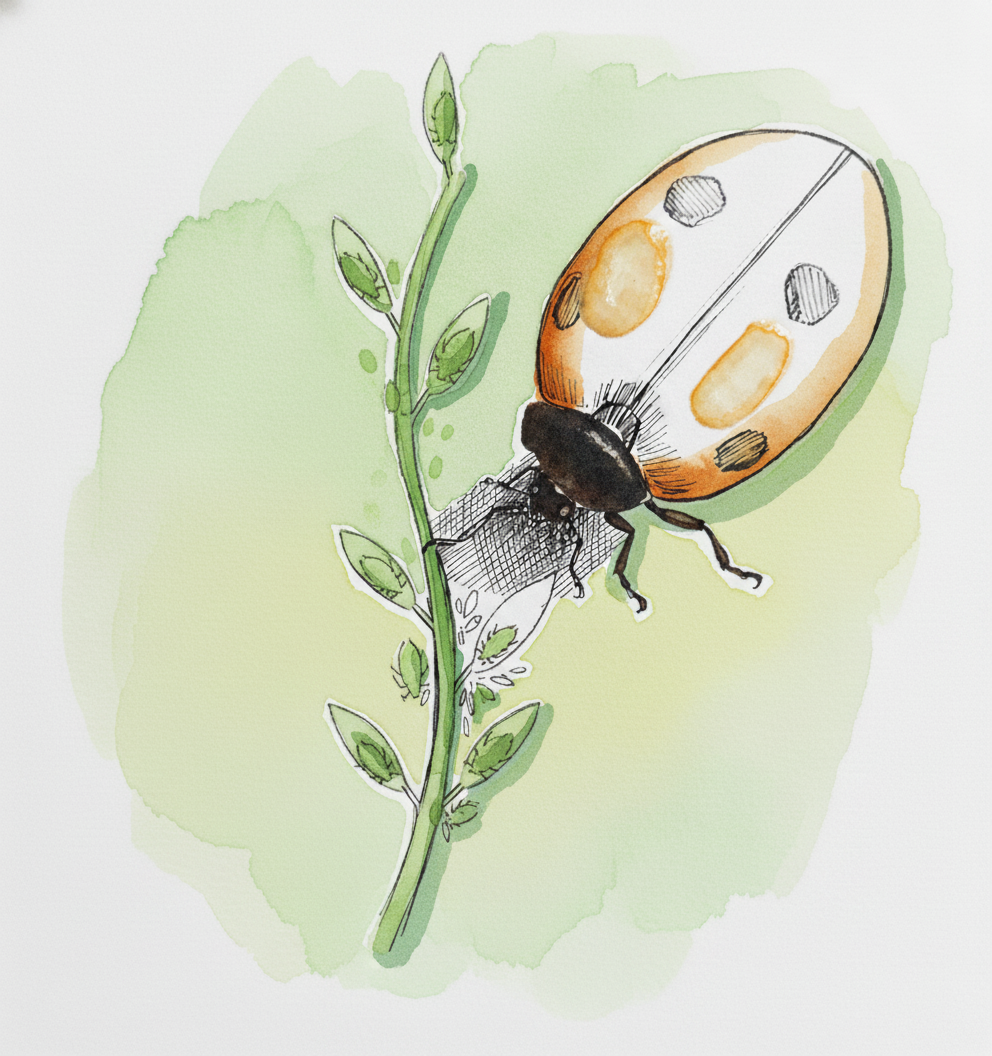
Step 7
Finish all the ink outlines and add a small patch of dense hatching only in the deepest cast shadow under the beetle.
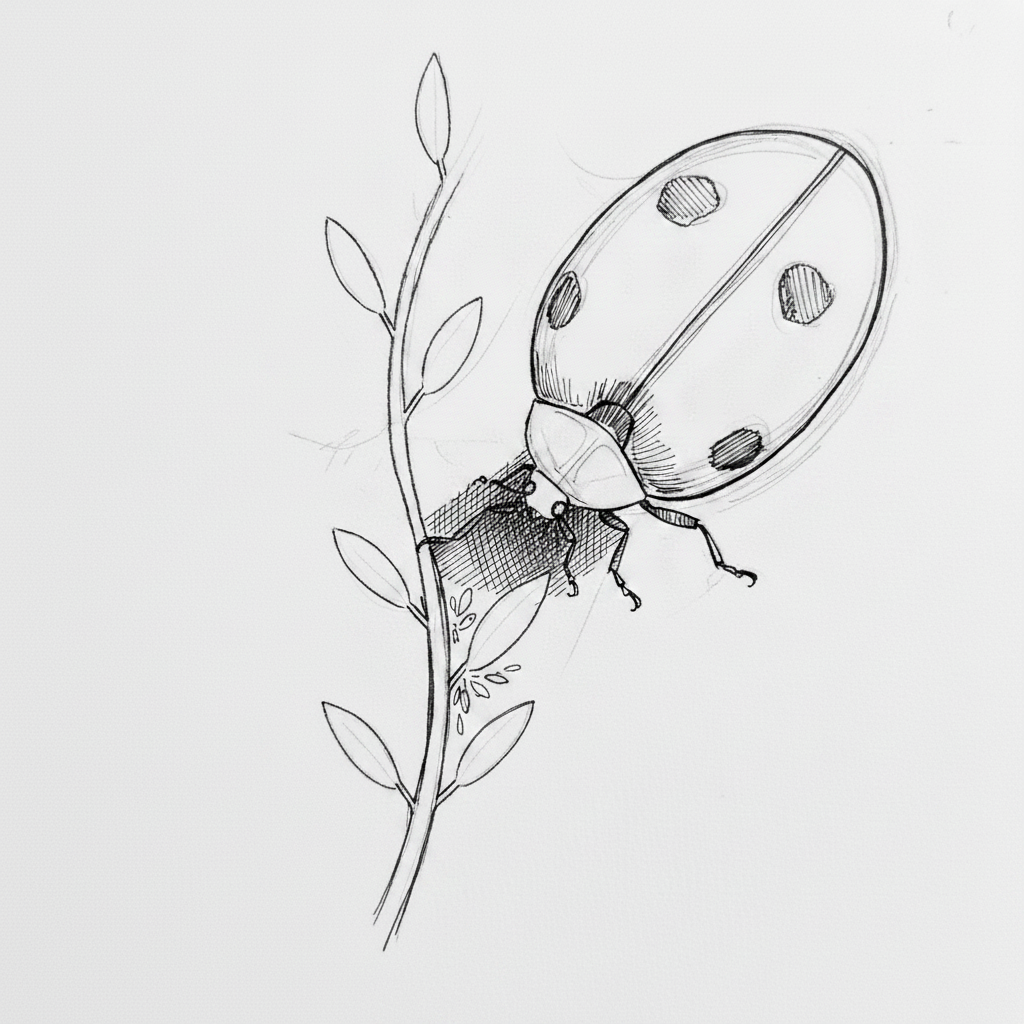
Step 8
Let the ink dry completely, erase all pencil lines, and then apply masking fluid to the small areas you want to keep pure white.
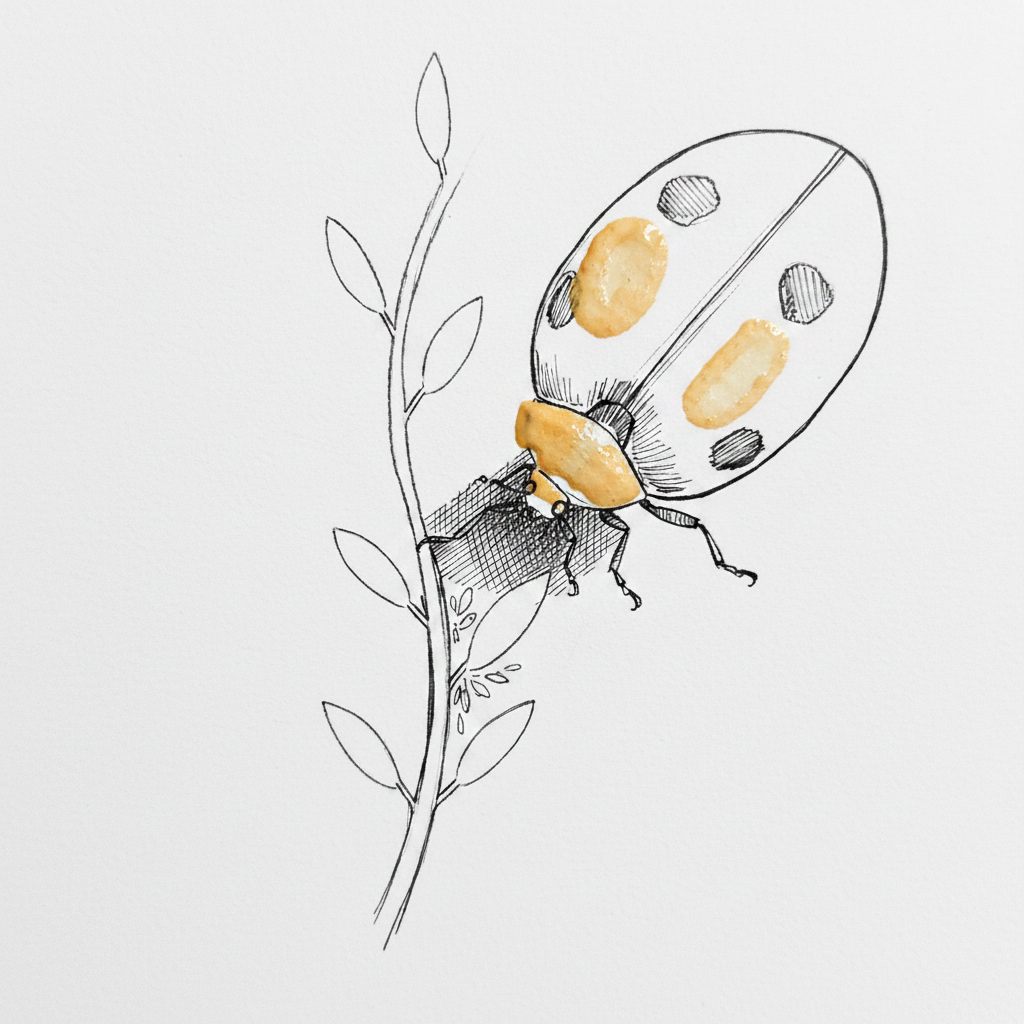
Step 9
Paint the background using a wet-on-wet technique with very watery washes of green and yellow, then let it dry completely.

Step 10
Apply the first flat layer of color to your main subjects—orange for the beetle, green for the stem—painting carefully within the lines.
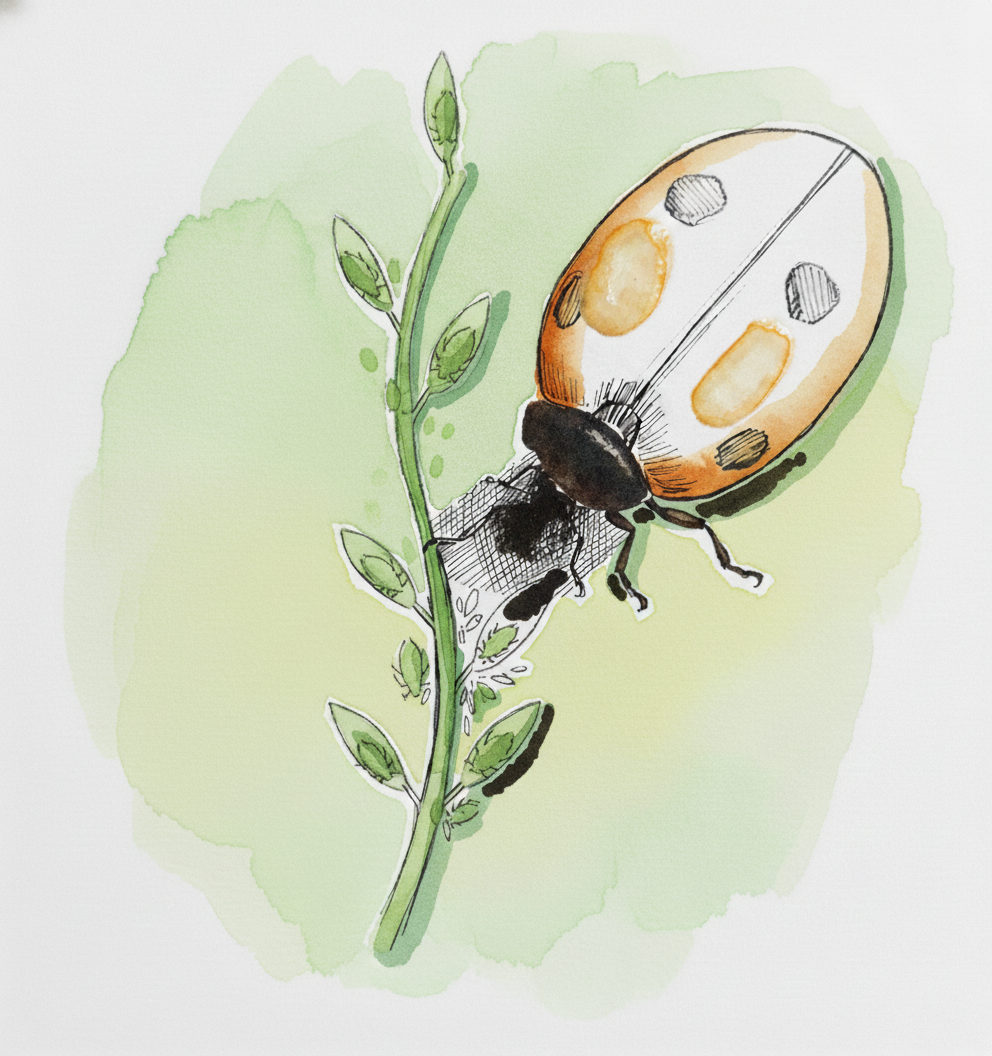
Step 11
Fill in the beetle's head and legs with a dark wash. Let the entire painting dry completely before the next step.

Step 12
Add a transparent layer of shadow color (a glaze) to one side of the beetle and stem to make them look round and three-dimensional.
Step 13
Using a thick, dark paint mix, add the final small, sharp accents in the absolute darkest shadow areas.
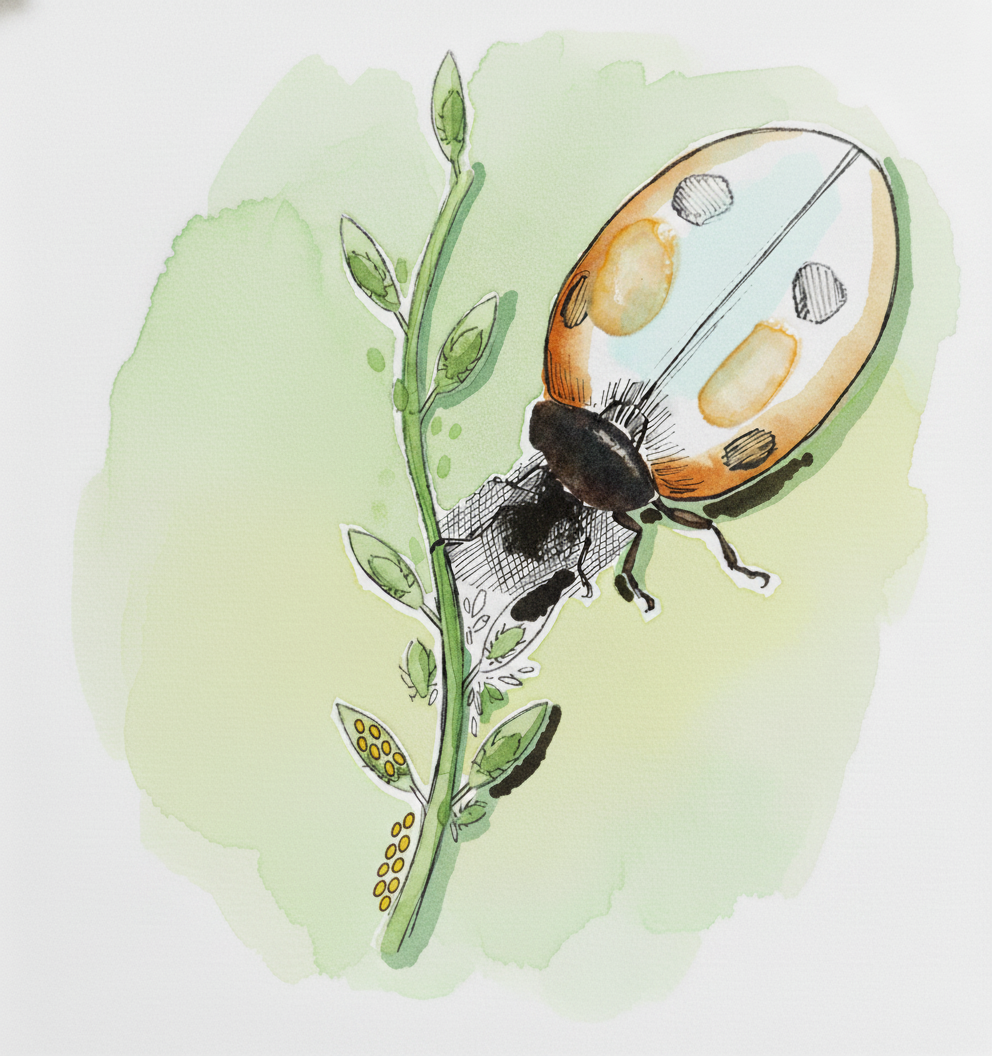
Step 14
Remove the masking fluid, soften the revealed whites with a pale wash, and add any final tiny details like the eggs.
Step 15
Your painting is complete! Add a final, tiny dot of white for a highlight if needed, and sign your work.
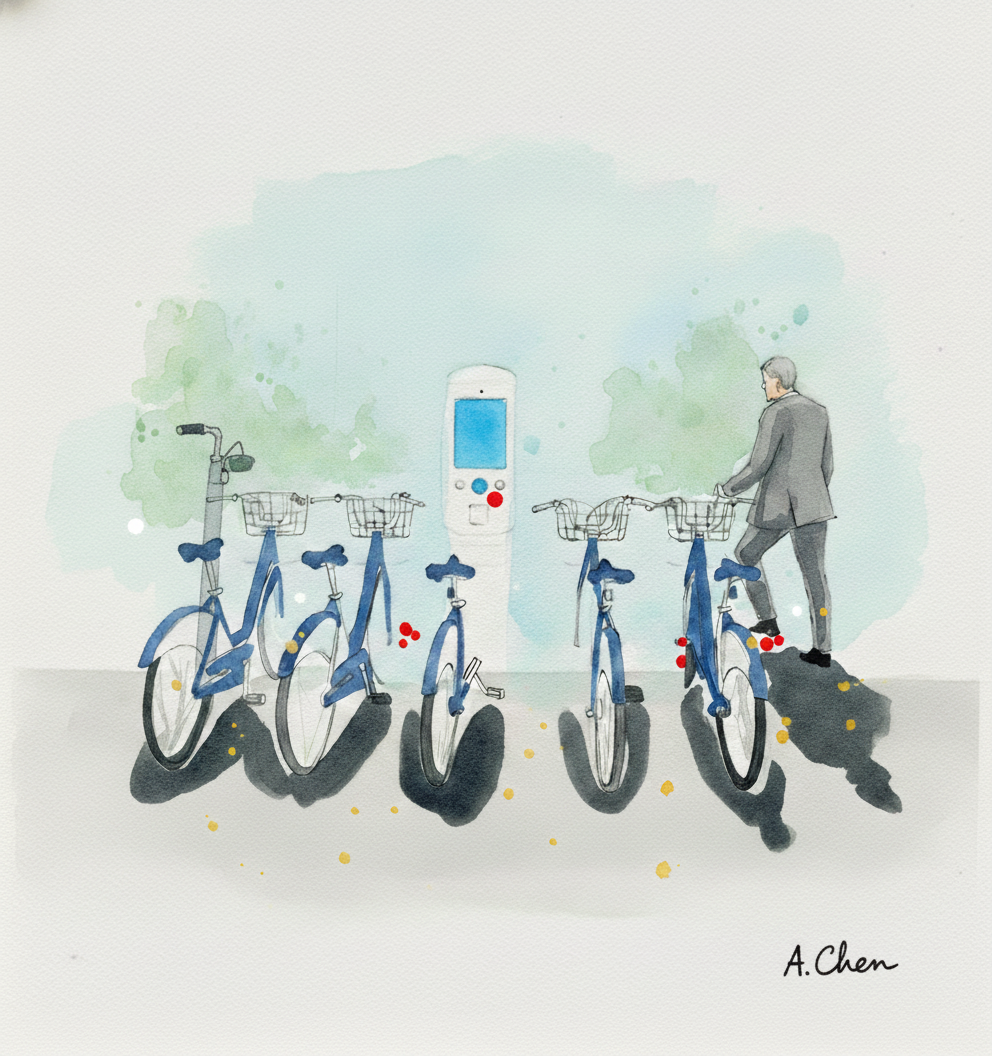
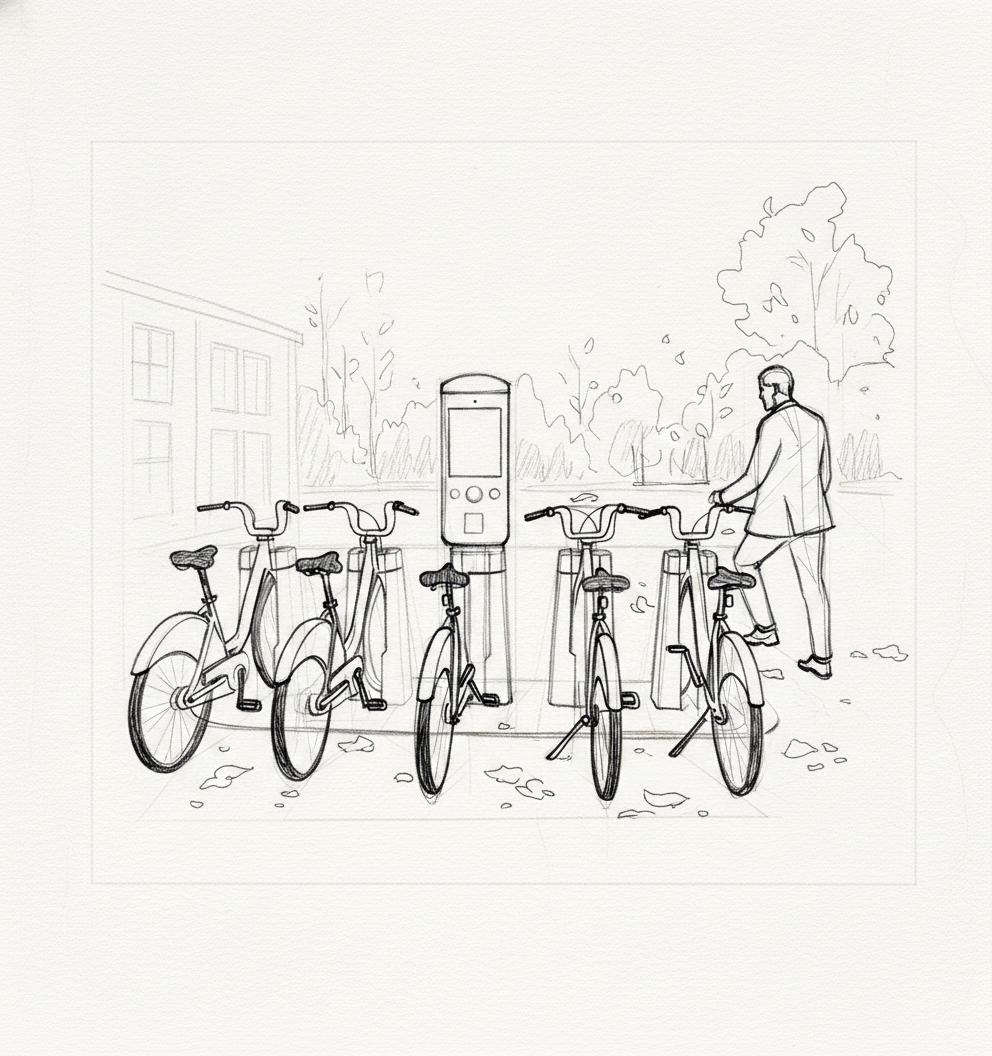
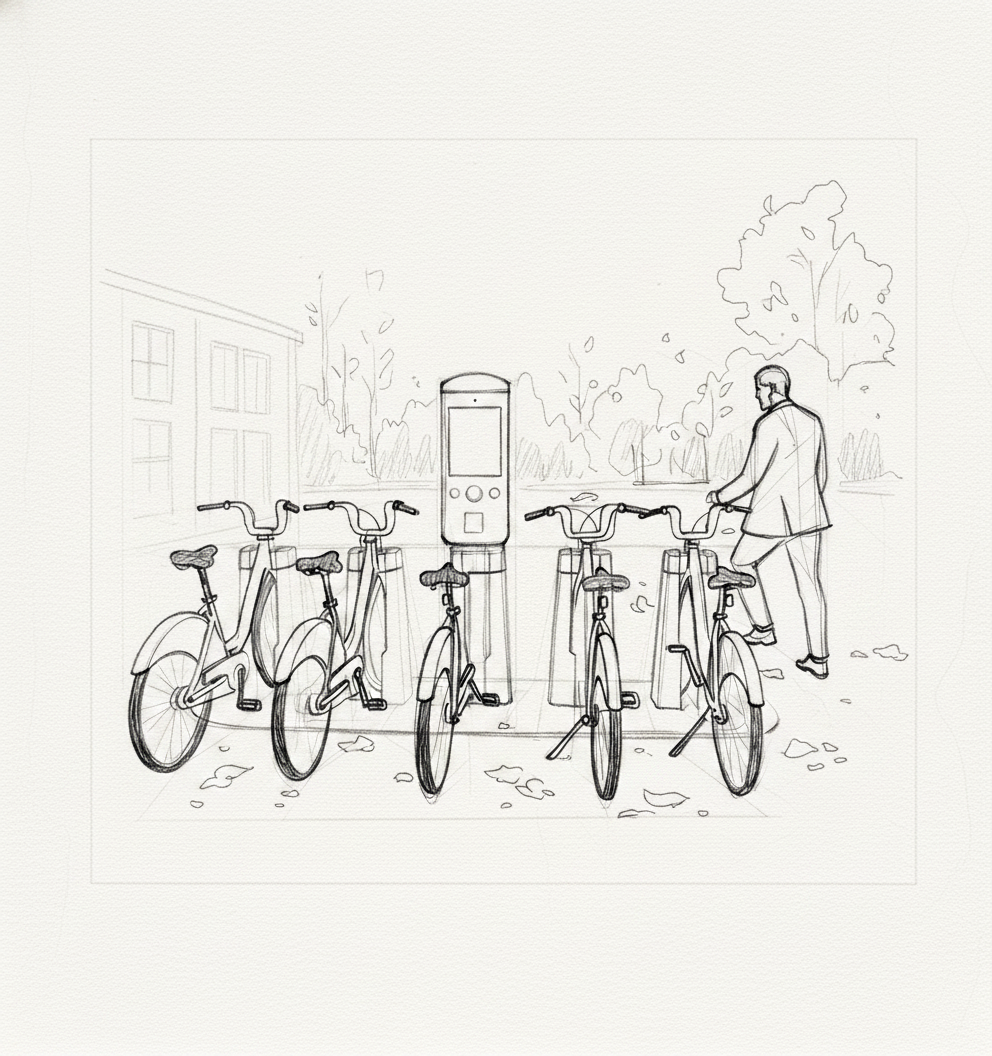
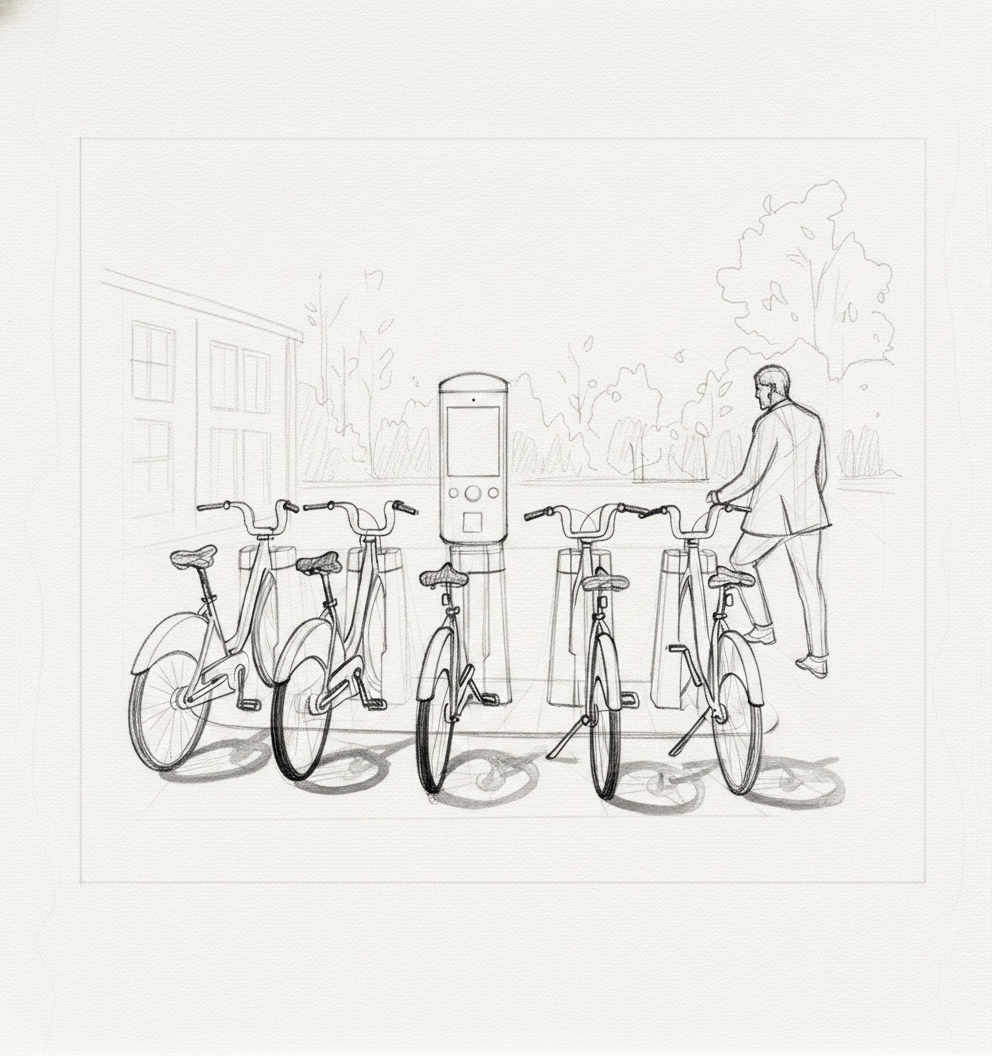
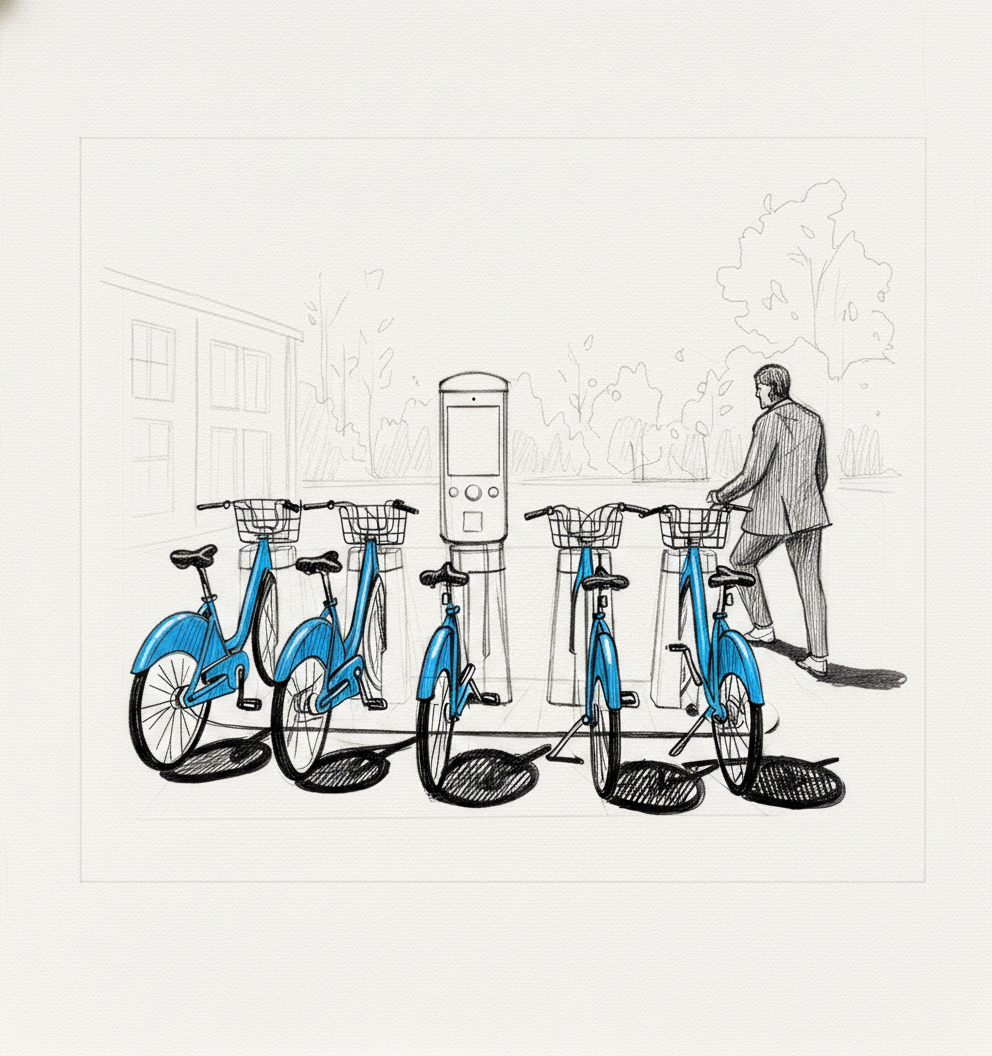
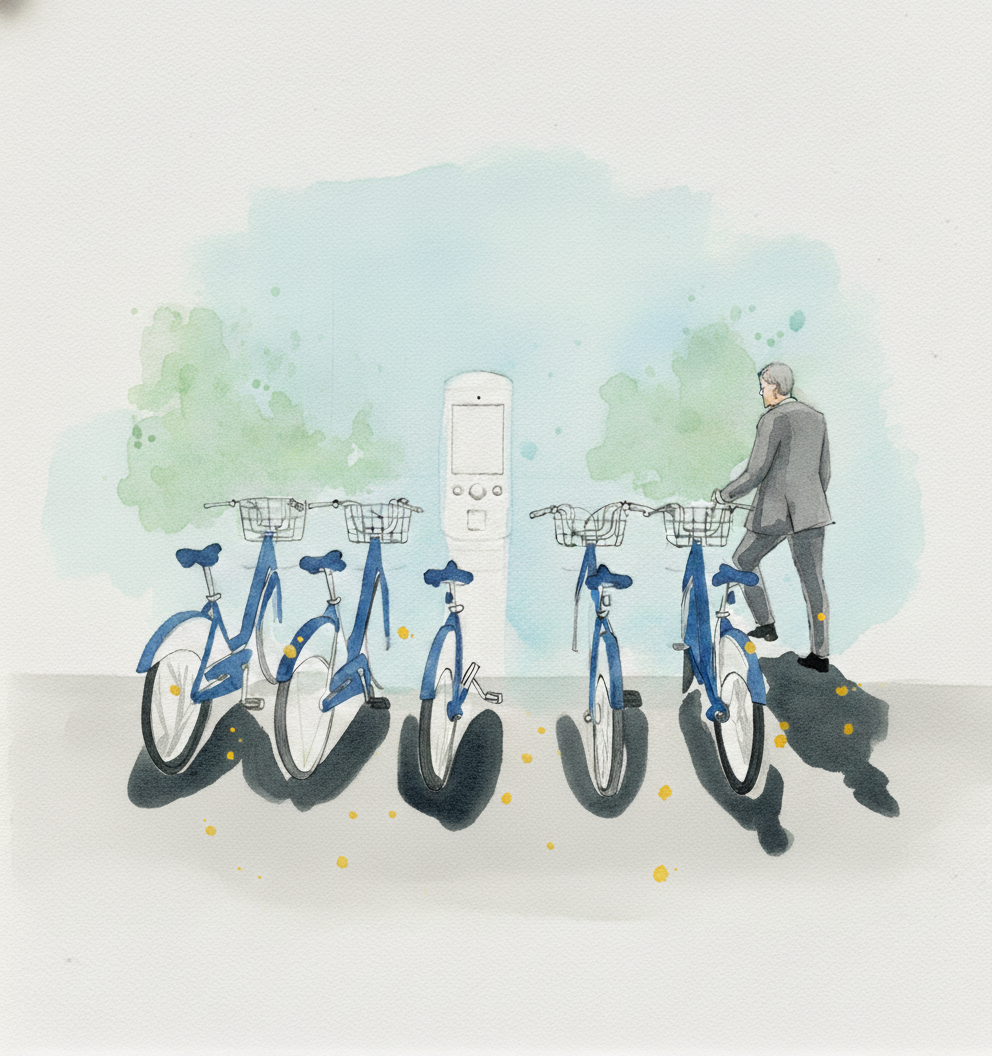
Tutorial 2 — Bike share station with bikes
Pen + Watercolor · Loose pen and watercolor line-and-wash

15 Steps
Each image shows where your drawing should be at the end of that step.
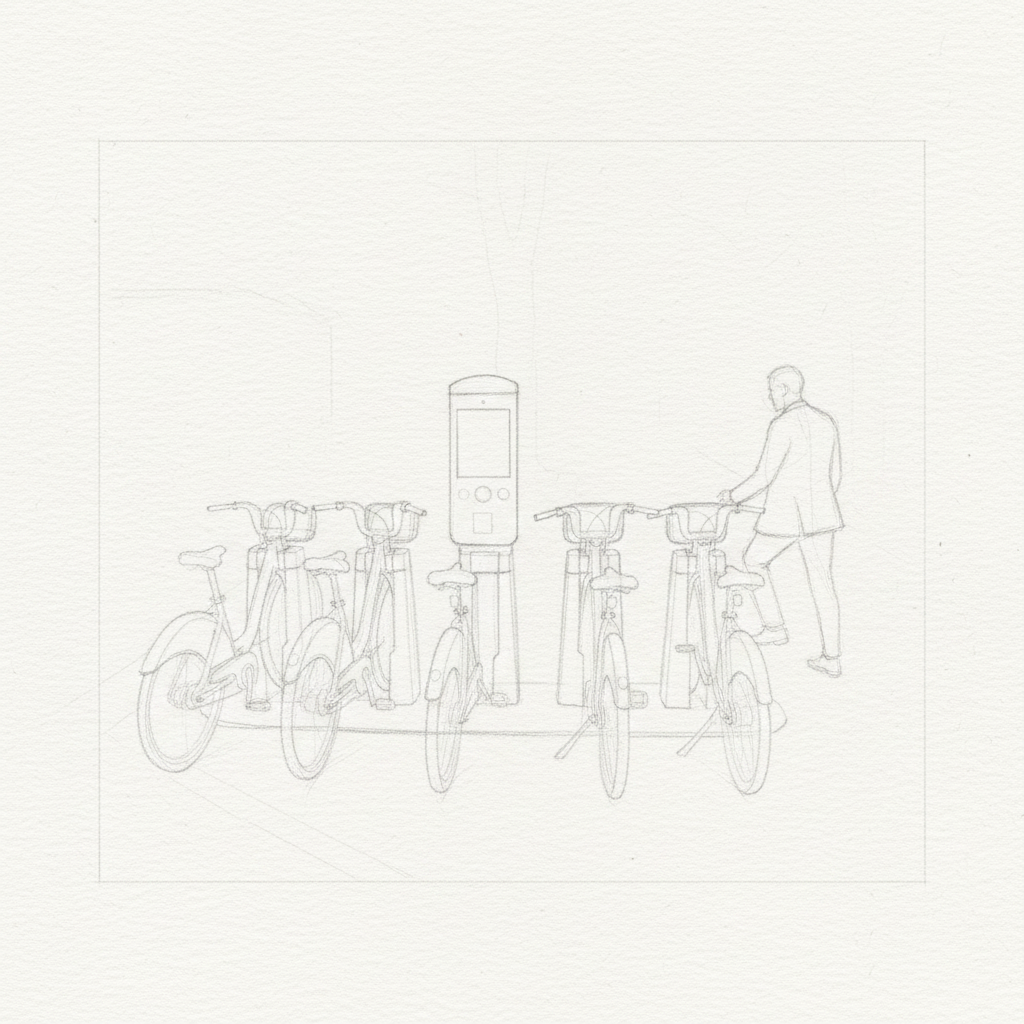
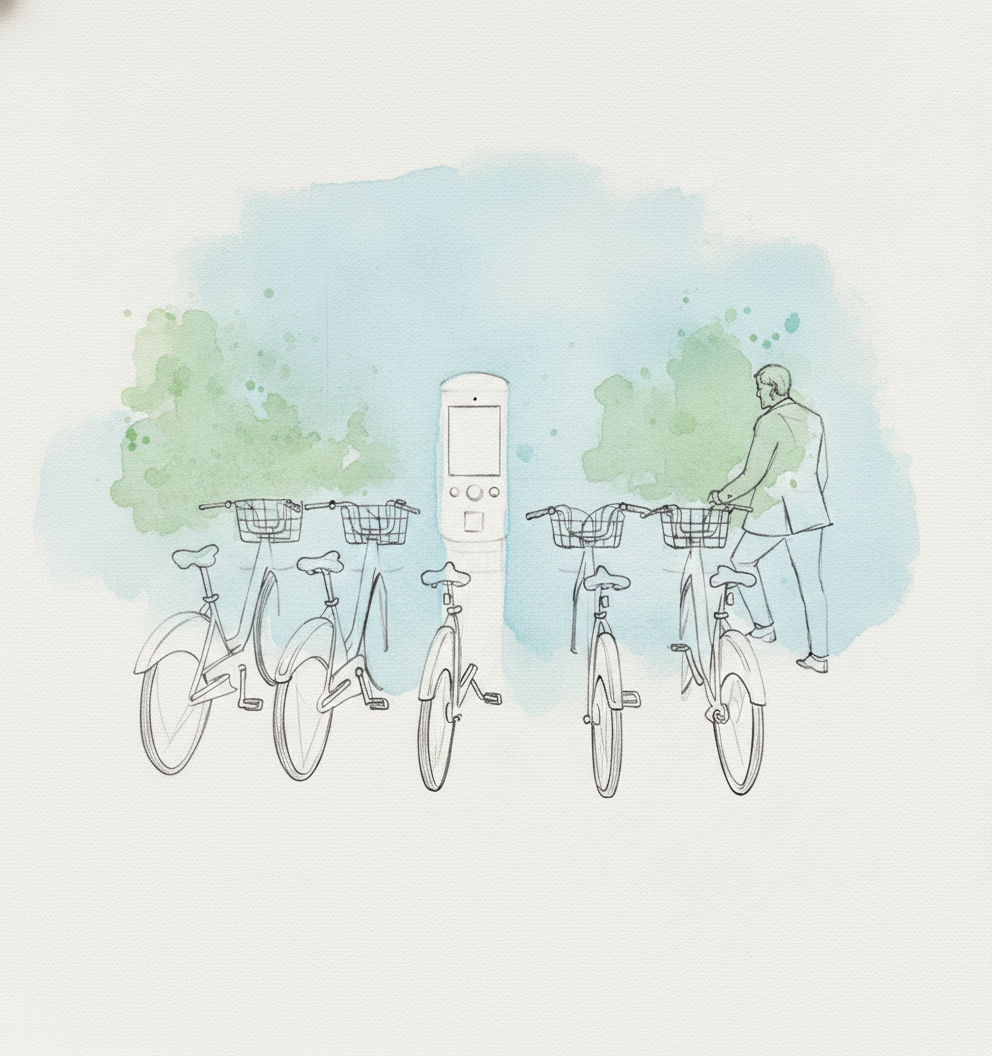
Step 1
Begin by lightly blocking in the largest shapes with a 2H pencil. Use a simple rectangle for the bike station and a basic stick figure to position the man.
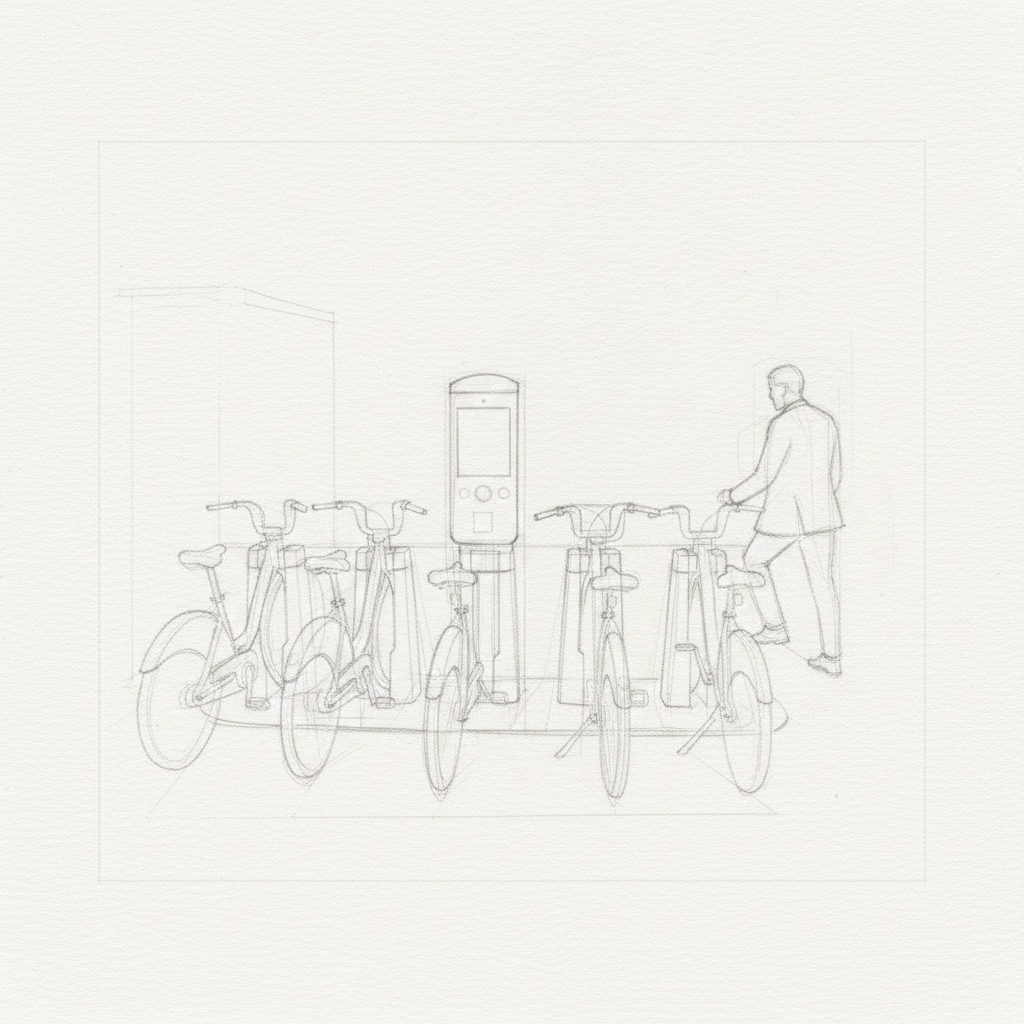
Step 2
Subdivide the large shapes into their core components. Use circles, triangles, and smaller rectangles to construct the bikes and docks, following your perspective lines.
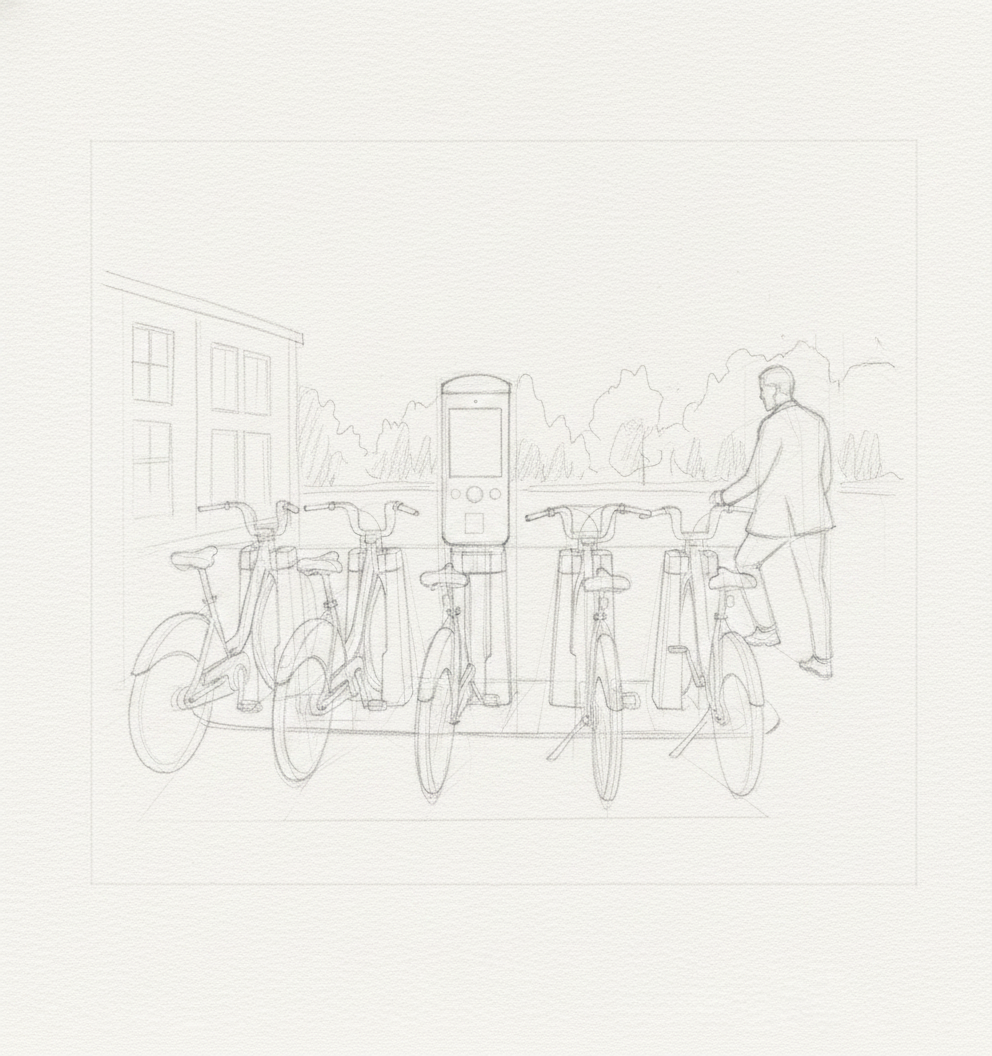
Step 3
Refine your block-in by adding secondary shapes like fenders, handlebars, and baskets. Start to define the details of the figure's clothing.
Step 4
Finalize your pencil drawing, then gently lift the excess graphite with a kneadable eraser until only a faint guide remains for the ink.
Step 5
Begin inking with a waterproof fineliner, starting with the main contours of your focal point. Use a smooth, confident motion.
Step 6
Continue inking the rest of the bikes, varying your line weight. Use thicker lines for shadows and overlaps, and a finer pen for distant objects.
Step 7
Finish all the contour lines, then add small, tight patches of hatching for the darkest accent shadows. Keep it minimal; let the watercolor do the work.
Step 8
Let the ink dry thoroughly for at least 15 minutes, then gently erase all pencil lines with a kneadable eraser for a clean start to painting.

Step 9
Begin painting with a wet-on-wet wash for the sky and background. Wet the paper with clean water first, then drop in very light, 'tea' consistency color.
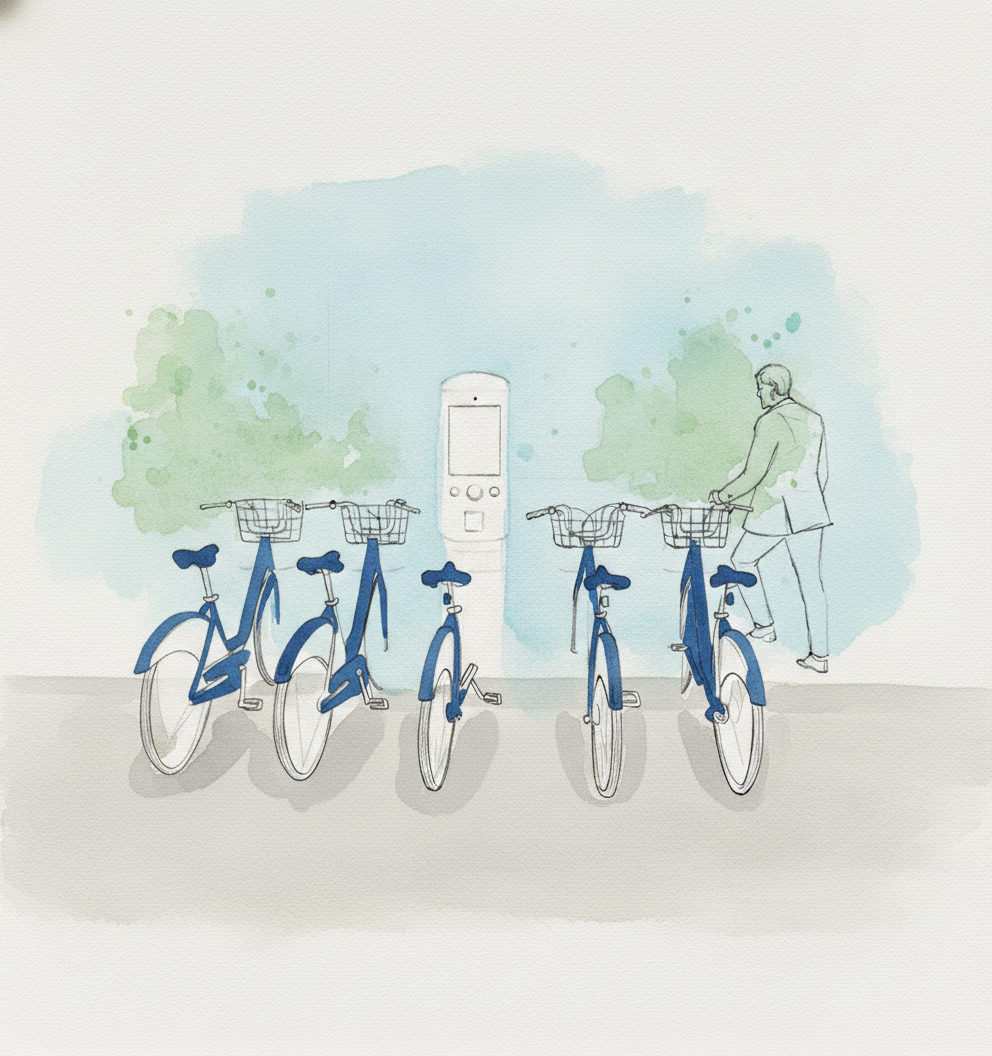
Step 10
Once the background is bone dry, apply the first flat washes of local color to the main subjects, carefully painting around your planned highlights.
Step 11
Complete the initial color blocking for all remaining elements. Let the entire painting dry completely before adding any shadows.
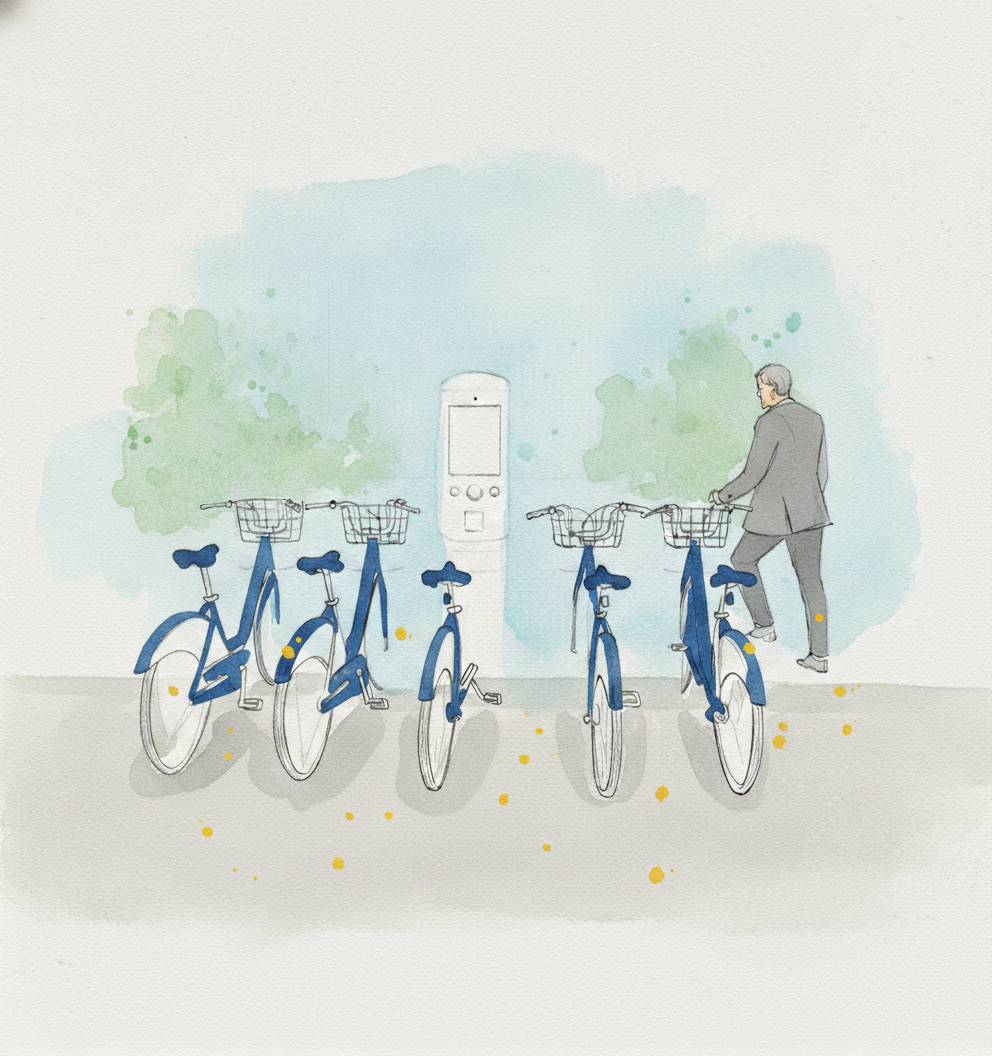
Step 12
Glaze a transparent layer of shadow color over the dry base colors. Apply this to the sides of objects away from the light to create form.
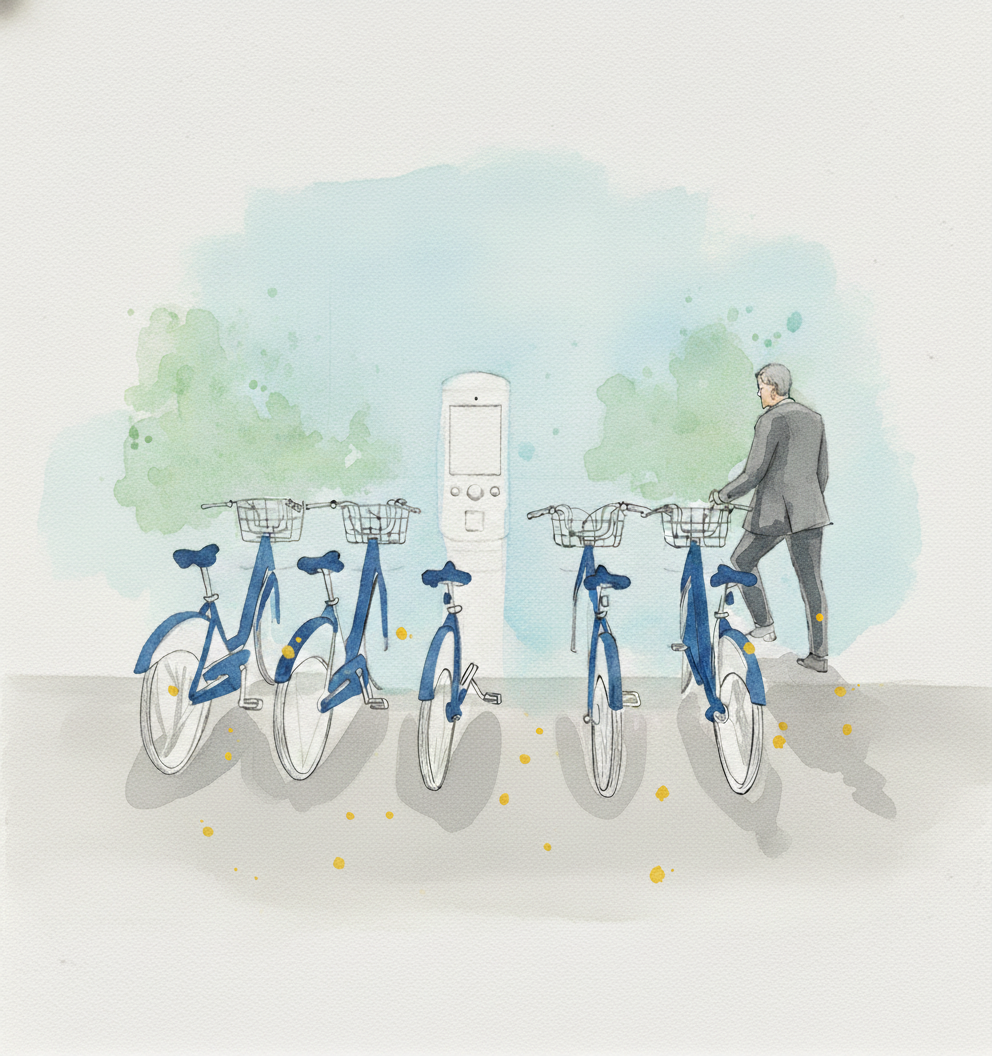
Step 13
Using a thick, dark paint mix and a small brush, add your final dark accents to the tires, deep shadows, and other key spots.
Step 14
Revisit the drawing with your pen to strengthen any lines softened by the watercolor. Add final small color details like lights and screens.
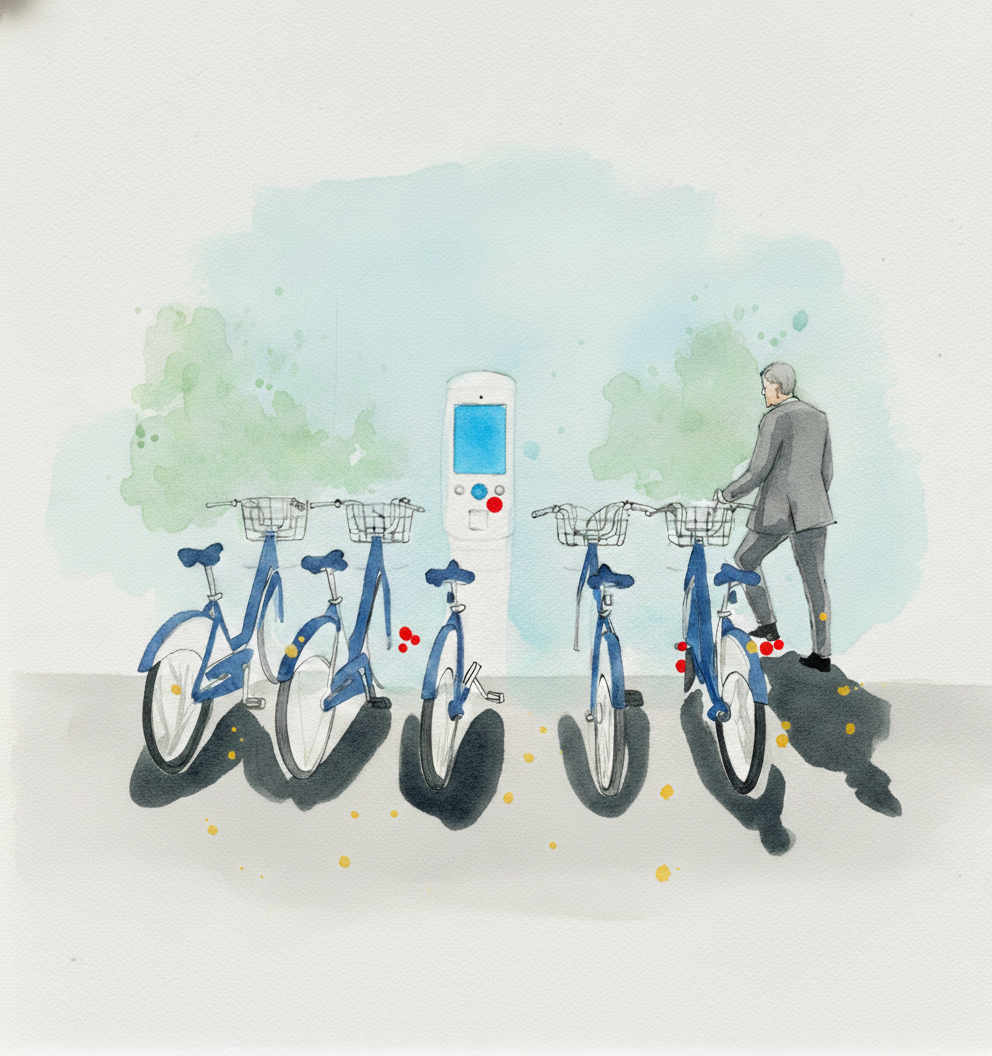
Step 15
The work is done! Add your signature and any final pinpoint highlights with opaque white. Step back and enjoy your finished piece.
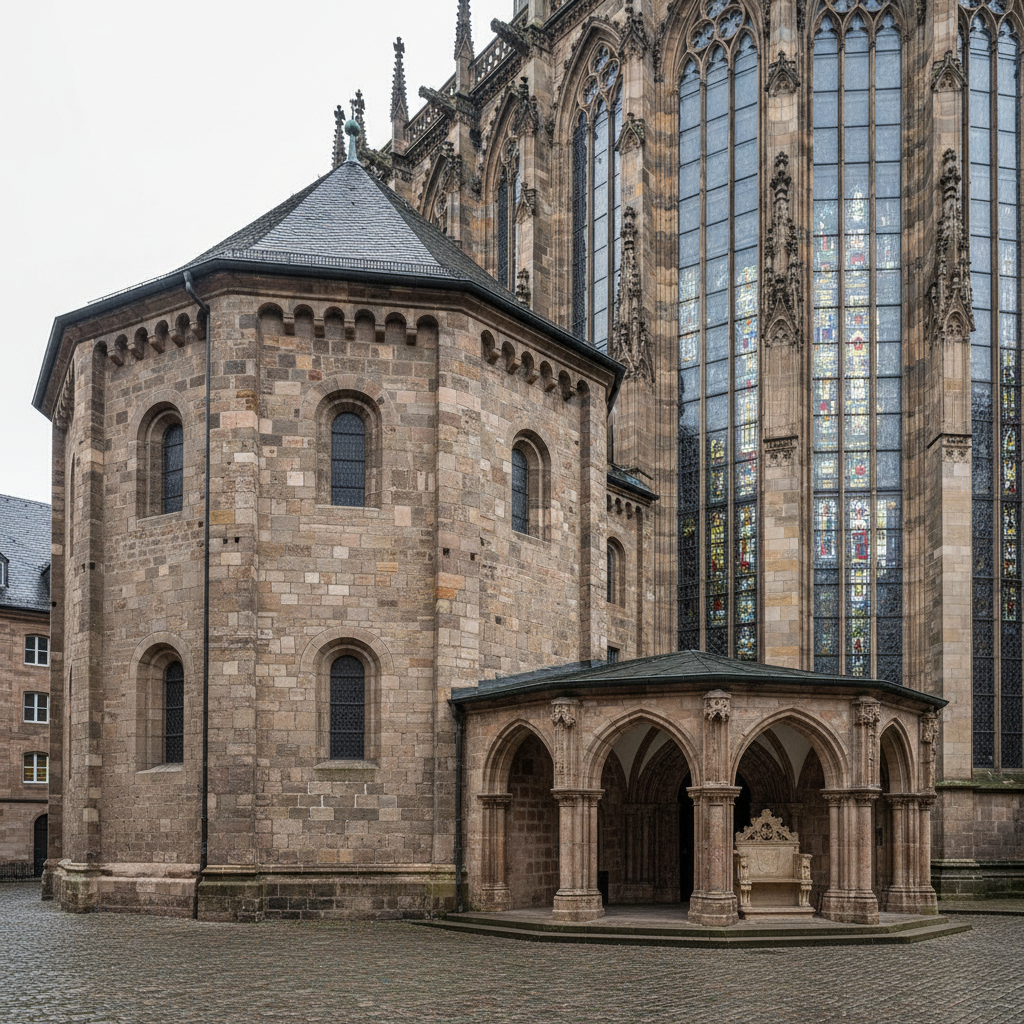
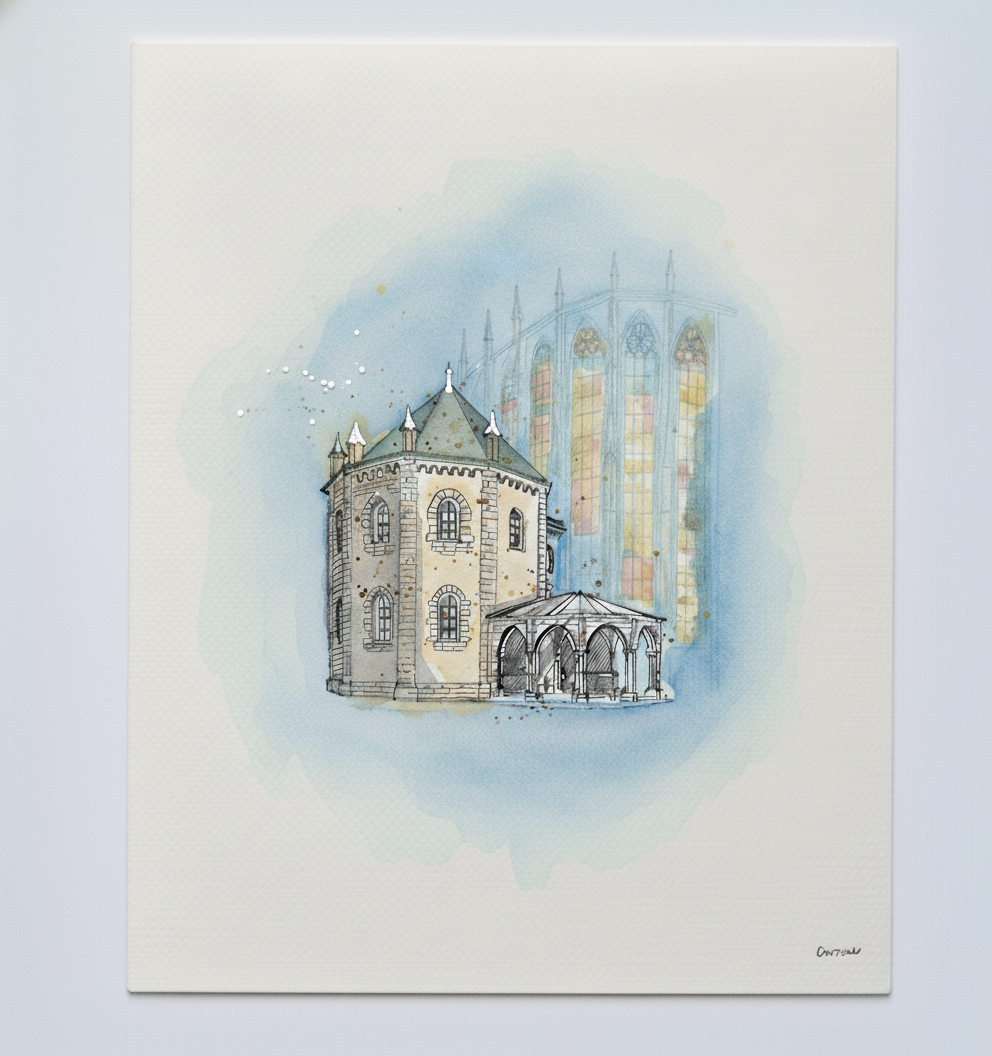
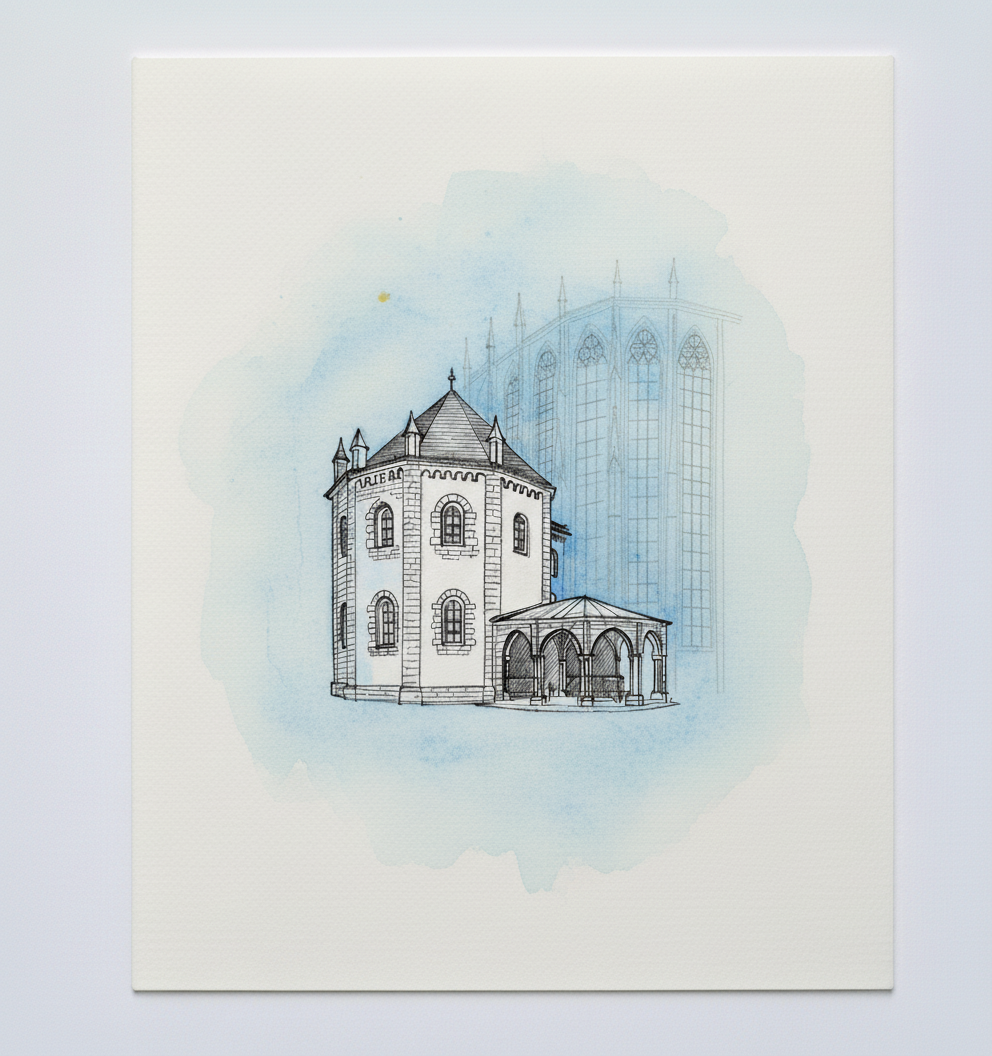
Tutorial 3 — Aachen Cathedral, Aachen, Germany
Pen + Watercolor · Loose pen and watercolor line-and-wash
15 Steps
Each image shows where your drawing should be at the end of that step.
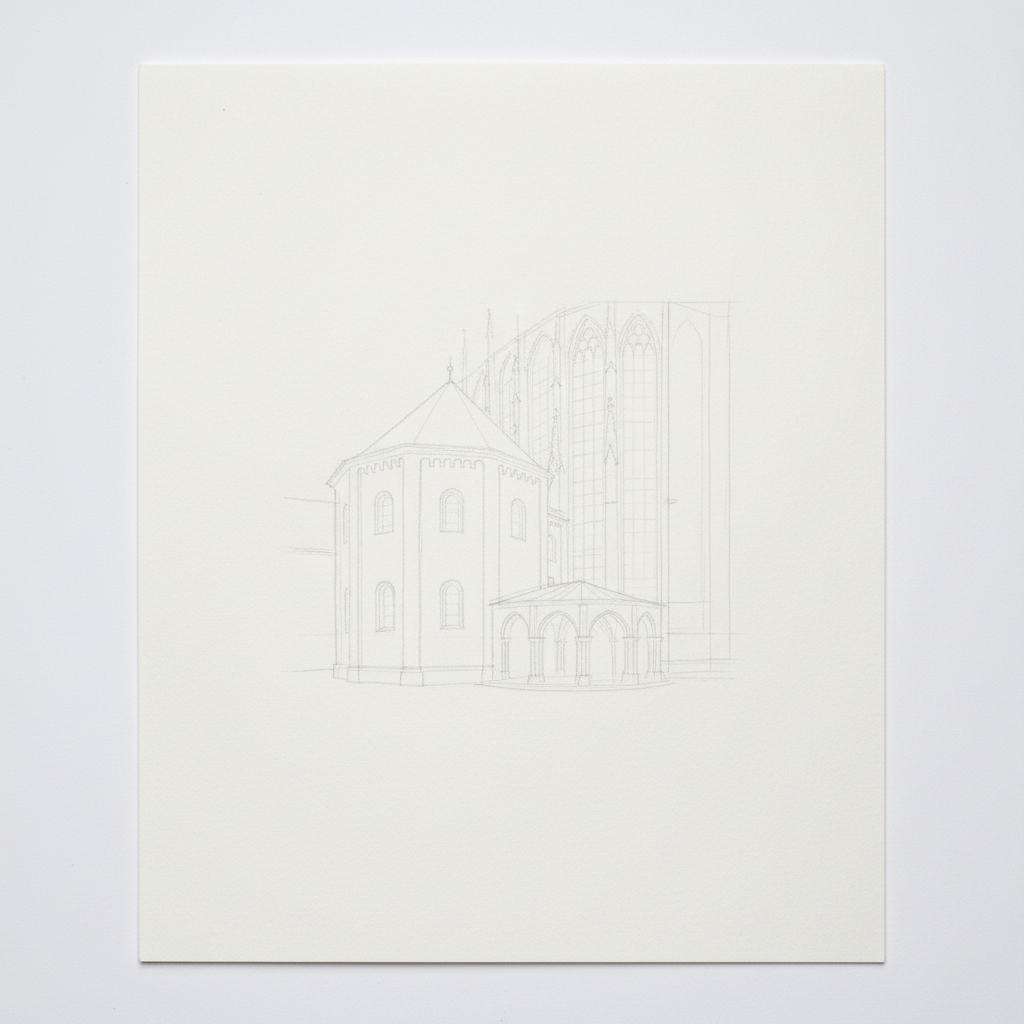
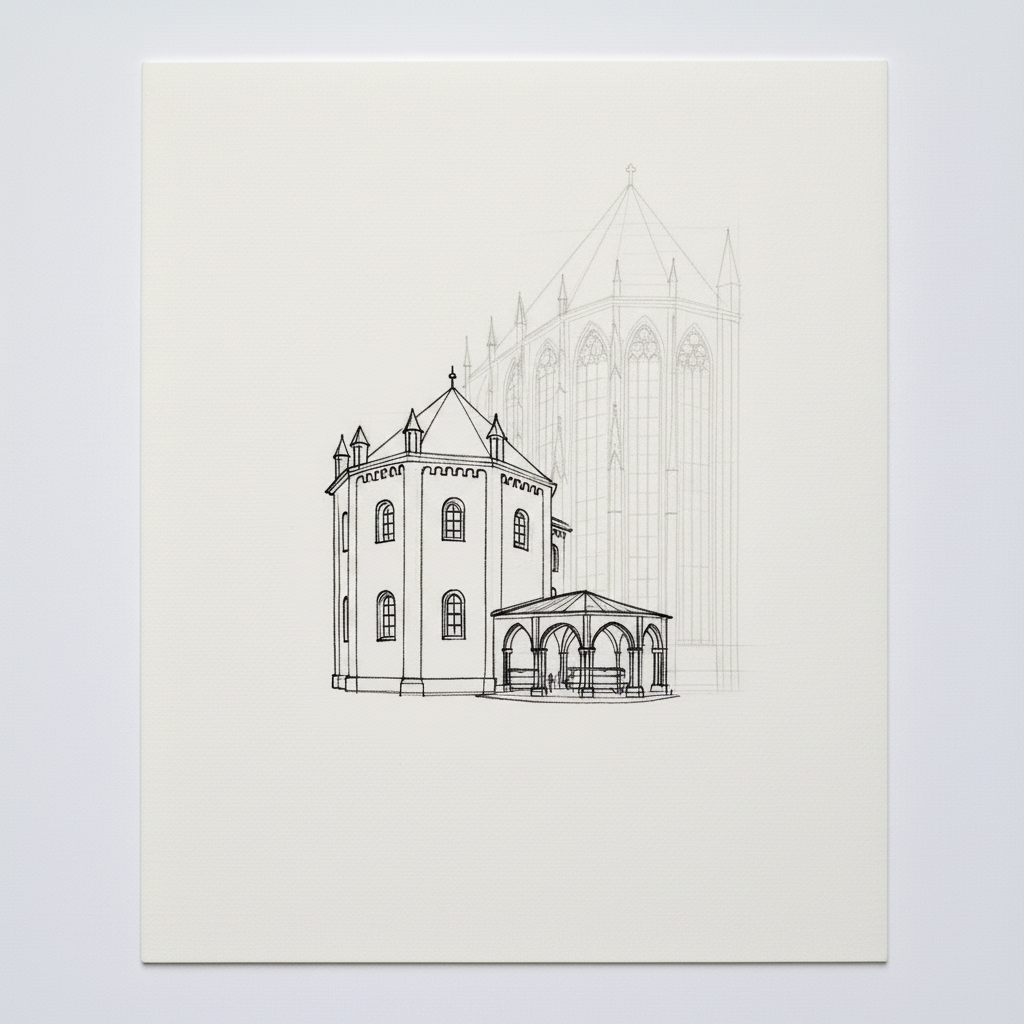
Step 1
Begin by lightly blocking in the largest simple shapes. A tall rectangle for the Gothic choir and a wide octagon for the old chapel will anchor your drawing.
Step 2
Add the secondary shapes like roofs and turrets as simple geometric forms. Focus on their size and position relative to the main blocks.
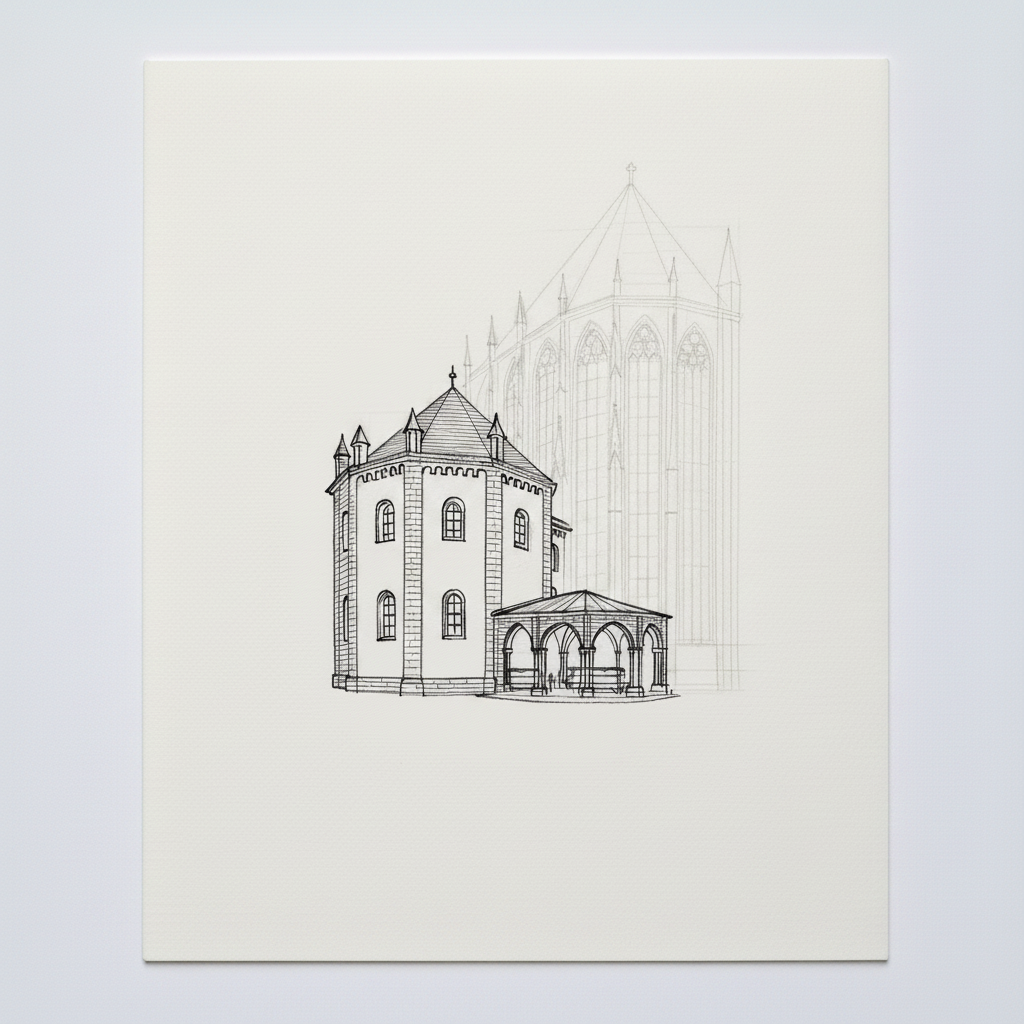
Step 3
Refine your block-in by drawing the major details inside the larger shapes, like windows and structural lines. Keep your pencil light.
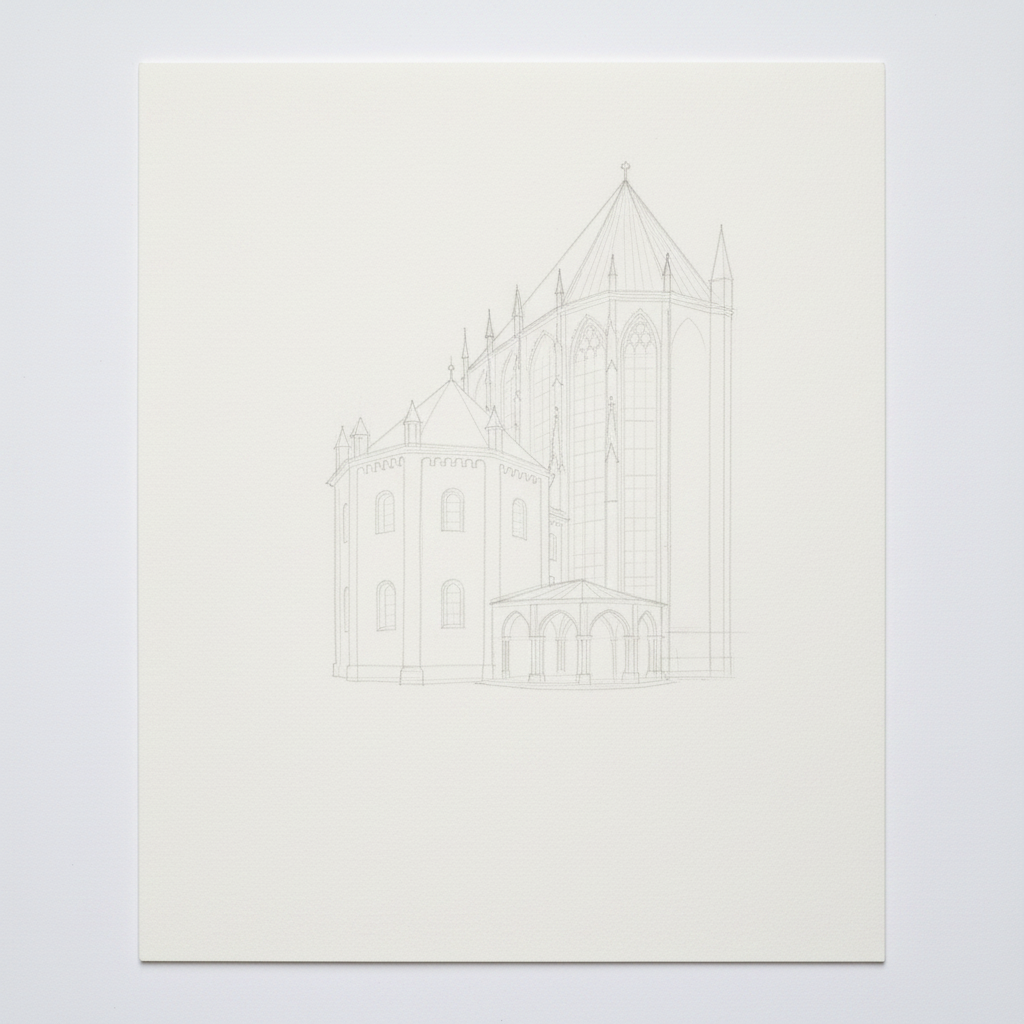
Step 4
Complete your pencil drawing, then gently press a kneadable eraser over it to lift excess graphite, leaving a faint guide for your pen.
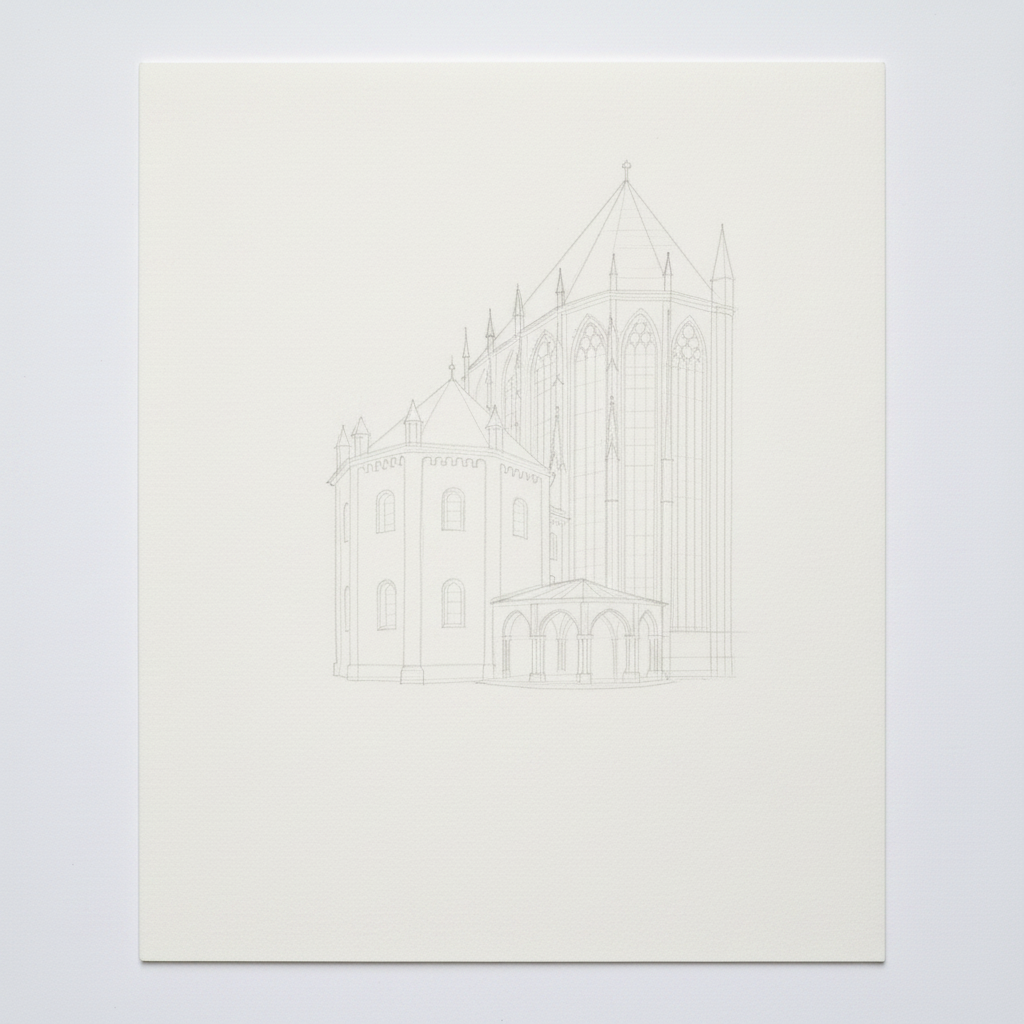
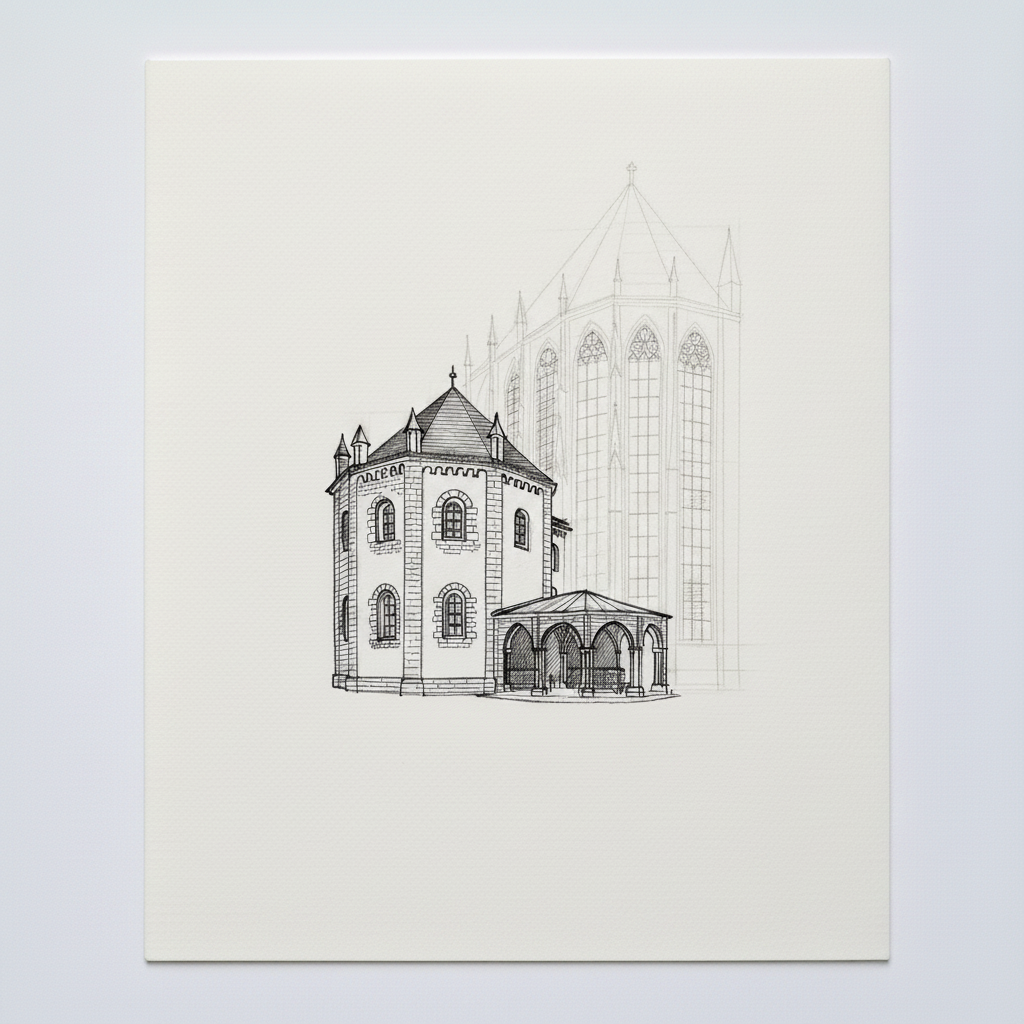
Step 5
Begin inking with the main contours of the older chapel. Use a confident stroke and a slightly heavier line to convey its weight and age.
Step 6
Now, ink the Gothic choir hall. Switch to a finer pen to create a delicate line that contrasts with the heavy chapel.
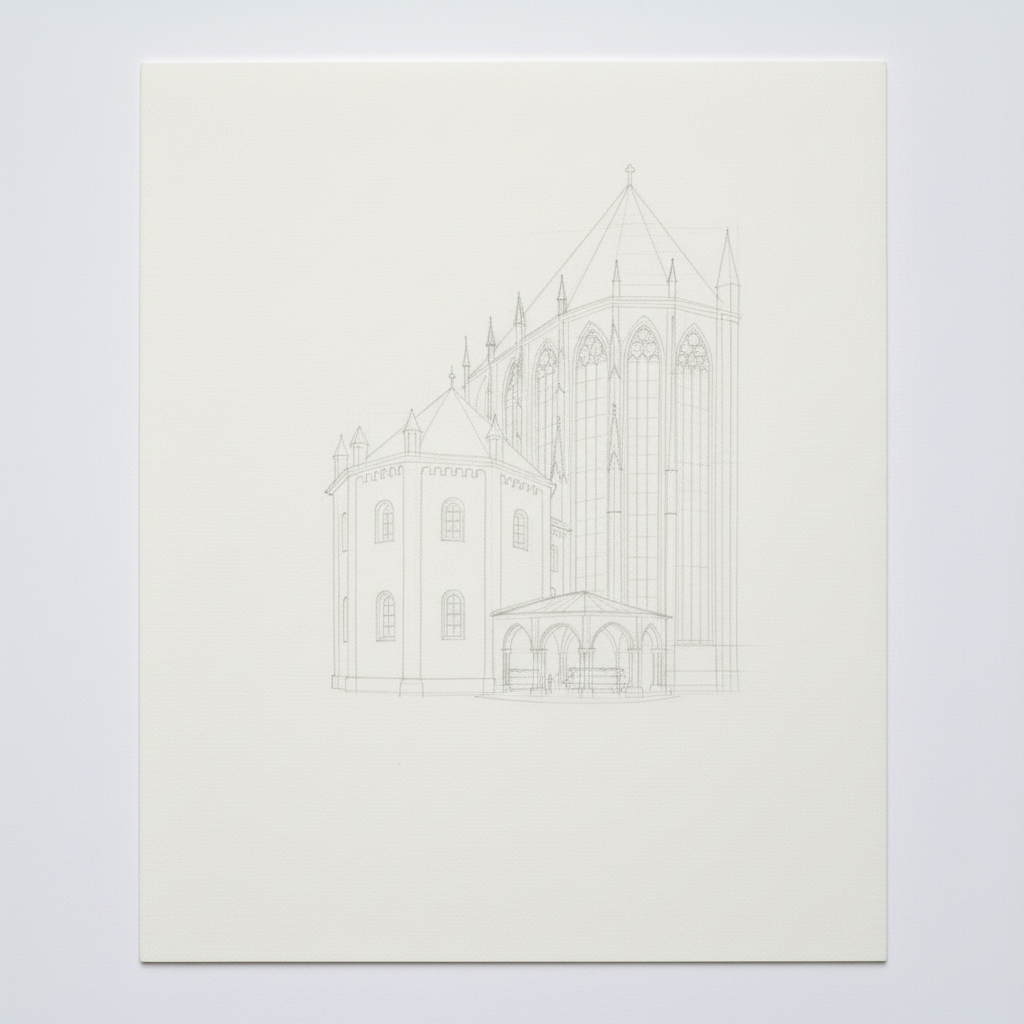
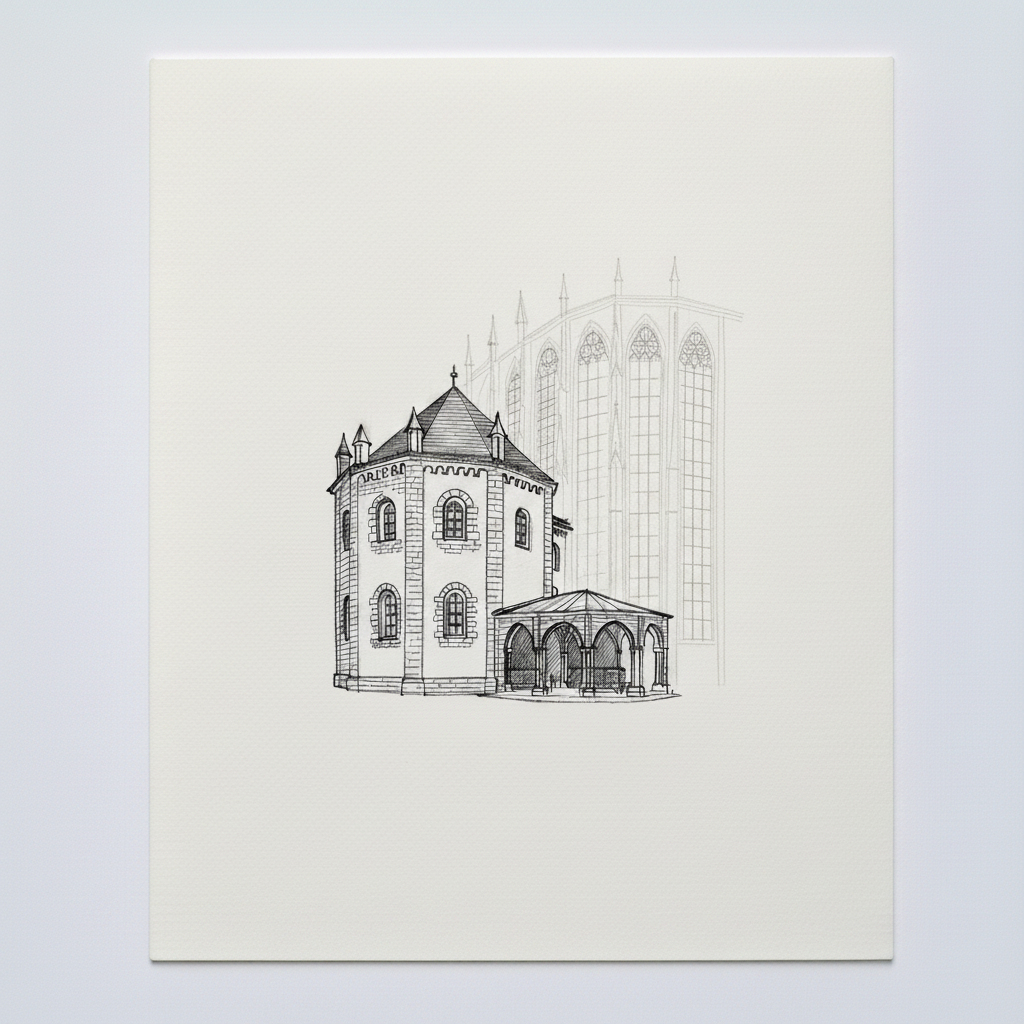
Step 7
Finish all the ink outlines. Add small, tight patches of hatching only in the very darkest shadow areas, like deep-set windows.
Step 8
Let the ink dry completely, then gently erase all pencil lines. You should now have a clean, finished ink drawing ready for color.
Step 9
Paint the sky with a wet-on-wet wash. Use plenty of water and drop in your colors, letting them mingle softly.
Step 10
Once the sky is bone-dry, apply the first light washes of local color to the sunlit walls and the glass areas.
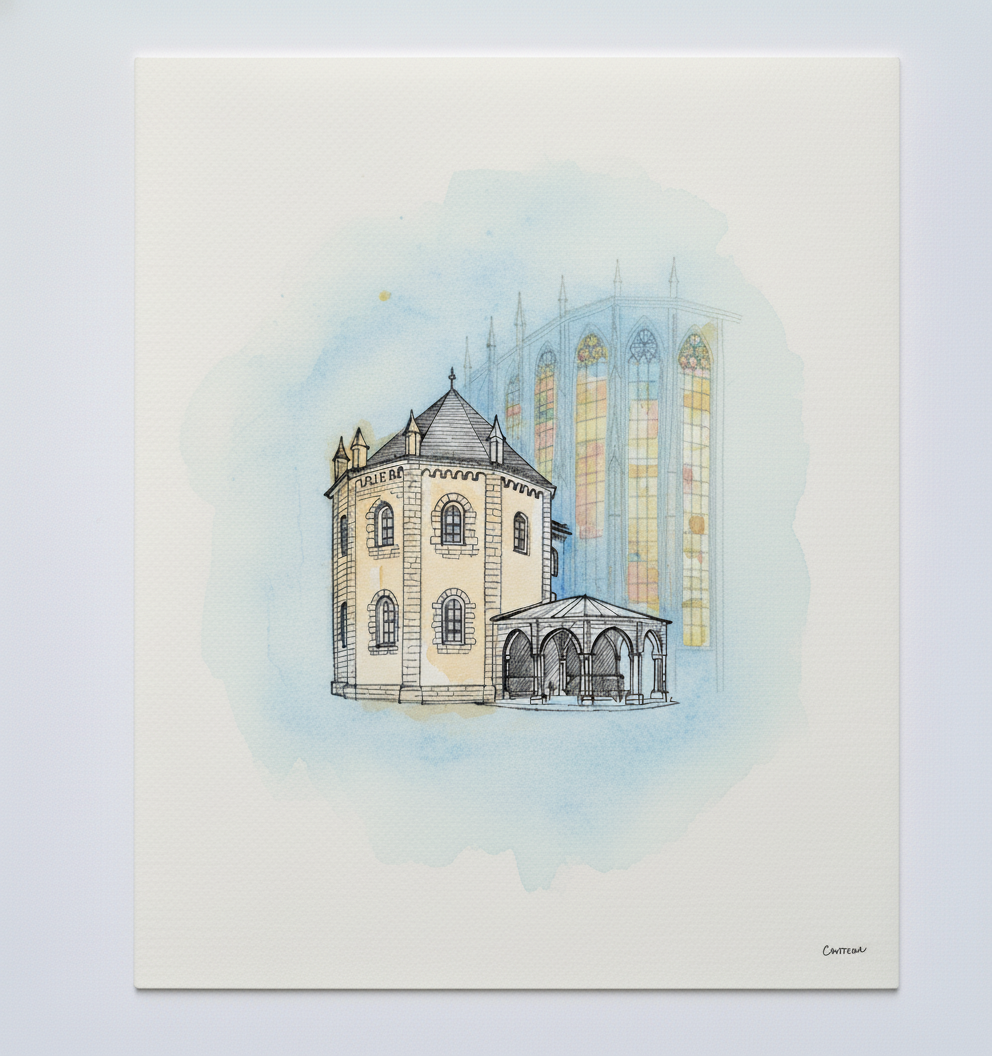
Step 11
Complete the first layer of color on all remaining areas, like the roofs. Let the entire painting dry completely before the next step.
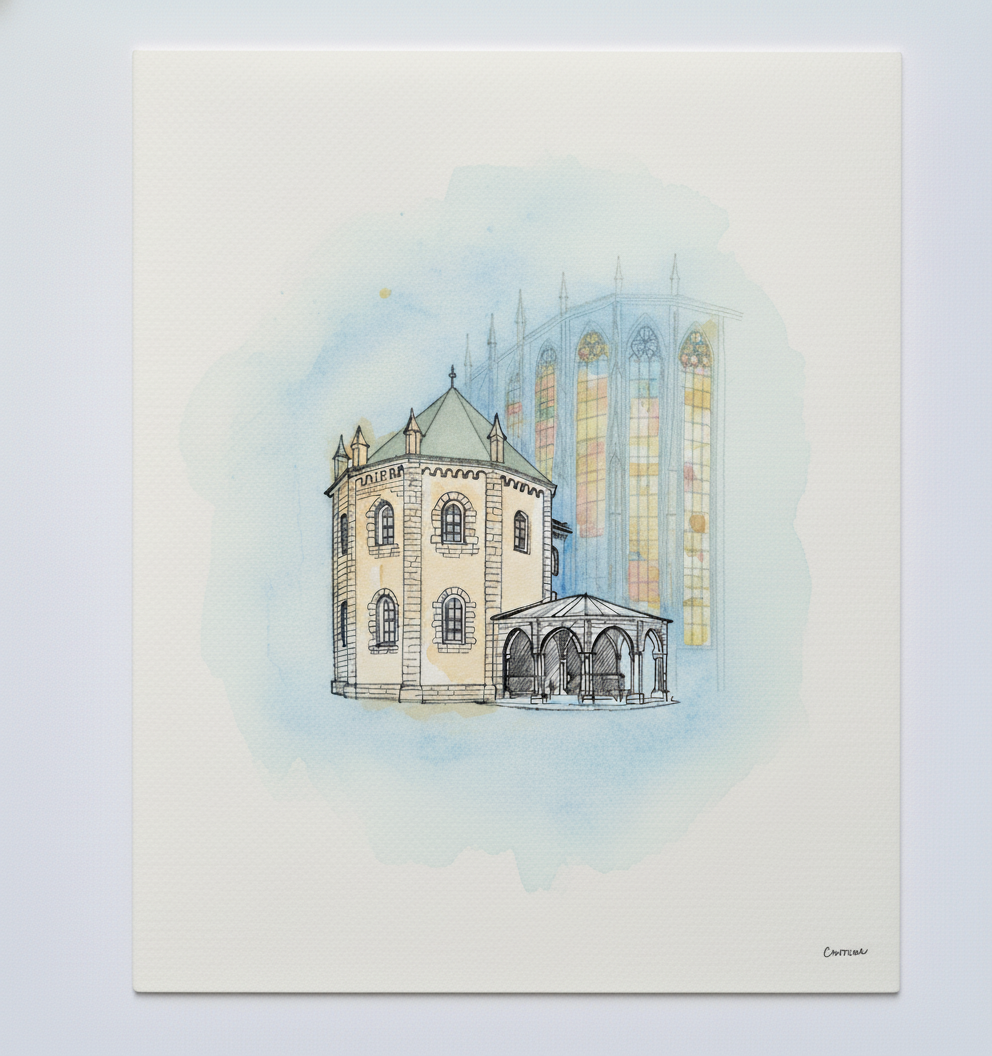
Step 12
Glaze your shadow color over the parts of the building that are turned away from the light. This will make the form look three-dimensional.

Step 13
Using a small brush and thick paint, add your darkest darks as small accents. This adds the final punch of contrast.
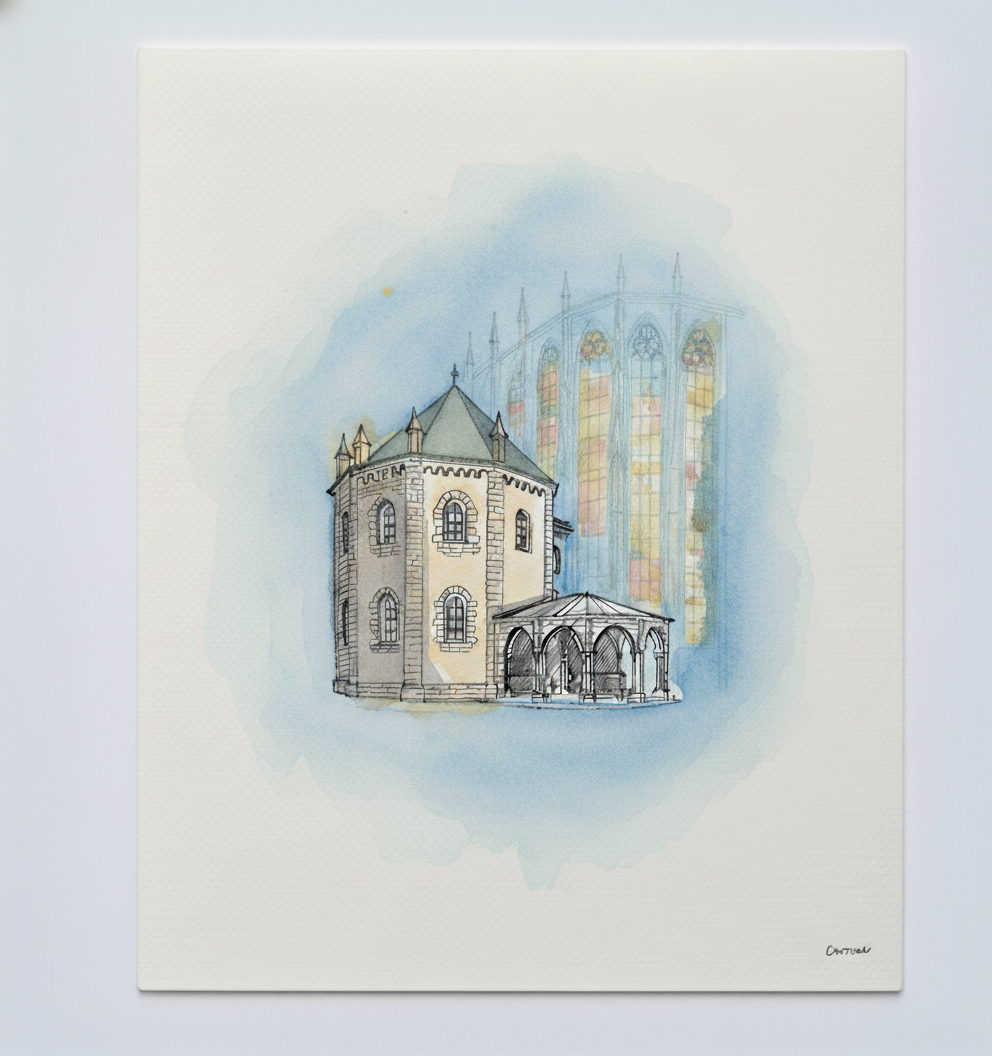
Step 14
Go back in with your pen to reinforce any lines that were softened by the paint. This brings back the crispness of the drawing.
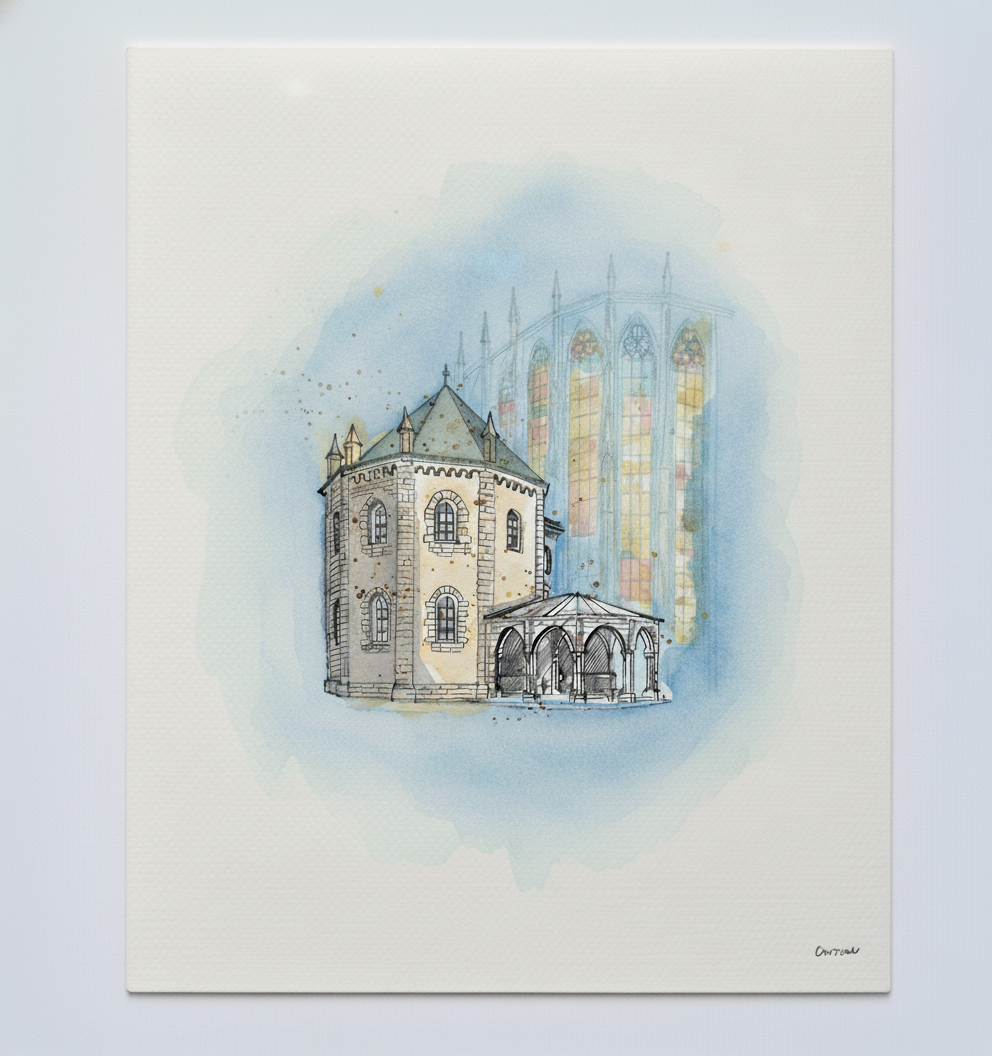
Step 15
The work is done! Add any final tiny highlights with opaque white, sign your name, and step back to enjoy your finished painting.
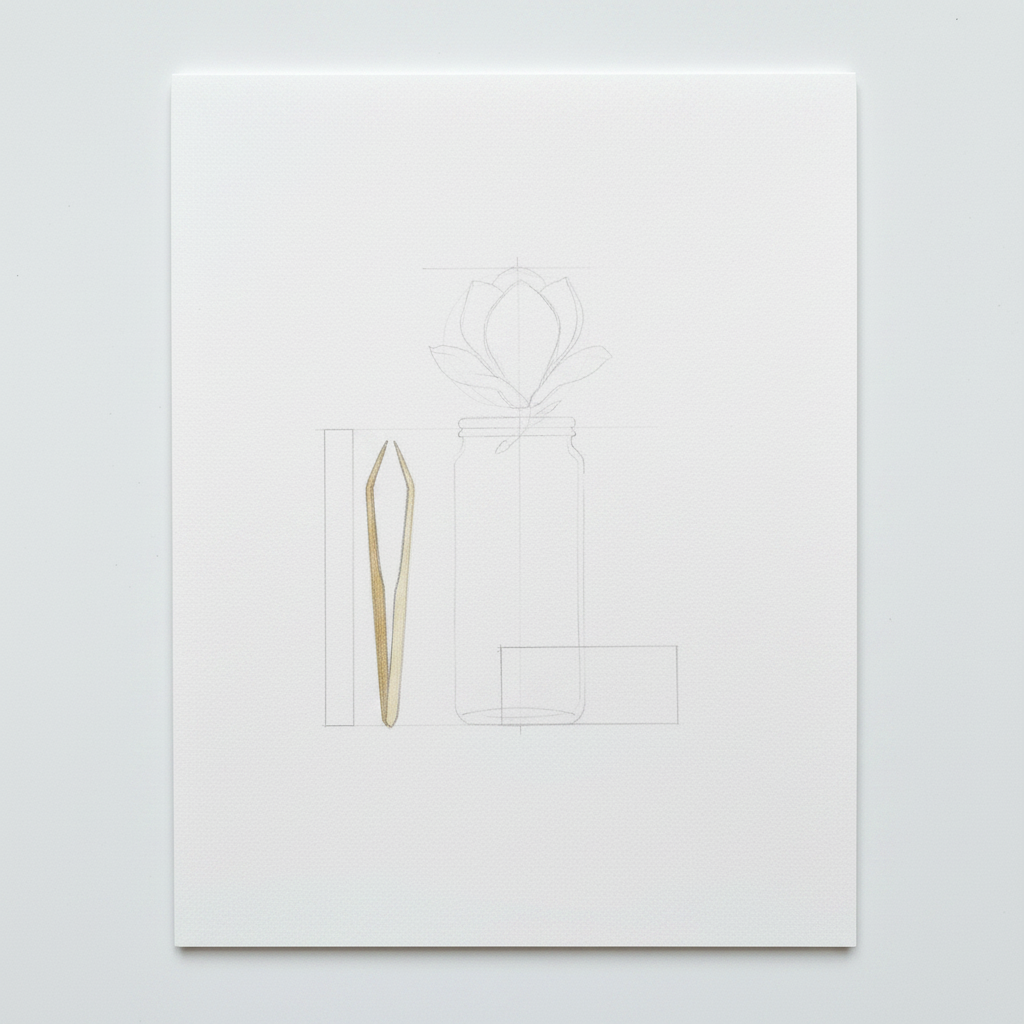
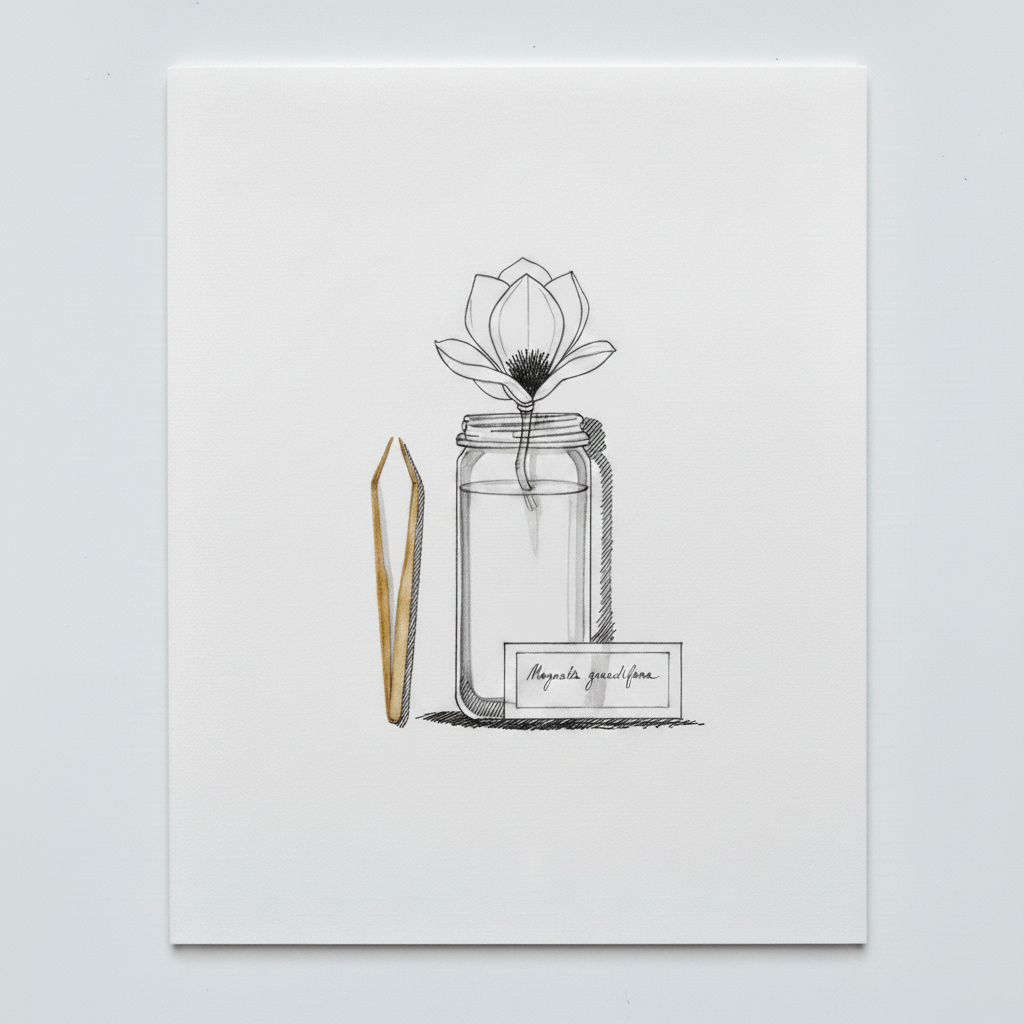
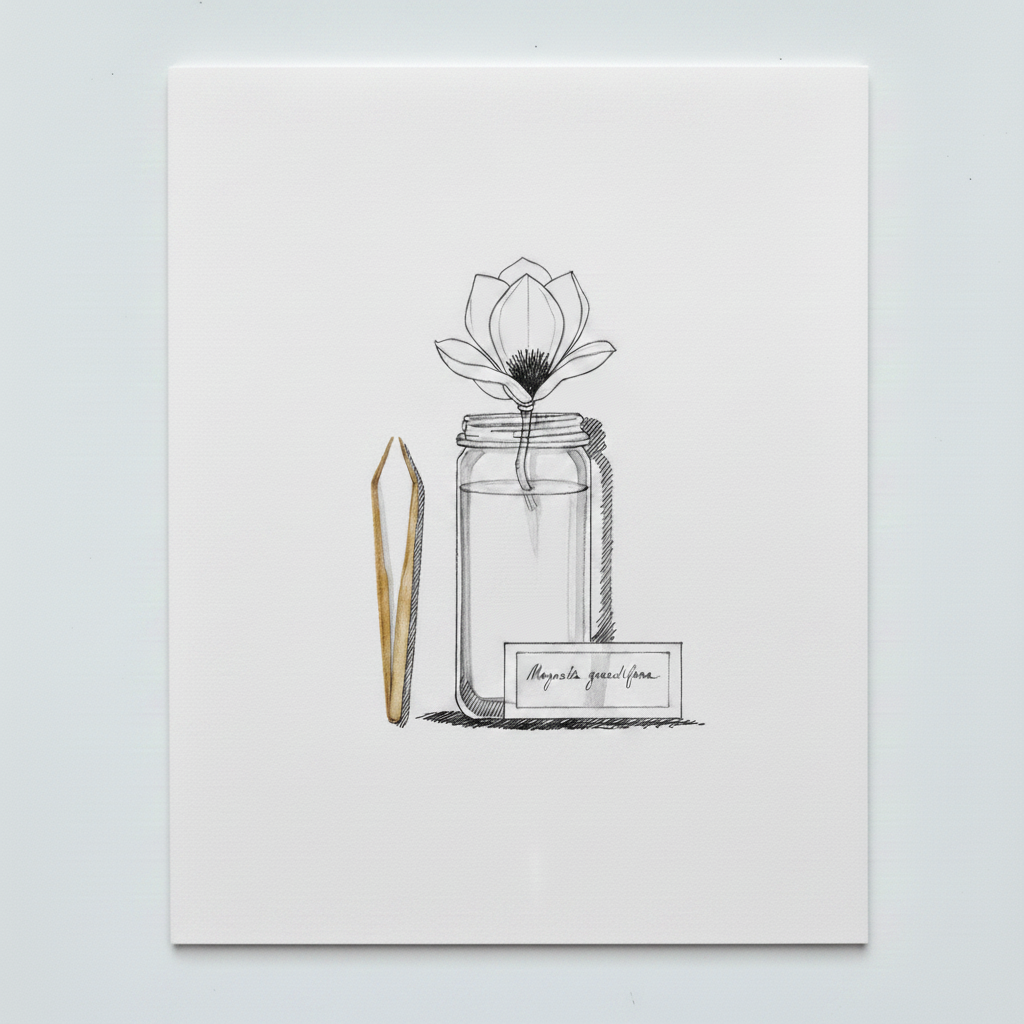
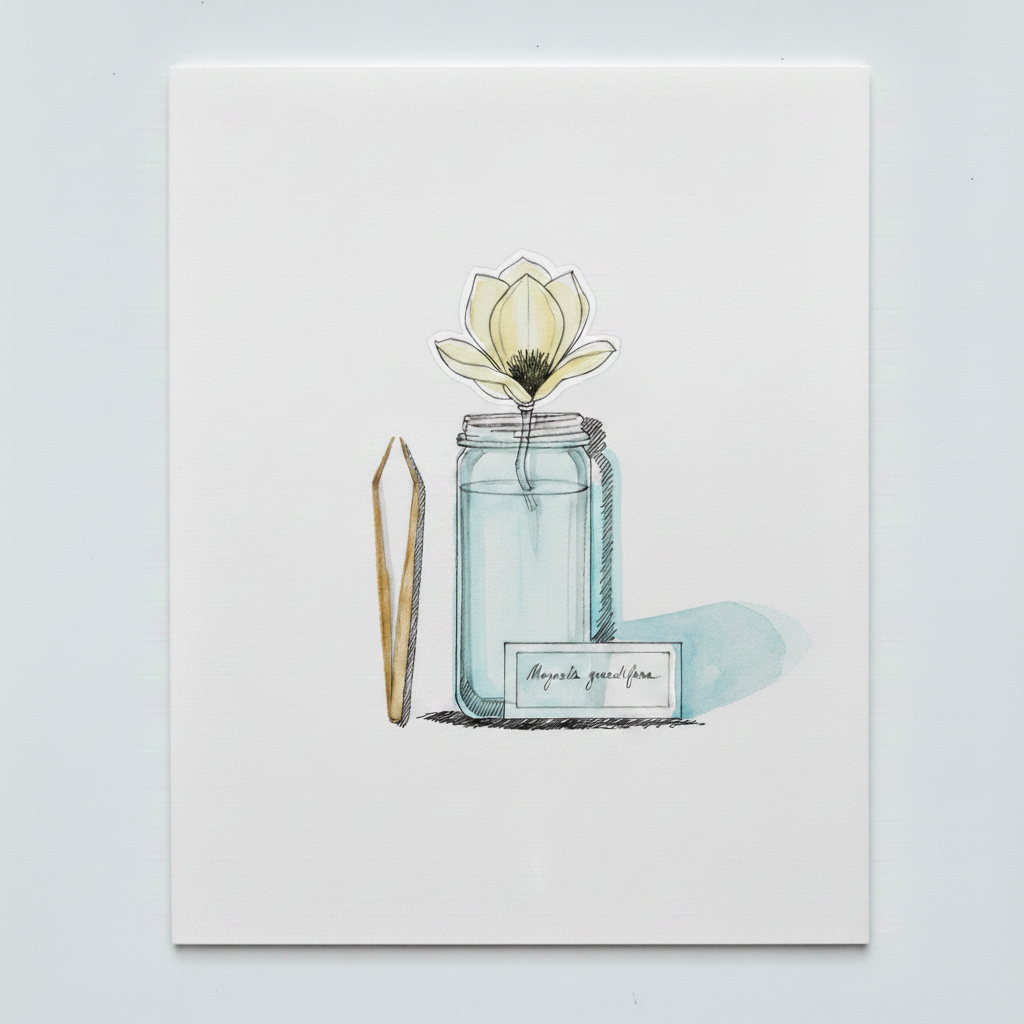
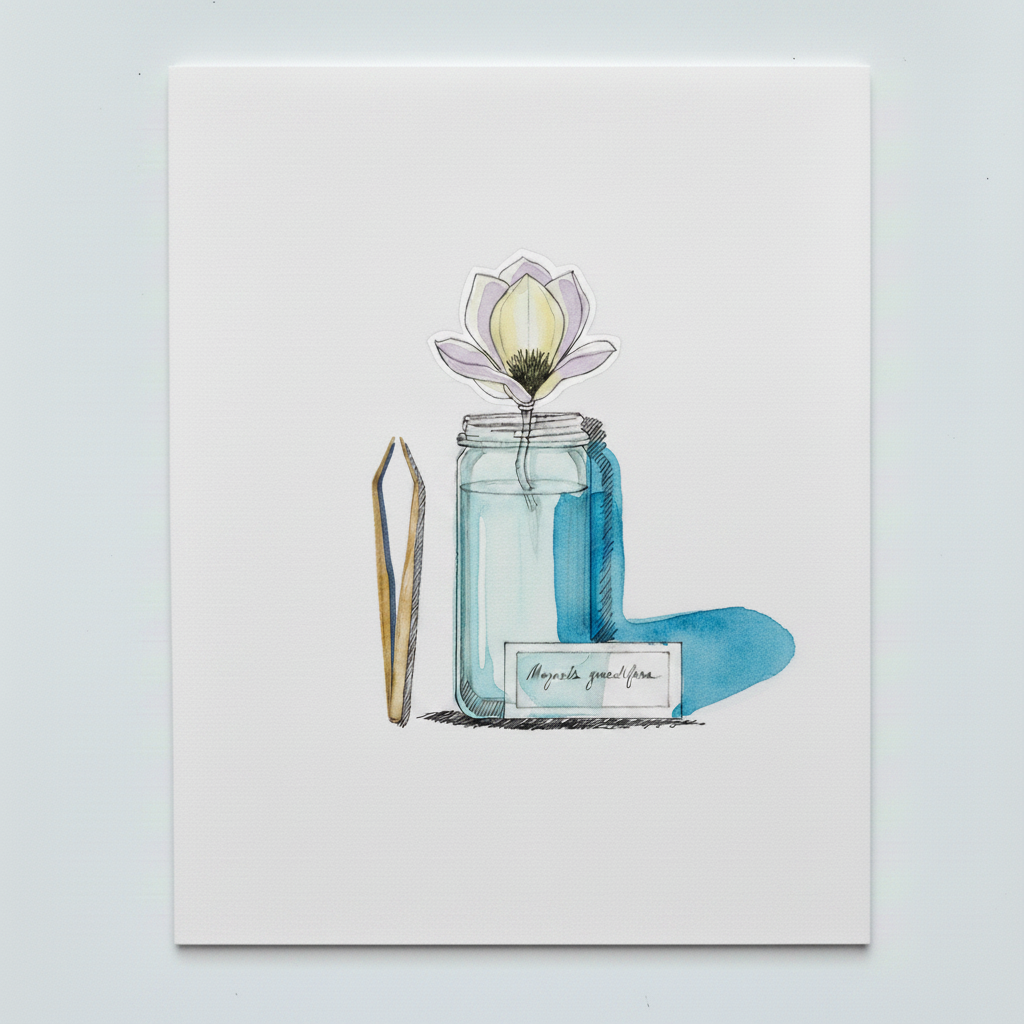
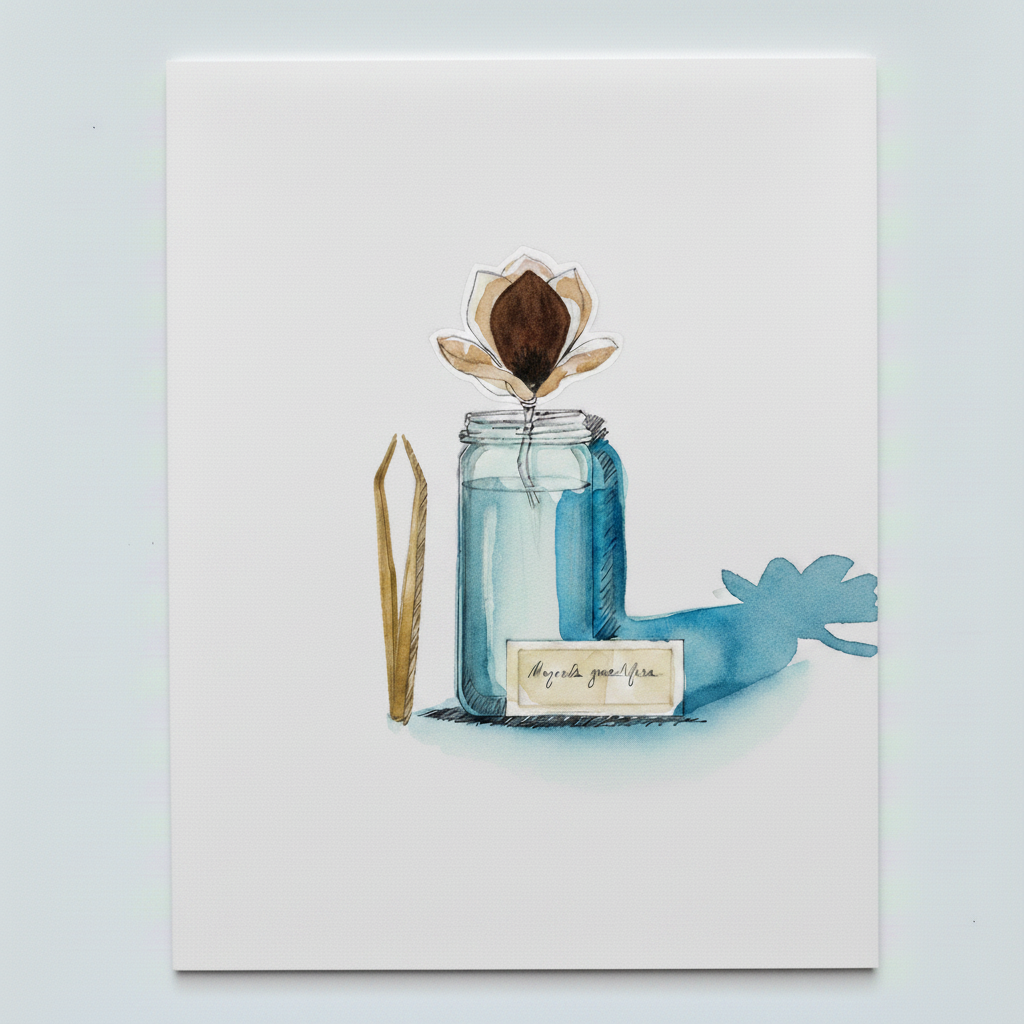
Tutorial 4 — Single magnolia bloom, north window
Pen + Watercolor · Loose pen and watercolor line-and-wash
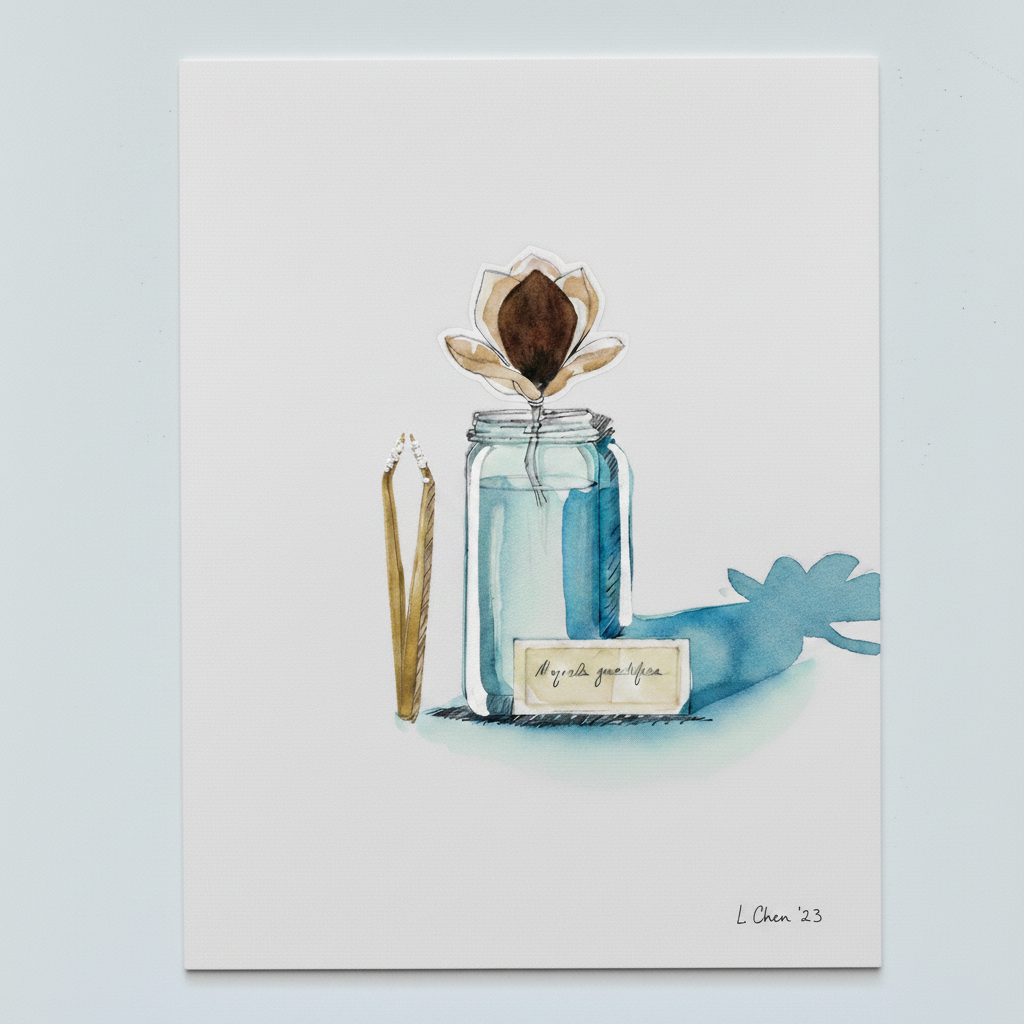
15 Steps
Each image shows where your drawing should be at the end of that step.
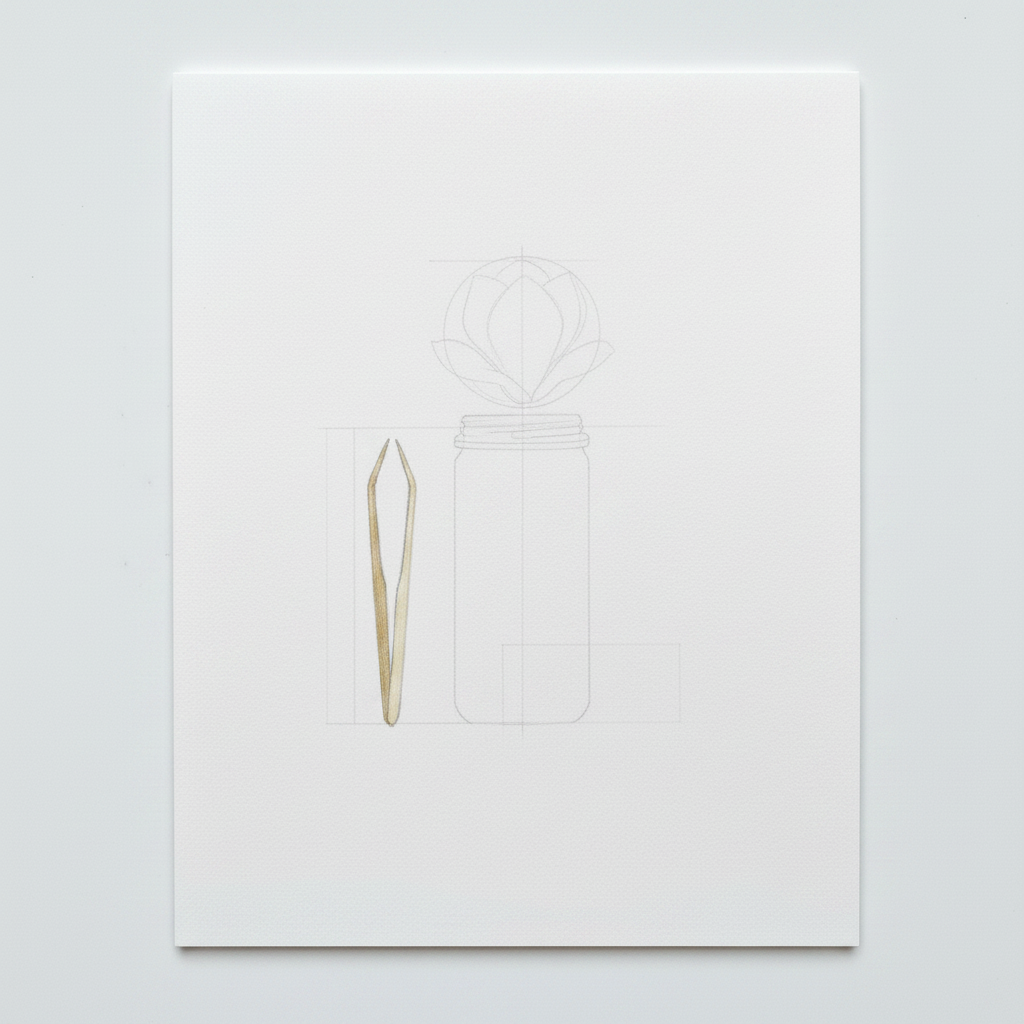
Step 1
Begin by lightly blocking in the largest shapes. Use a simple rectangle for the jar and a circle for the flower to establish their size and placement on the page.

Step 2
Add the remaining large forms. Use ellipses for the jar's opening and base, and simple rectangles for the tweezers and label to complete the basic structure.
Step 3
Refine the basic shapes into more detailed contours. Draw the individual petals inside the flower's circle and define the flared rim of the jar.
Step 4
Gently lighten your entire pencil drawing with a kneadable eraser. You want a faint, clean guide that's just visible enough to ink over.
Step 5
Begin inking with confident strokes, starting with the main outlines. Define the outer shape of the jar and the overall form of the flower.
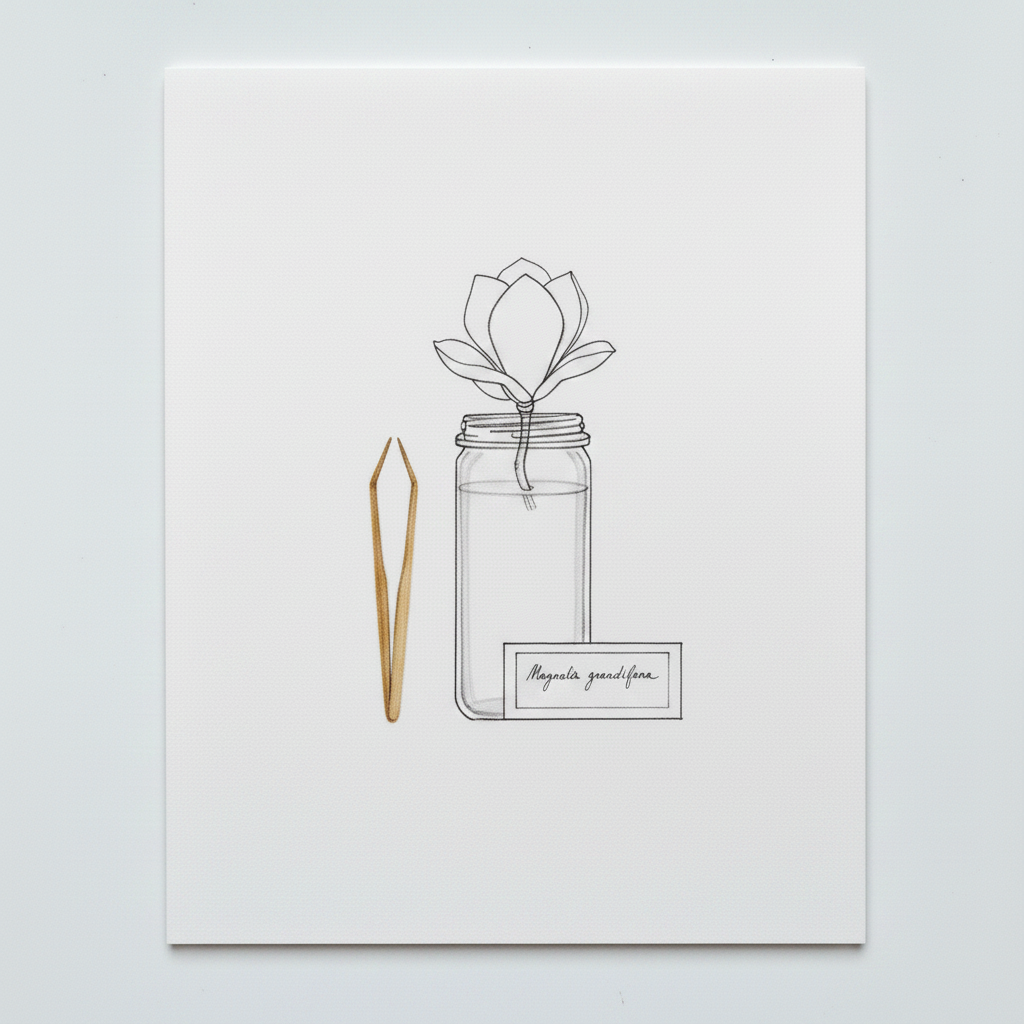
Step 6
Ink the remaining contours, varying your line weight. Use thicker lines for shadowed areas and thinner lines for light-struck edges to create depth.
Step 7
Finish the inking by adding small, dense marks for the darkest accents only, like the flower's center. Leave the larger shadow areas open for the watercolor.
Step 8
Let the ink dry completely, then gently erase all pencil lines. You should now have a clean, crisp ink drawing on white paper.
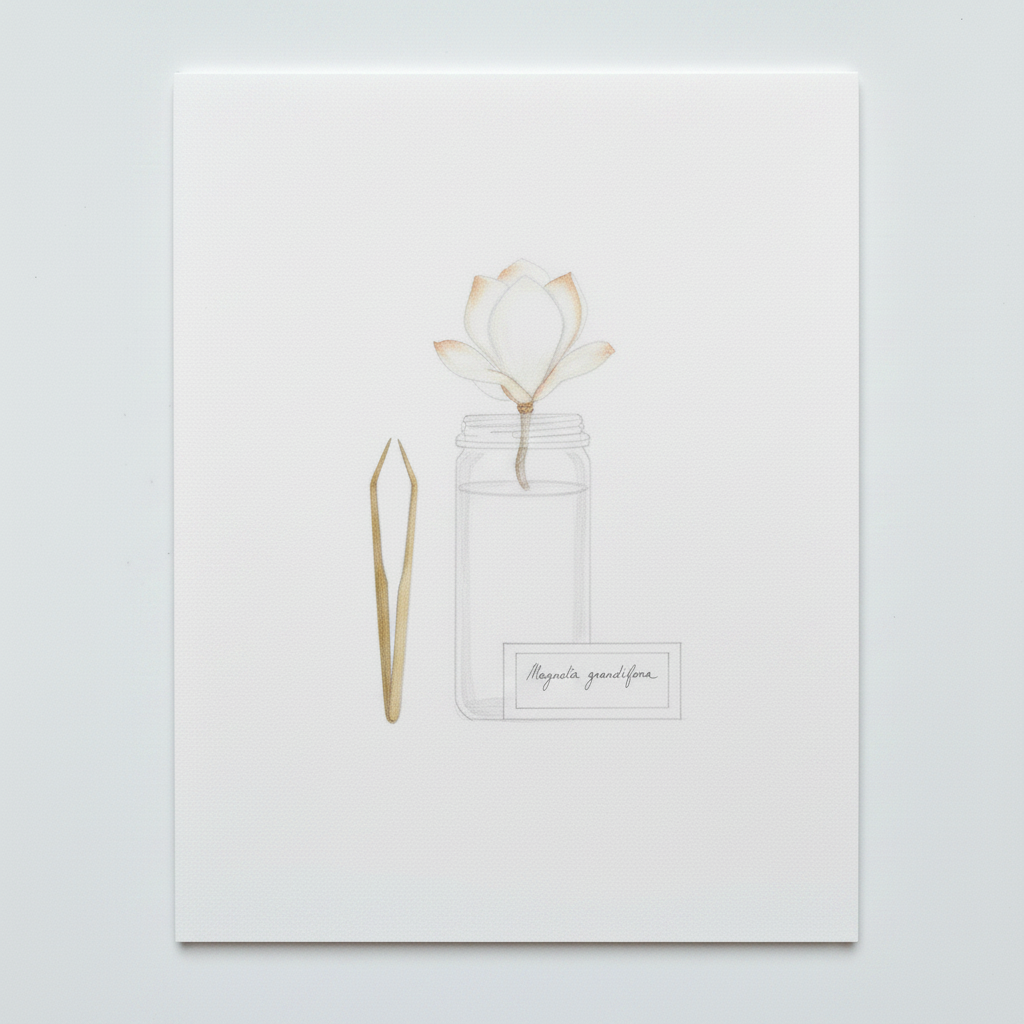
Step 9
Apply your first light washes. Use a pale yellow for the flower and a pale blue for the jar and shadow area, painting around your brightest highlights.
Step 10
Once dry, glaze in your first shadow shapes. Add a cool violet to the shadow side of the petals and a second layer of blue to the dark side of the jar.
Step 11
Add color to the remaining elements. Paint the browning petal tips, the brass tweezers, and the paper label to complete the mid-tone stage.

Step 12
Build up the form with another layer of glazing. Deepen the core shadows on the flower and jar, and darken the cast shadow to make the light more dramatic.
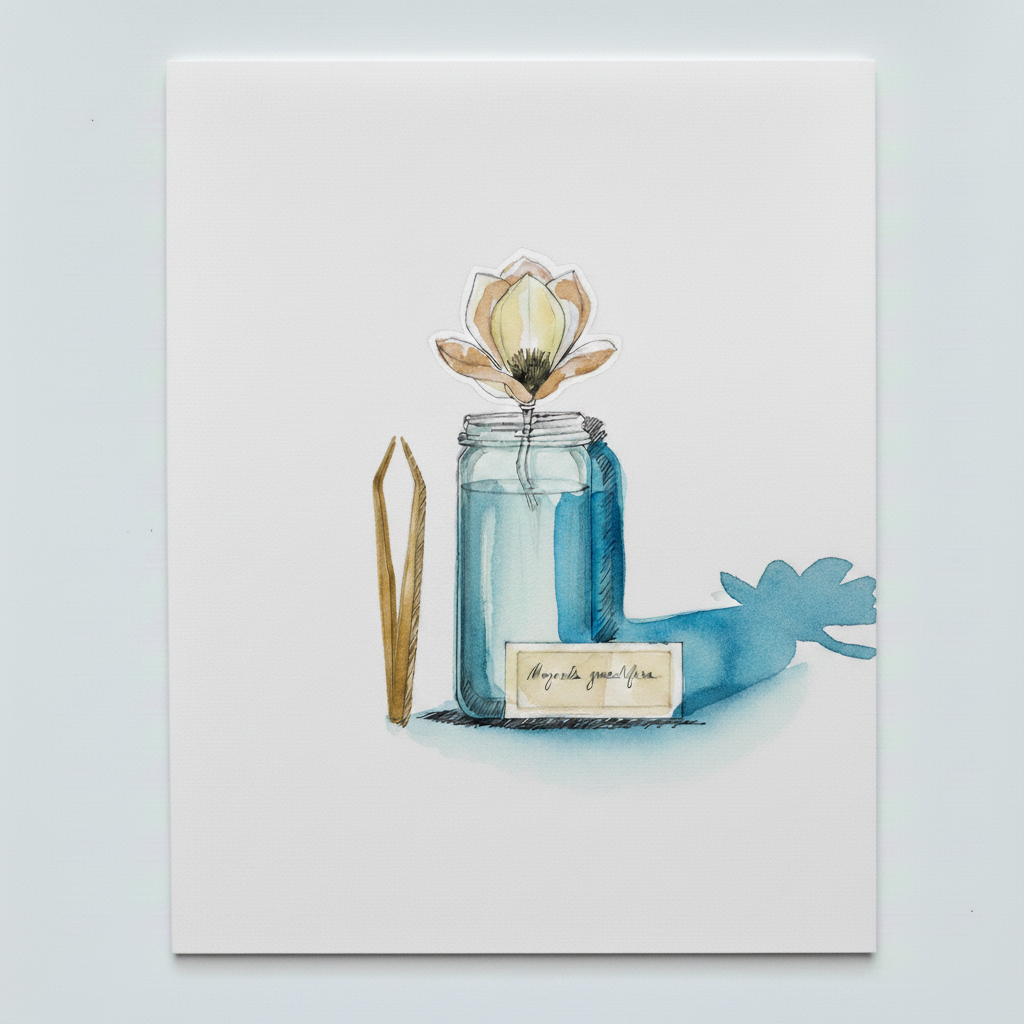
Step 13
Add your darkest darks with a small brush. Paint the flower's center, the label's lettering, and the shadow right under the jar to add final contrast.
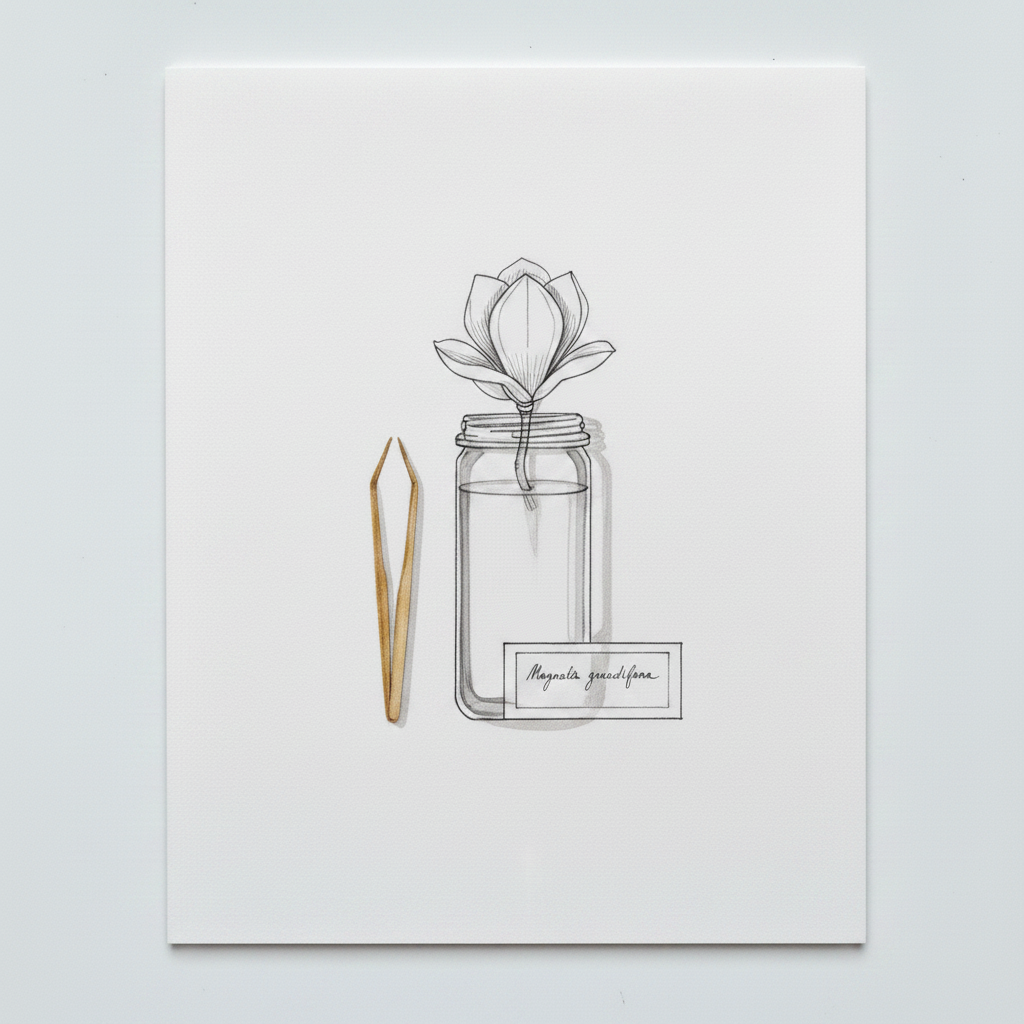
Step 14
Remove the masking fluid to reveal your highlights. Finally, go back in with your pen to reinforce any key lines that need to pop.

Step 15
Your painting is complete. Add your signature, and when fully dry, remove the tape to reveal the clean border.
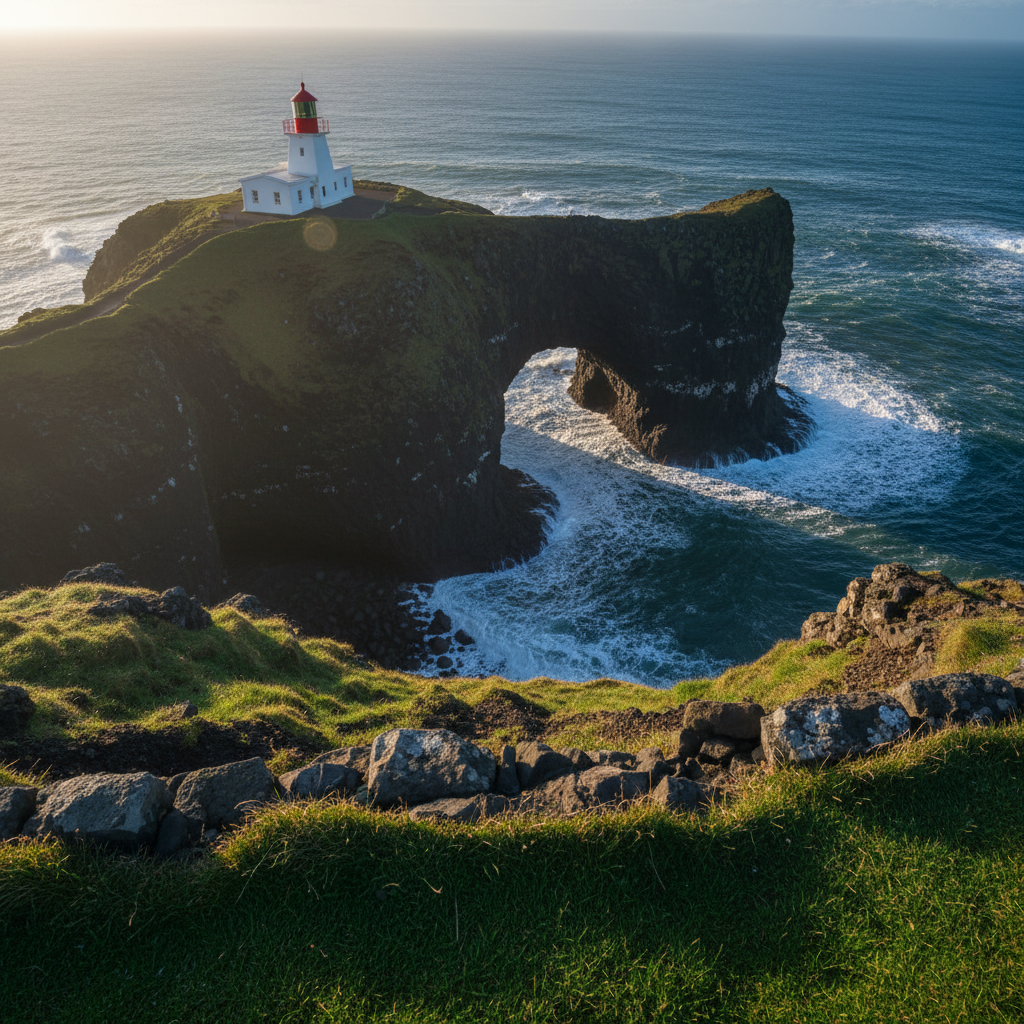
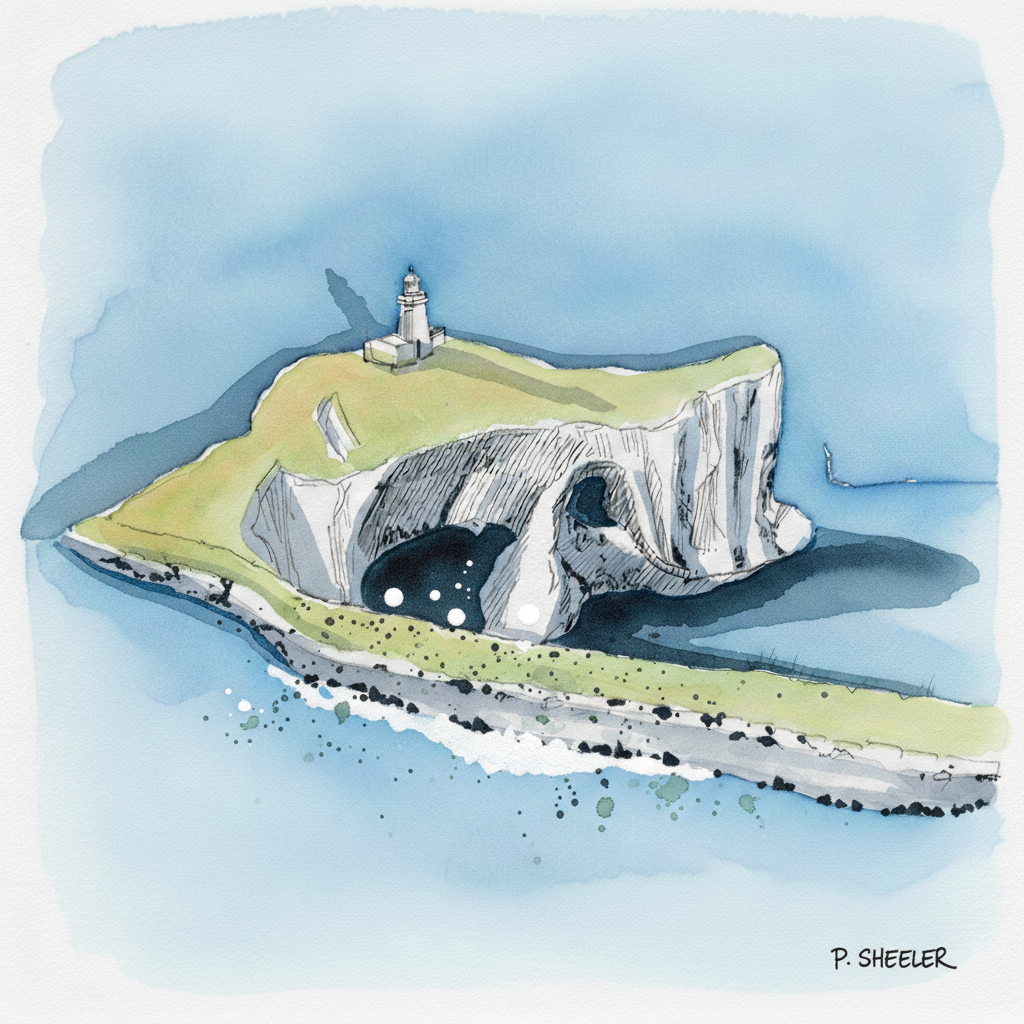
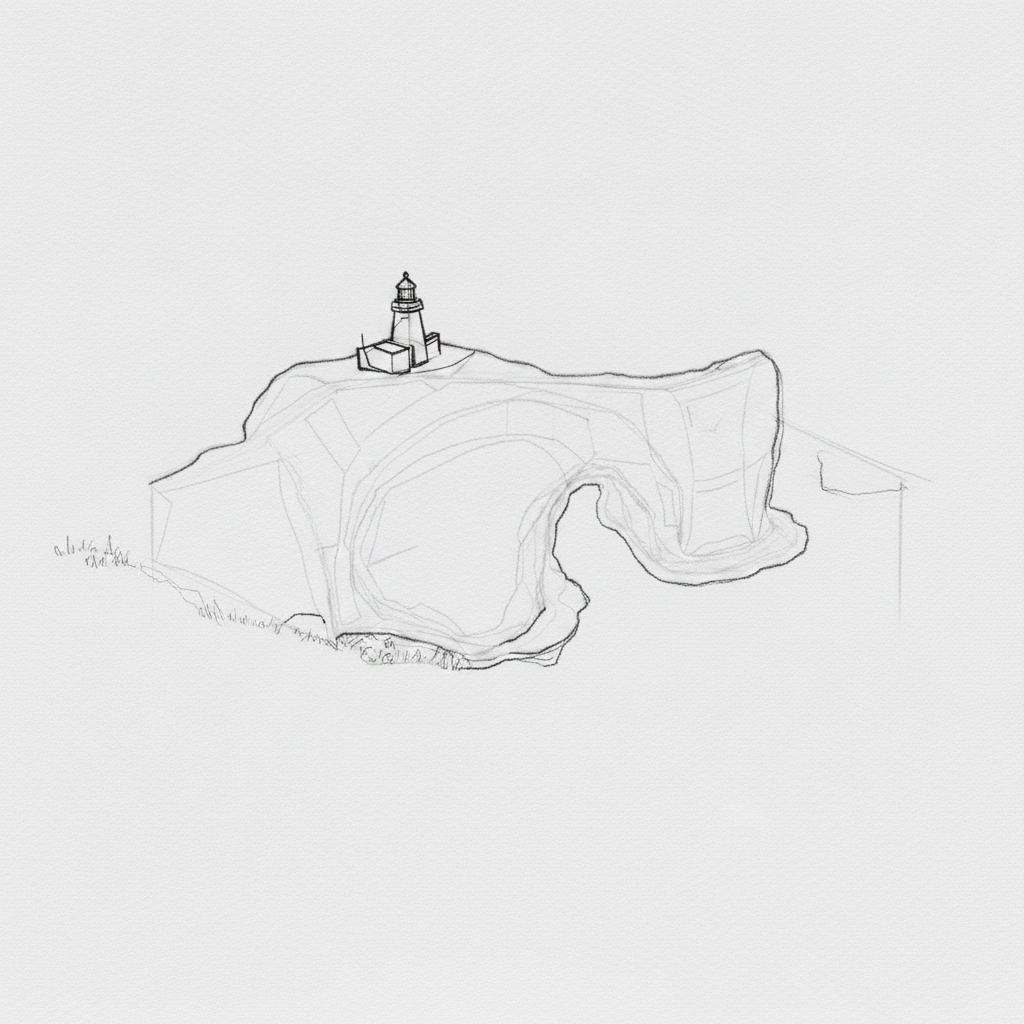
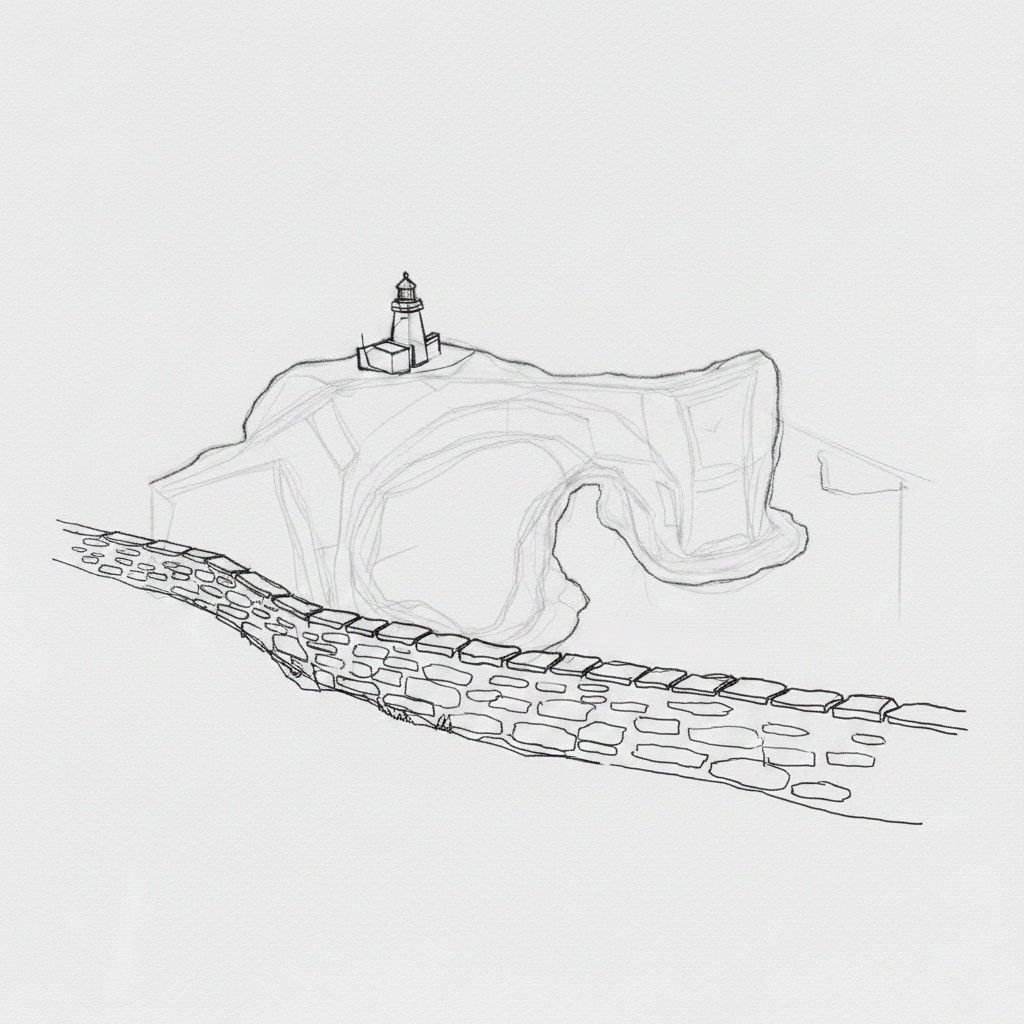
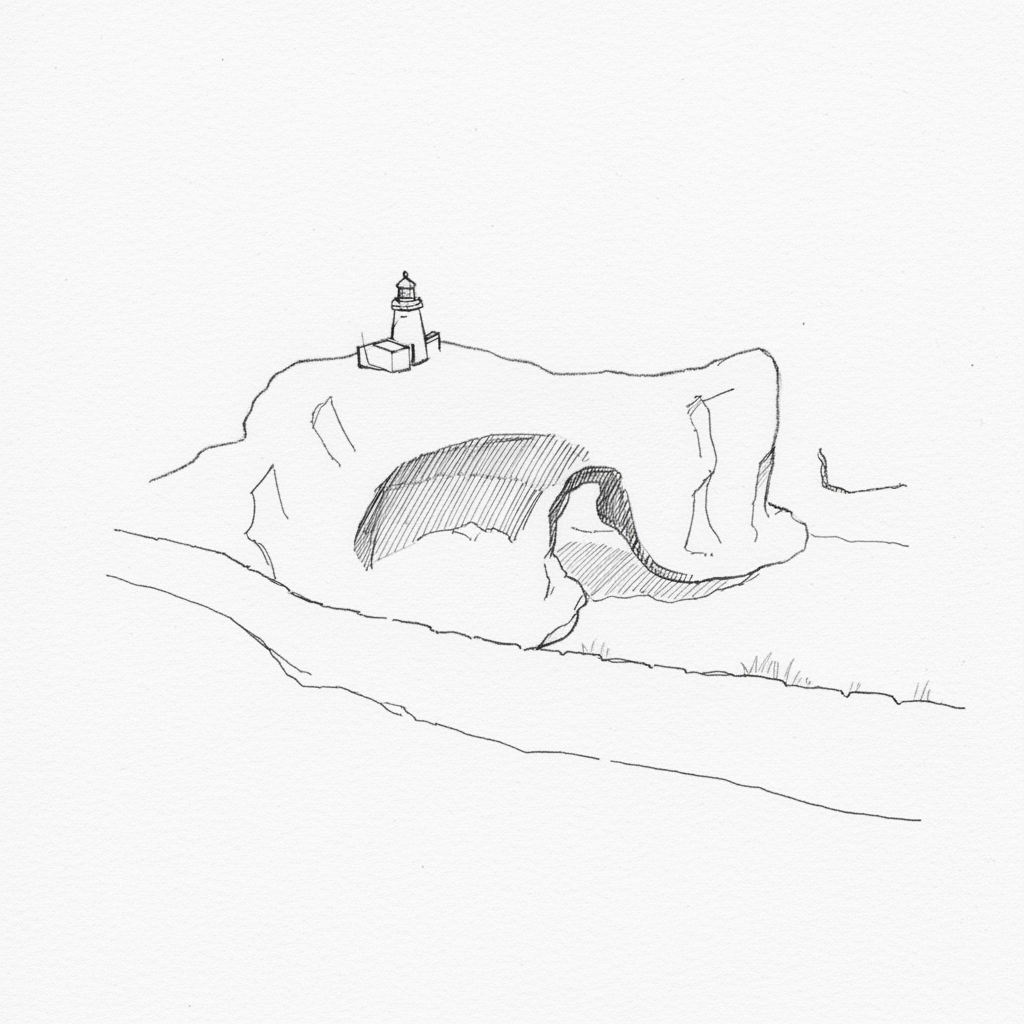
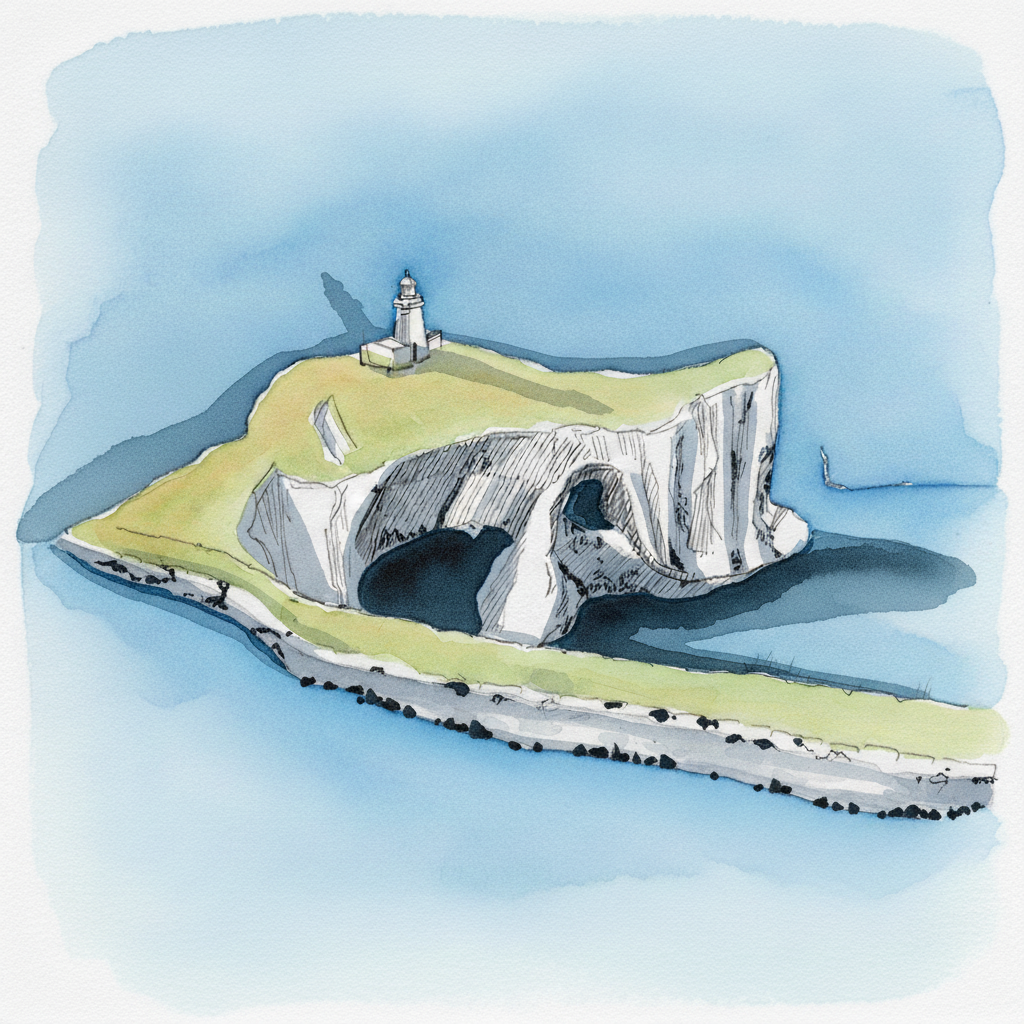
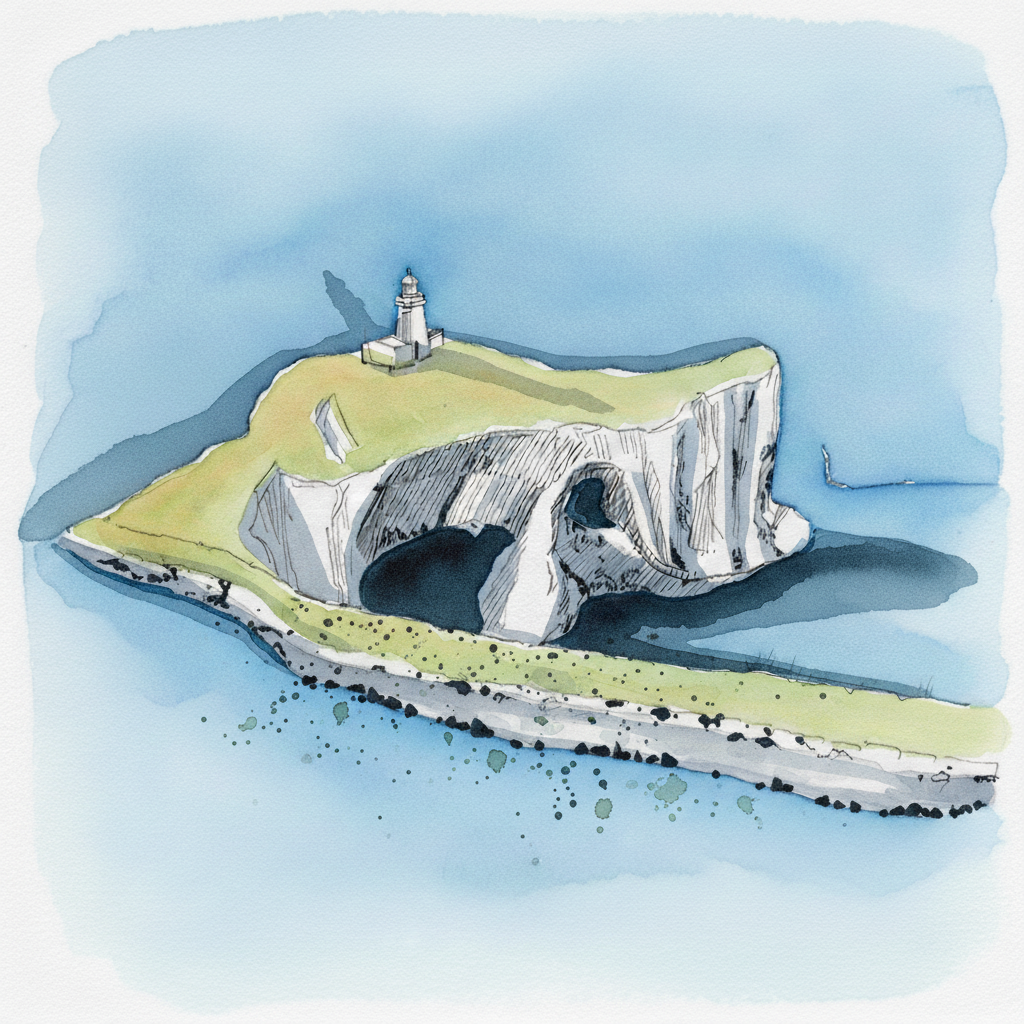
Tutorial 5 — Dyrhólaey arch from above, Iceland
Pen + Watercolor · Loose pen and watercolor line-and-wash
15 Steps
Each image shows where your drawing should be at the end of that step.
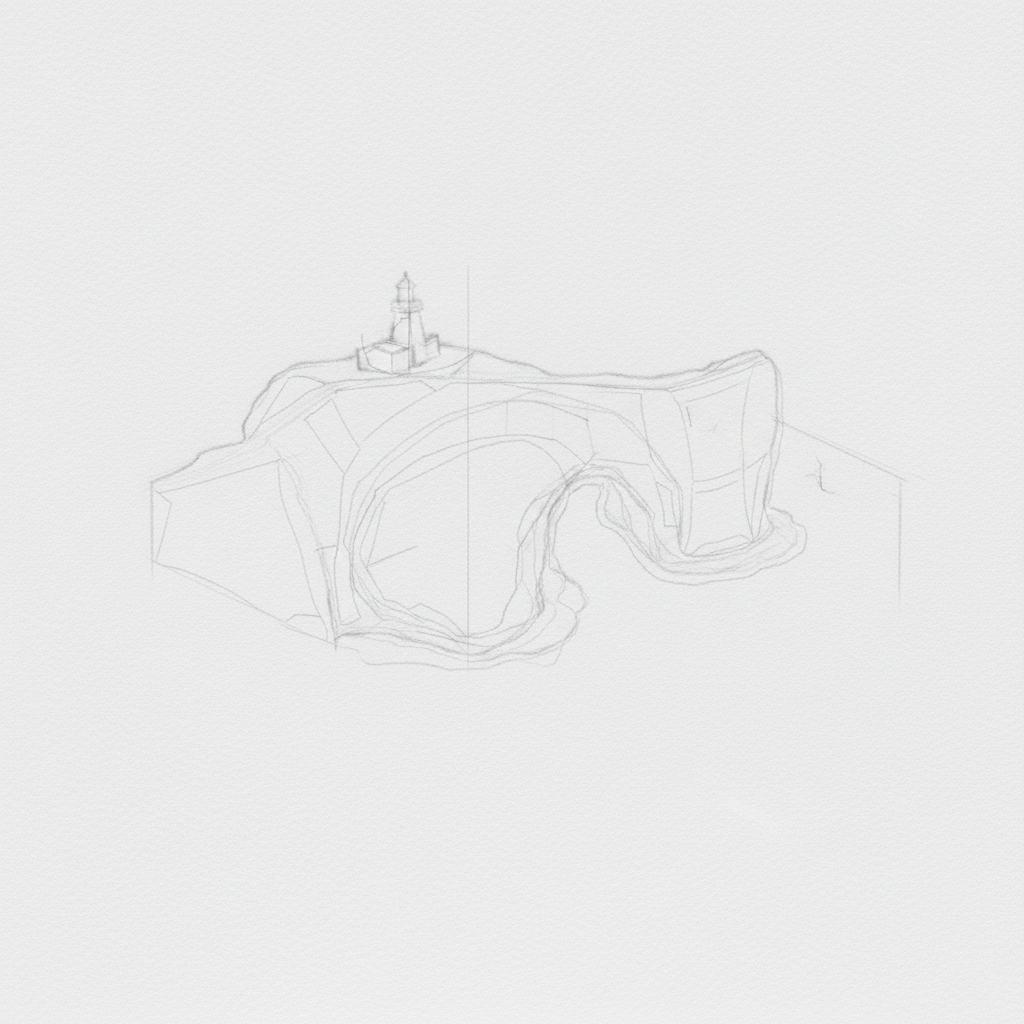
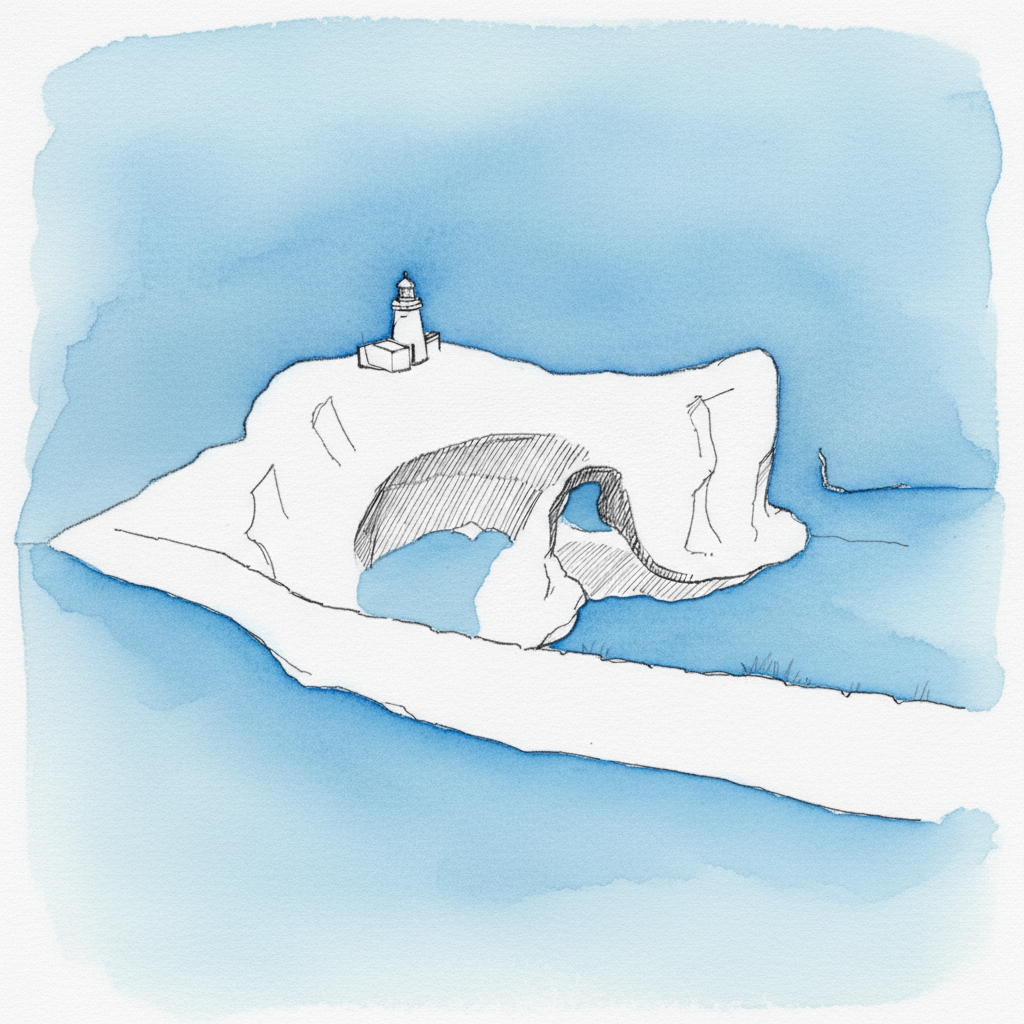
Step 1
Begin by lightly blocking in the largest shapes. Use a simple trapezoid for the headland and a small rectangle for the lighthouse to establish their placement and scale.
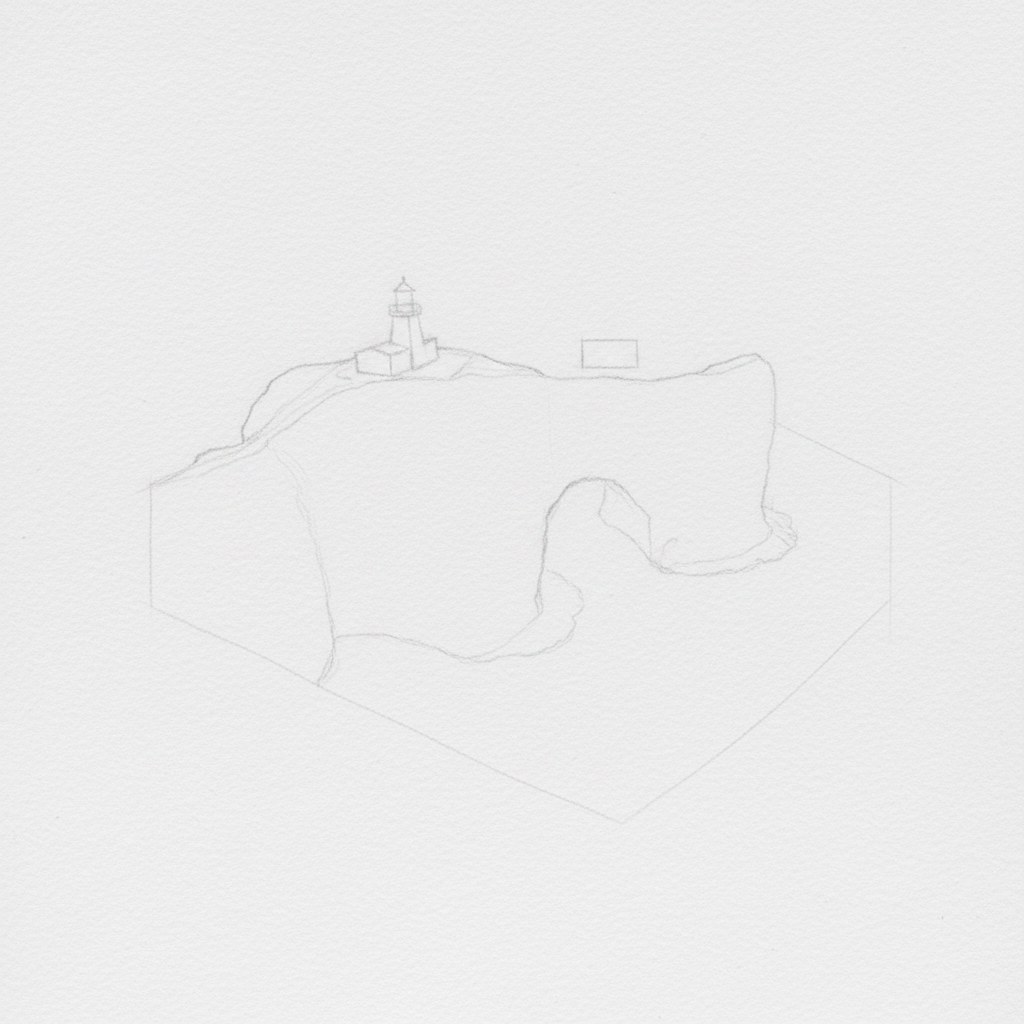
Step 2
Block in the remaining large forms. Add the foreground wall as a long rectangle and use a simple curve and oval to place the cliff edge and the arch.
Step 3
Refine your block-in. Divide the large shapes into smaller planes and forms, adding structural details like the stones in the wall and the planes of the cliff.
Step 4
Gently lift away your rough construction lines with a kneadable eraser. Leave only a faint, clean guide for the inking stage.
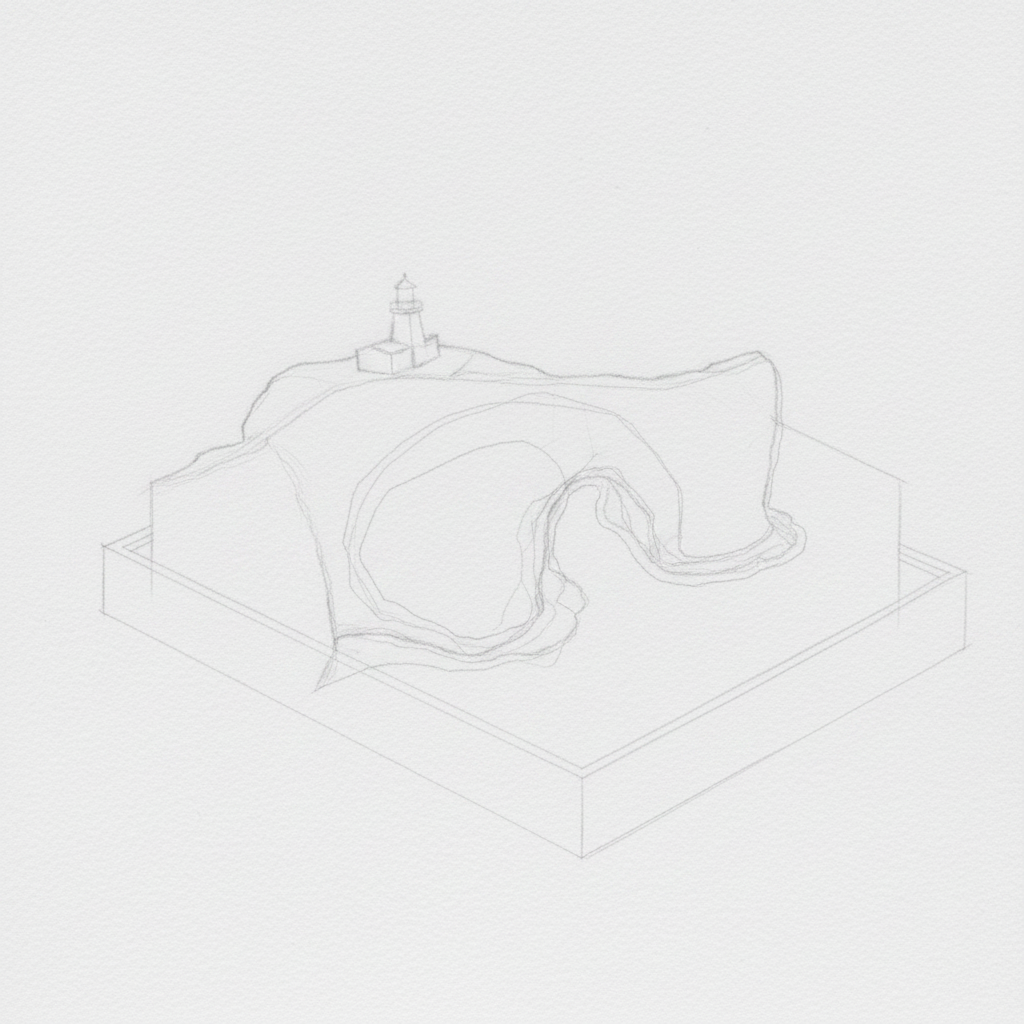
Step 5
Begin inking with your most important contours. Use confident, smooth strokes to define the main silhouette of the headland and the lighthouse.
Step 6
Continue inking, varying your line weight to create depth. Use a thicker pen for foreground elements and a finer one for things farther away.
Step 7
Finish the inking by adding small, dense areas of hatching. Reserve this for only the darkest accent shadows, like deep rock crevices.
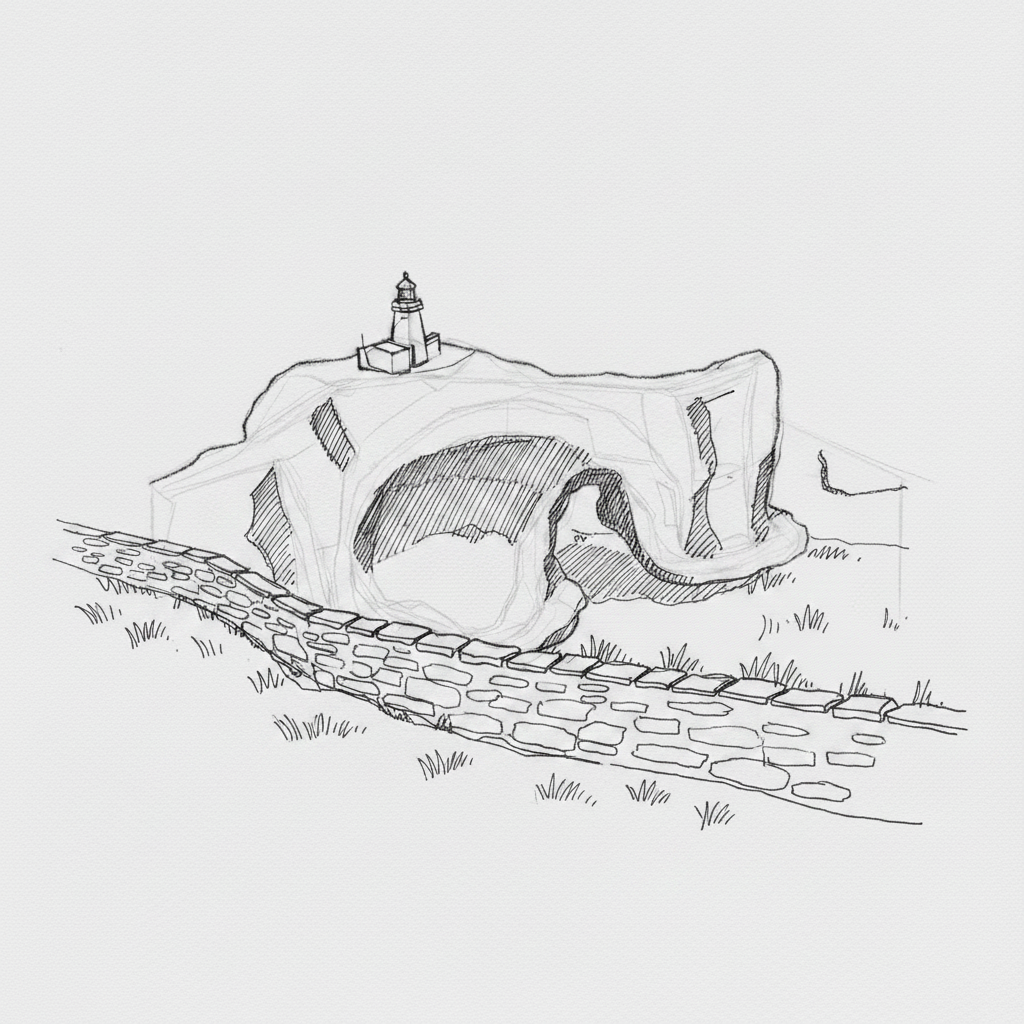
Step 8
Let the ink dry completely, then gently erase all pencil lines. You should now have a clean, finished ink drawing ready for watercolor.
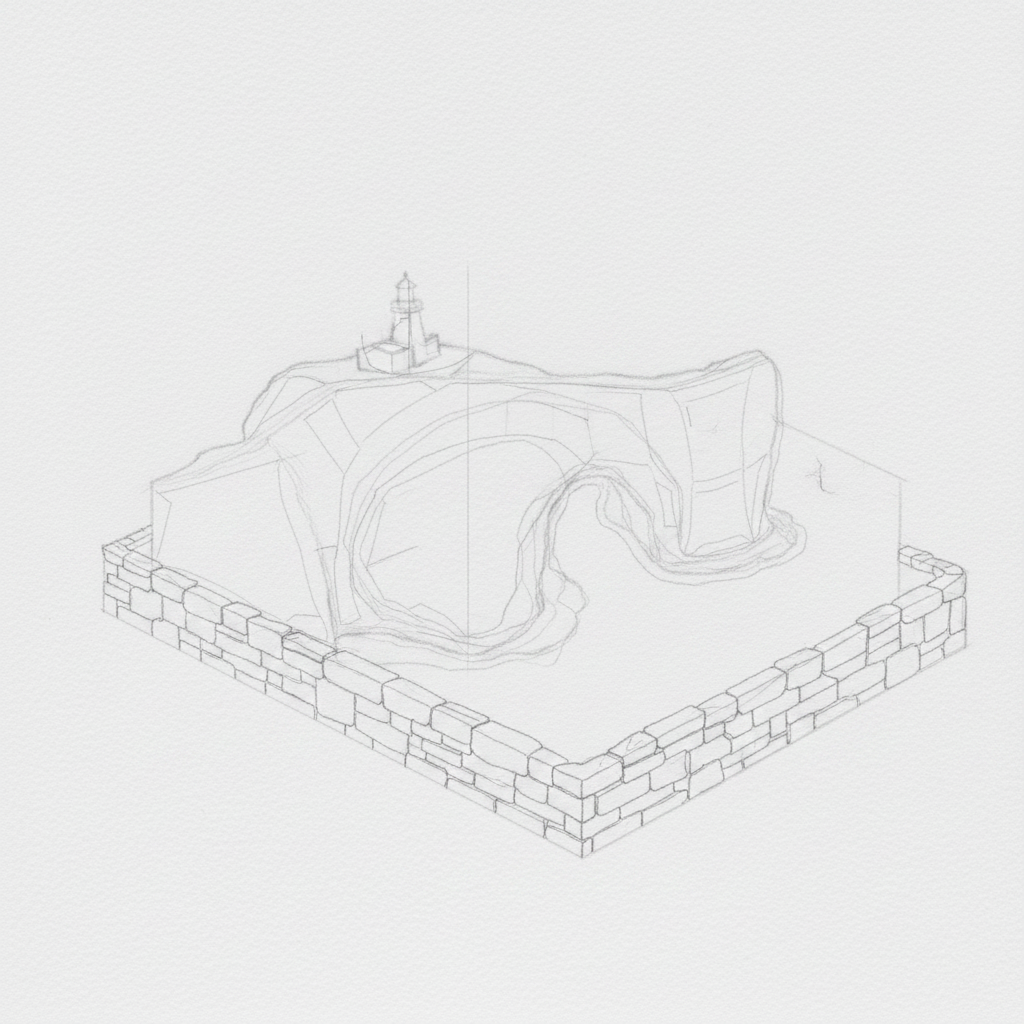
Step 9
Apply the first wash. Working wet-on-wet, lay a soft, graded blue for the sky and sea, carefully painting around the landmass.
Step 10
Once the sky is bone dry, paint the sunlit grassy areas. Use a mix of yellow and green, letting them blend on the paper.
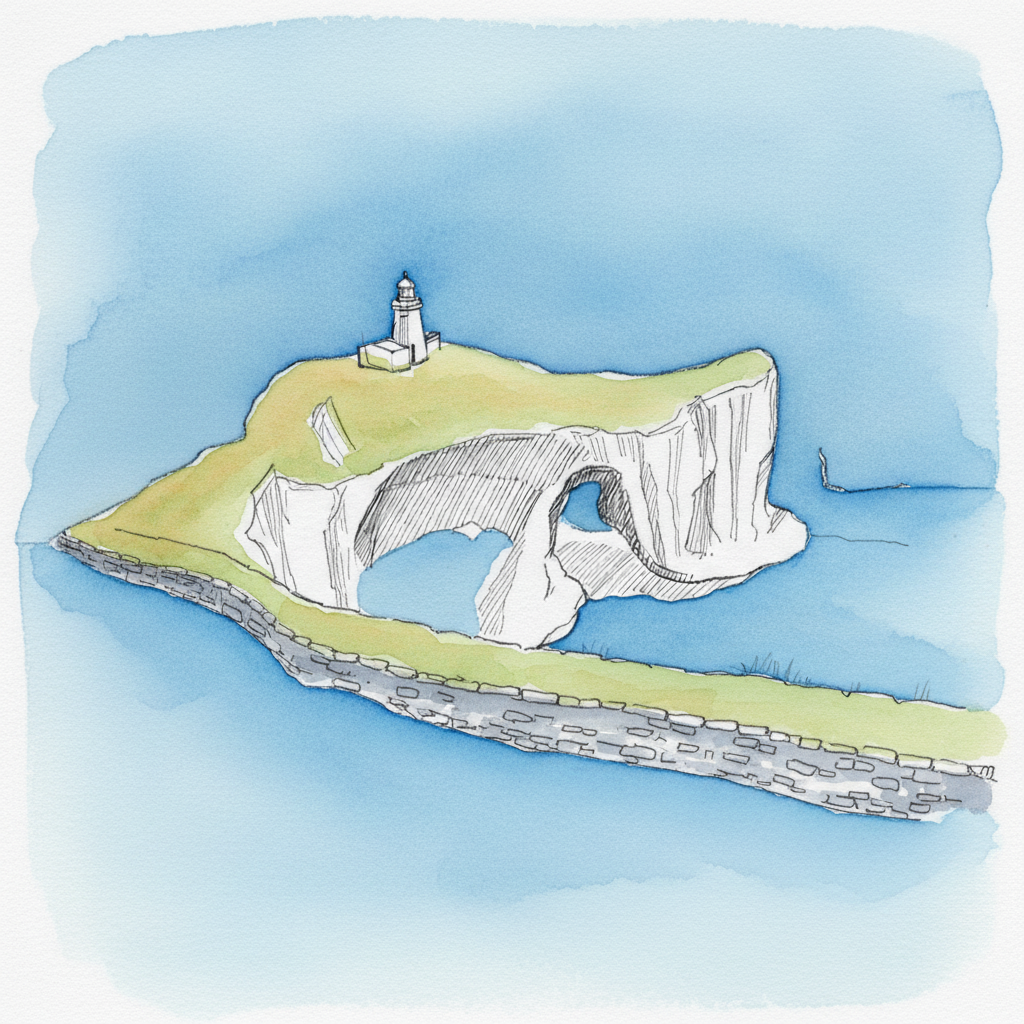
Step 11
Complete the first layer of color by adding a light grey wash to the foreground wall. The painting is now ready for shadows and modeling.
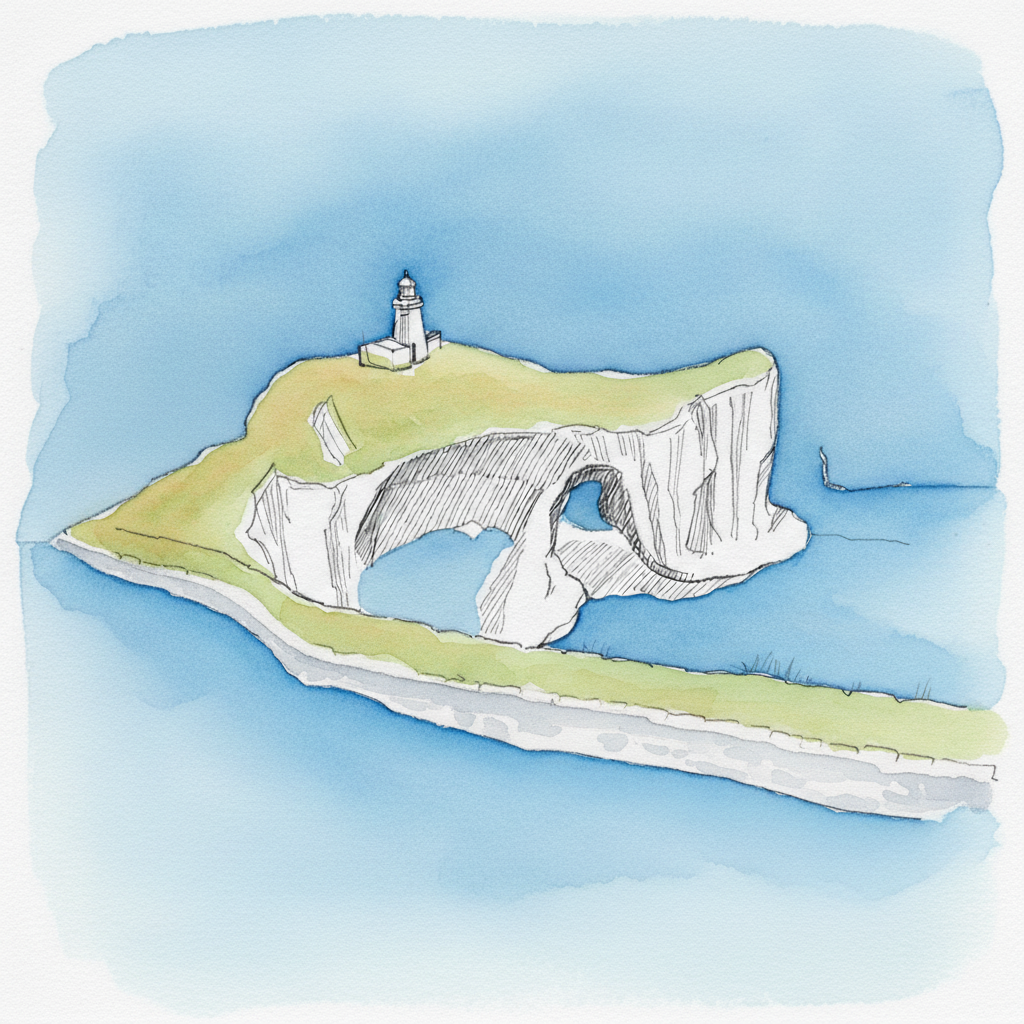
Step 12
Build form by glazing shadows. Apply a transparent dark wash to the shadowed side of the cliffs and add the lighthouse's cast shadow.
Step 13
Add your darkest darks. Use a thick, dark paint for the inside of the arch and the deepest shadows to make the painting pop.
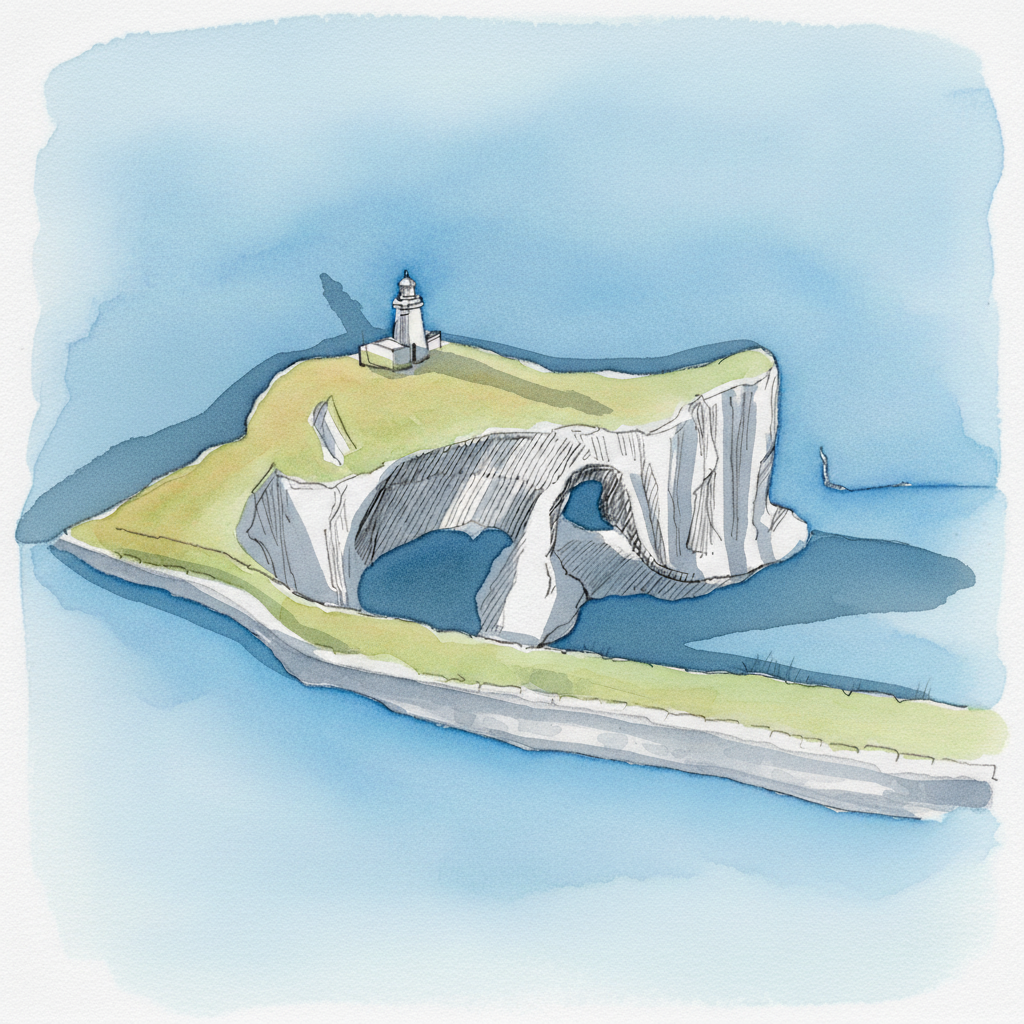
Step 14
Add final details. Use a second pass of ink to reinforce the lines of your focal points, making them crisp and clear again.
Step 15
Finish the piece with a few tiny highlights of white gouache for sparkle, then sign your work. Congratulations, your painting is complete.
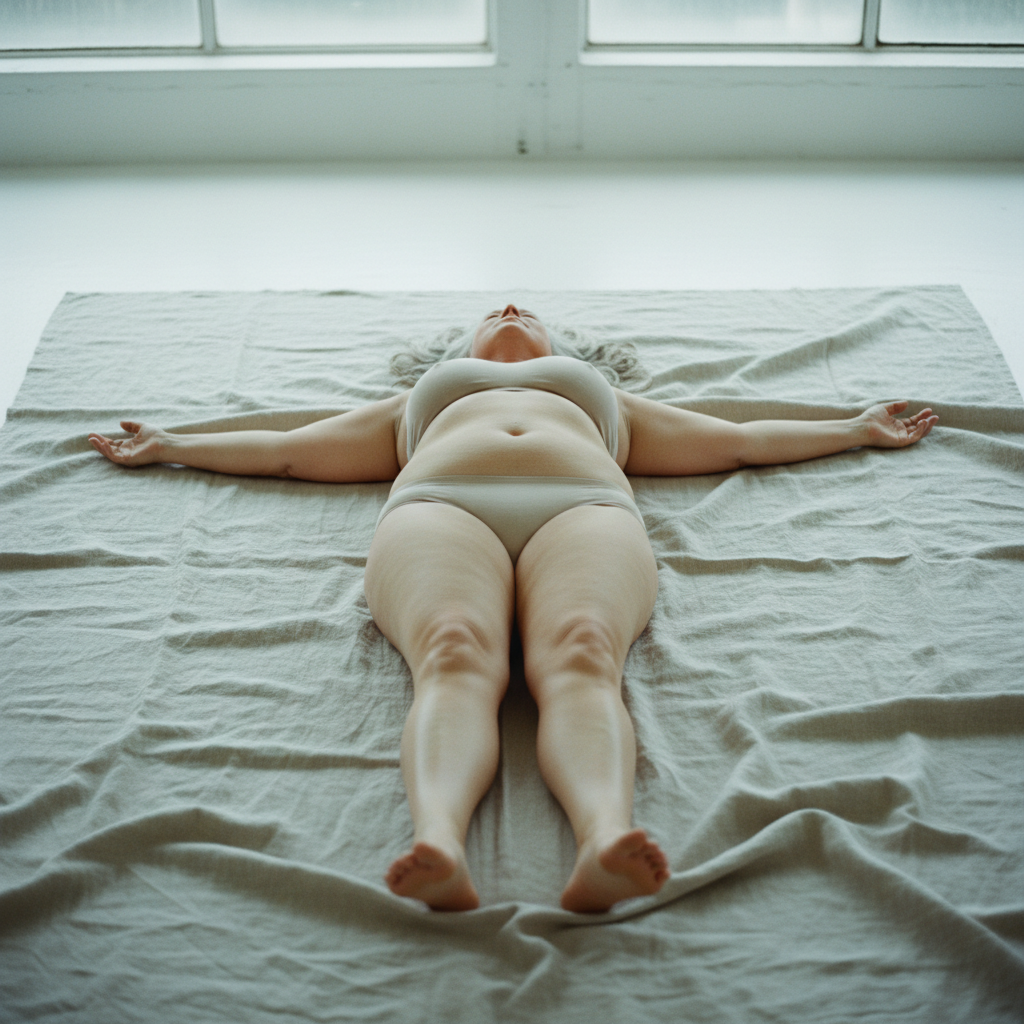
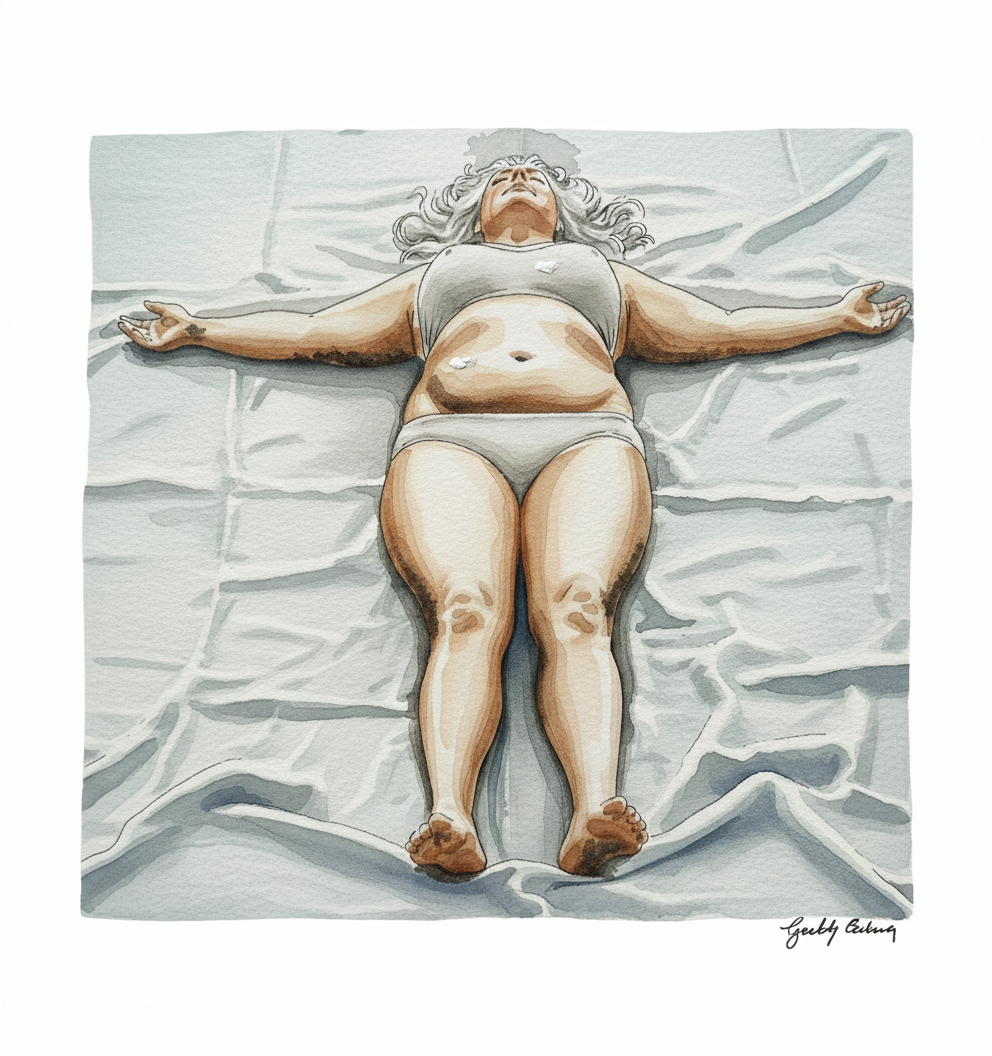
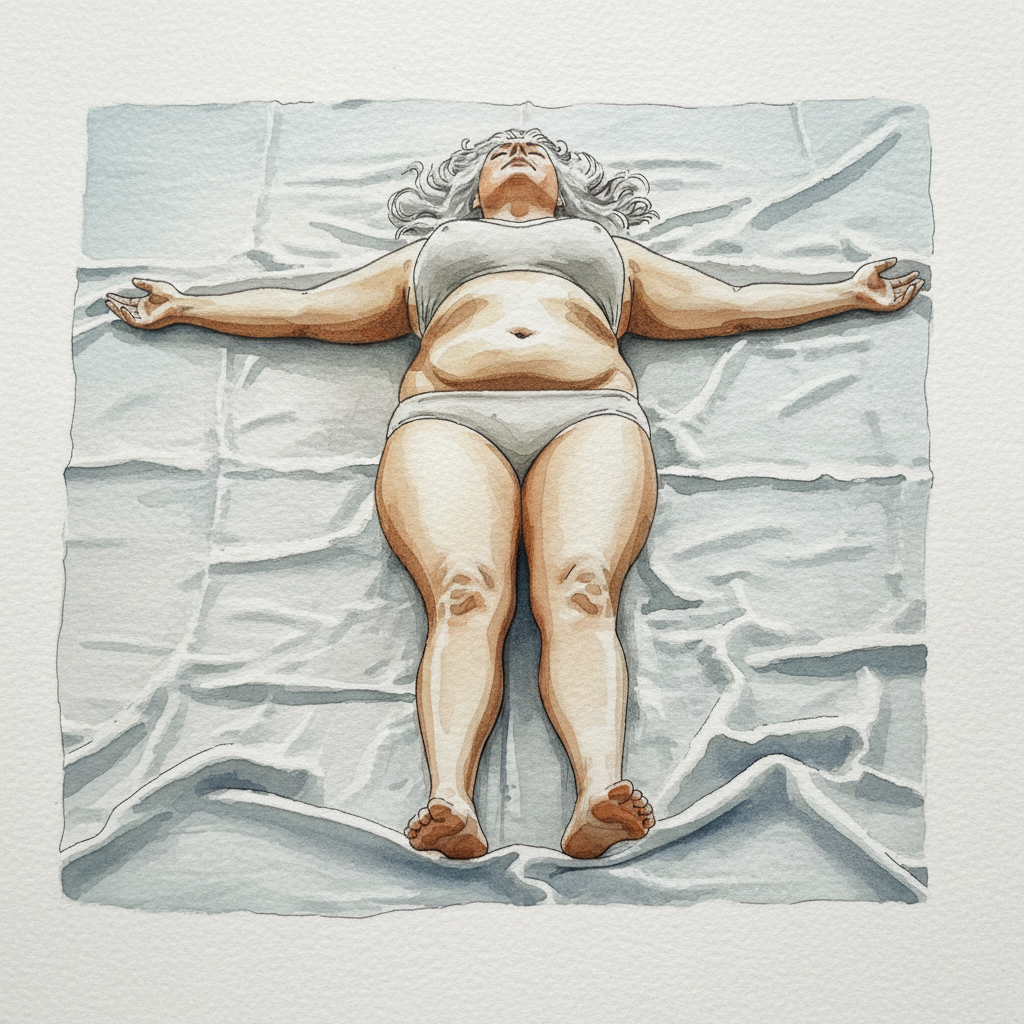
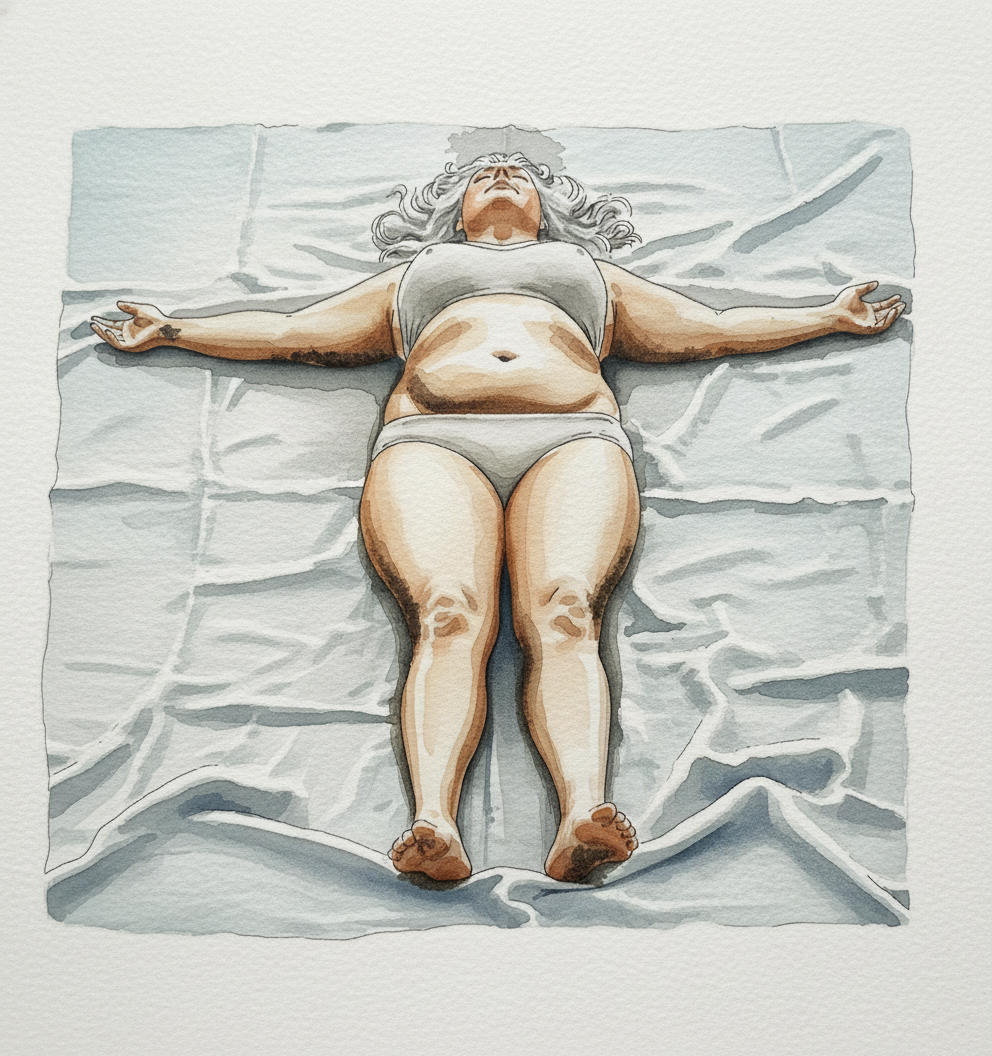
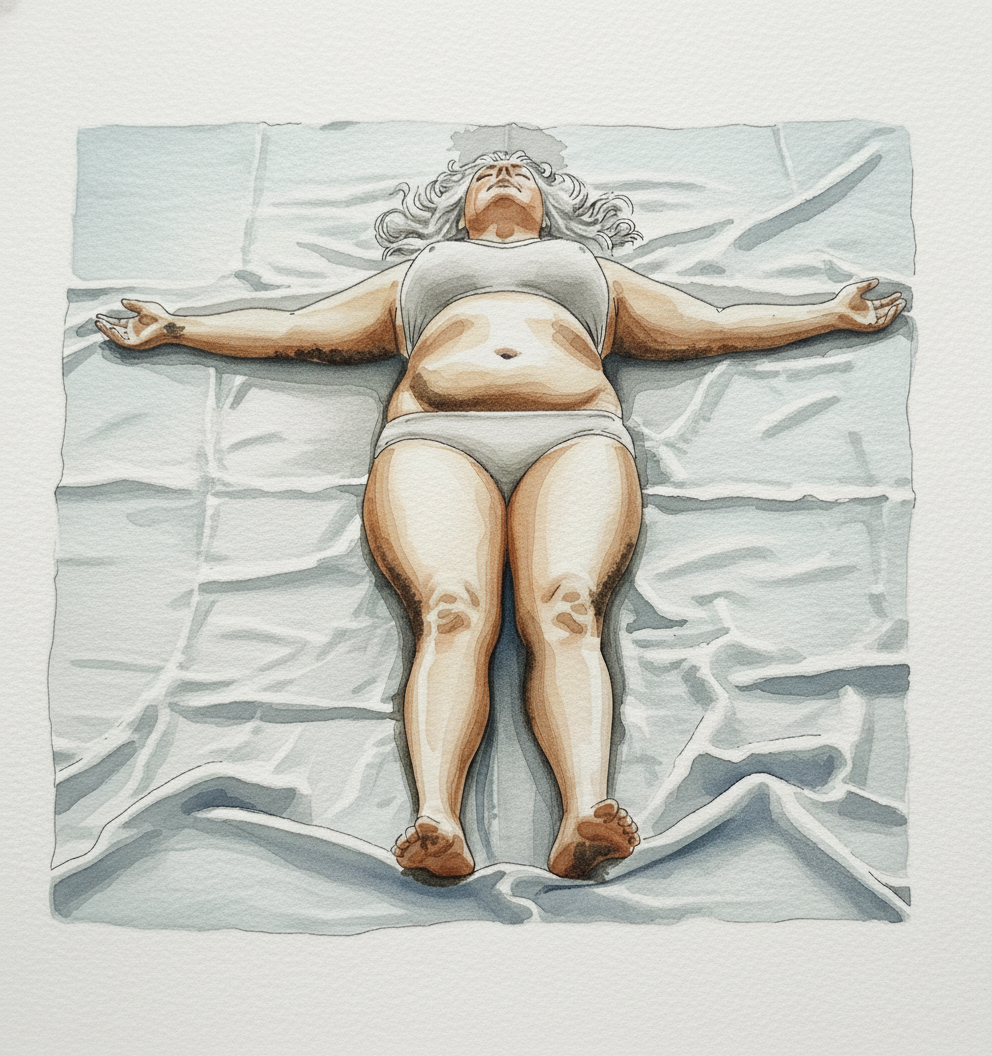
Tutorial 6 — Full T, Plus-Size White Woman on Linen
Pen + Watercolor · Loose pen and watercolor line-and-wash
15 Steps
Each image shows where your drawing should be at the end of that step.
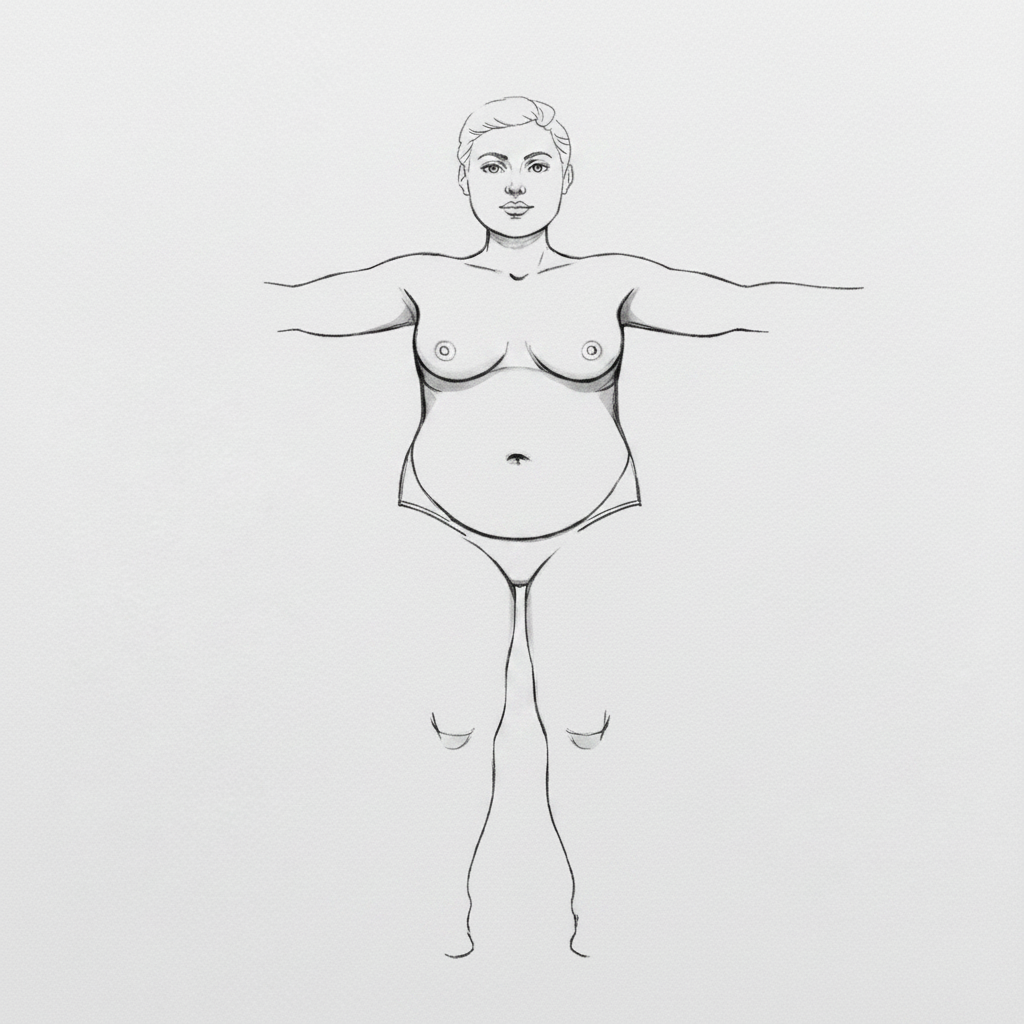
Step 1
Begin by lightly sketching a large oval in pencil. This single shape will anchor the figure's torso and establish its position in your composition.

Step 2
Block in the rest of the major forms using simple shapes. Add circles for the head and belly, ovals for the breasts, and simple rectangles for the limbs.
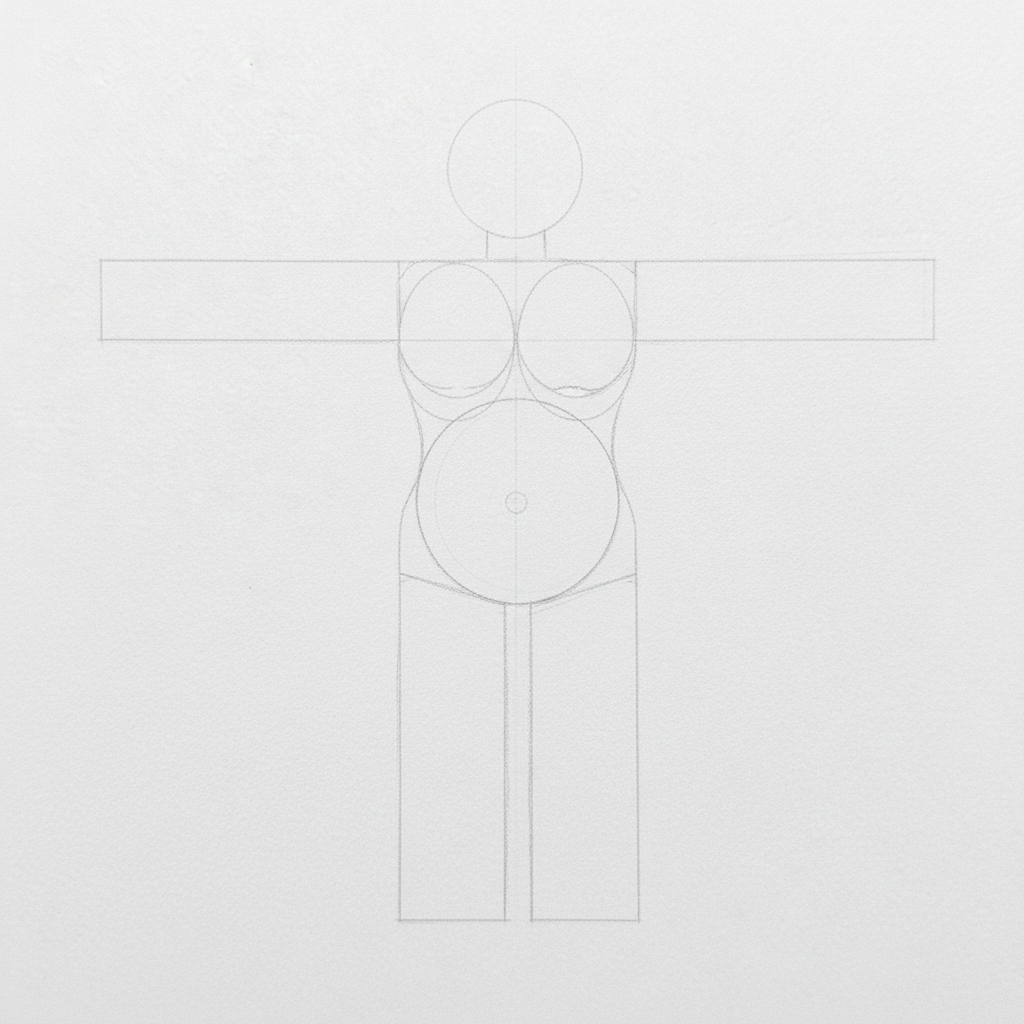
Step 3
Refine your block-in by adding centerlines and drawing the true contours of the body over your initial shapes. Focus on how the forms connect and overlap.

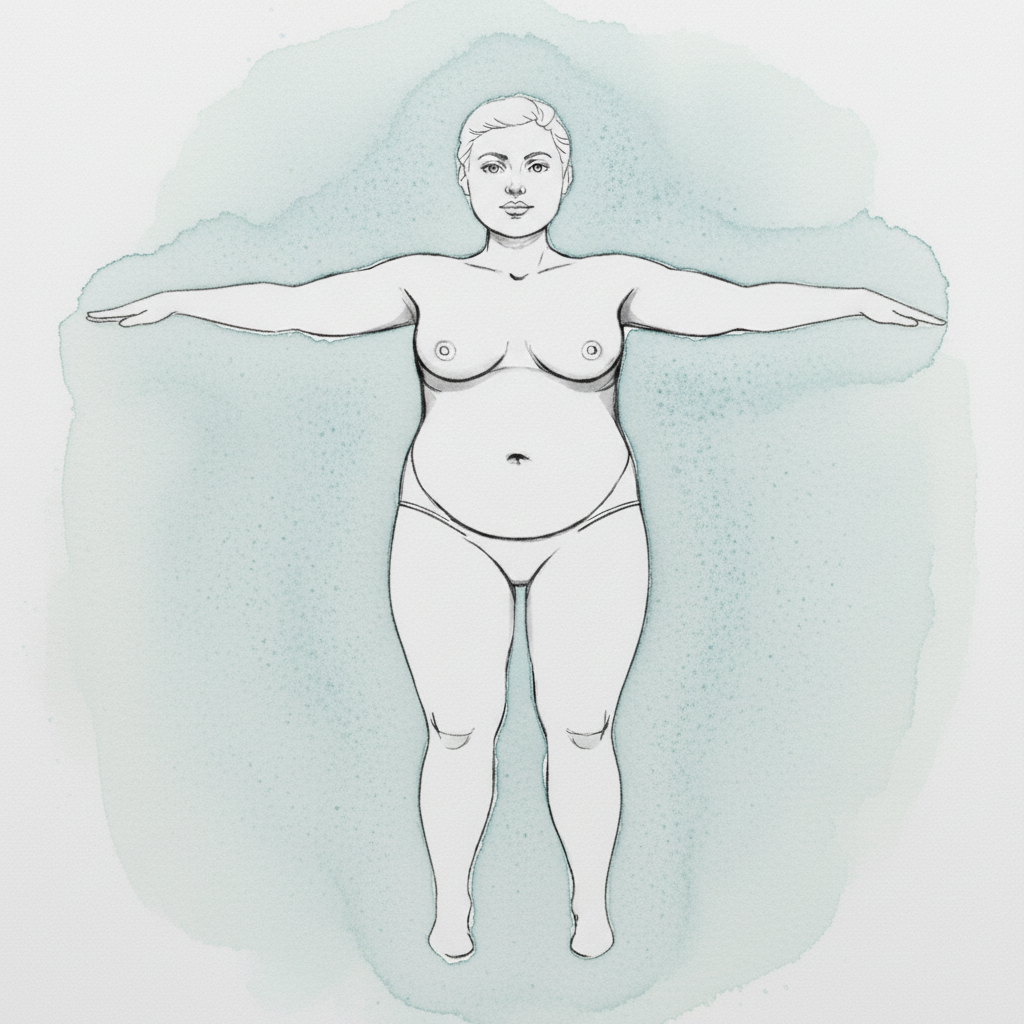
Step 4
Lighten your entire pencil drawing with a kneadable eraser. You want a clean, faint guide that is just visible enough to ink over.

Step 5
Using a waterproof pen, ink the main outline of the figure. Draw with a smooth, confident motion, committing to the form.
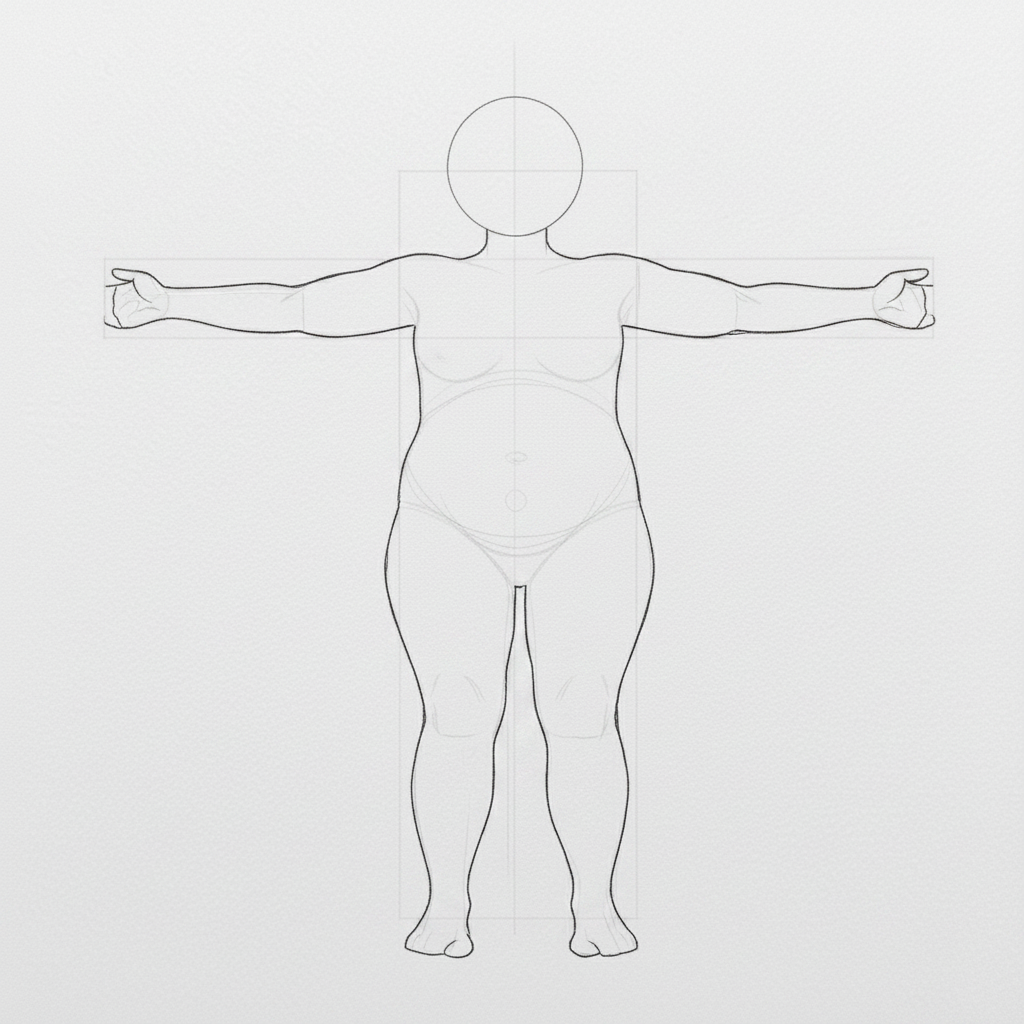
Step 6
Ink the remaining internal details, varying your line weight. Use thicker lines for shadowed areas and thinner lines for areas catching the light.
Step 7
Complete the inking by adding small, dense patches of hatching in the absolute darkest crevices, like the armpits and navel. Leave the rest open.
Step 8
Let the ink dry completely, then gently erase all pencil lines. You should now have a clean ink drawing on white paper.
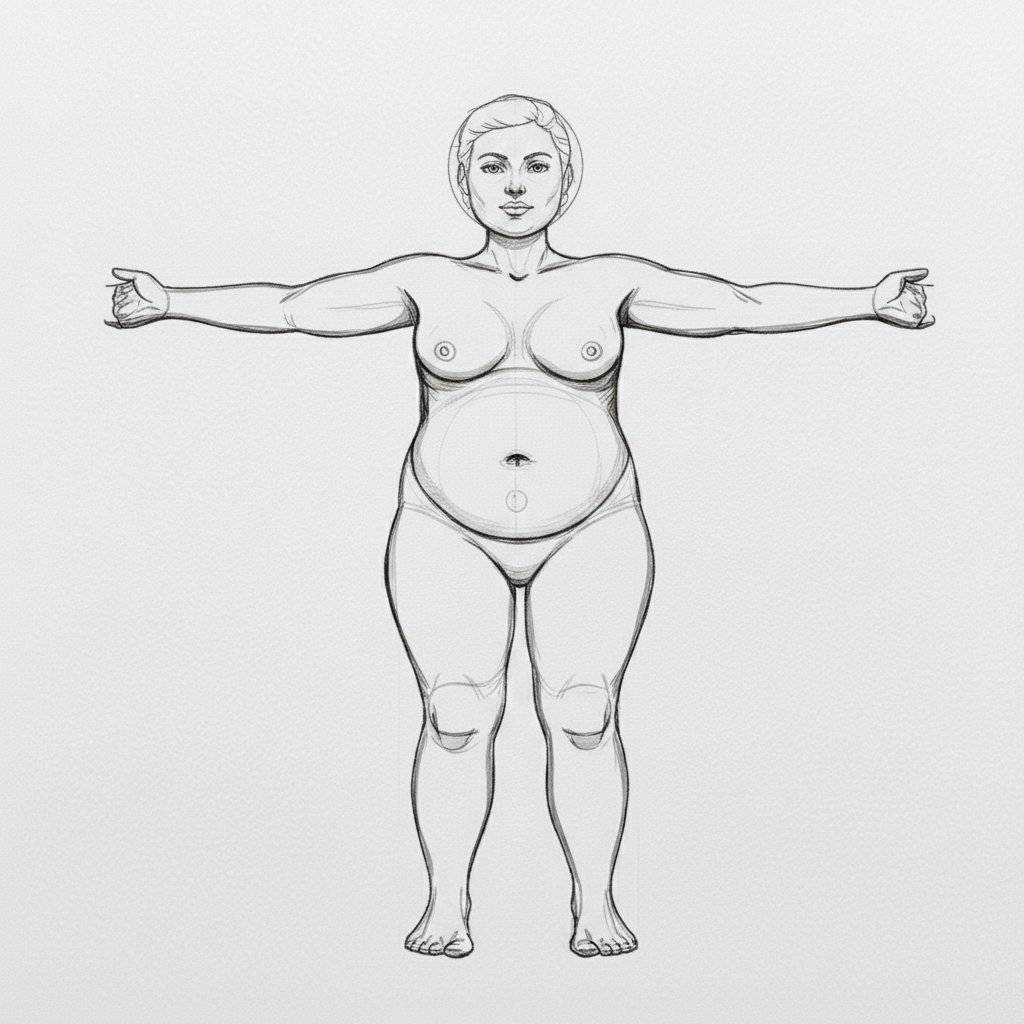
Step 9
Paint the linen background with a pale, wet wash, going around the figure. Let the colors mingle softly on the wet paper.
Step 10
Now, apply a flat, pale wash of skin tone to the entire figure. Carefully paint around the areas you want to keep as pure white highlights.
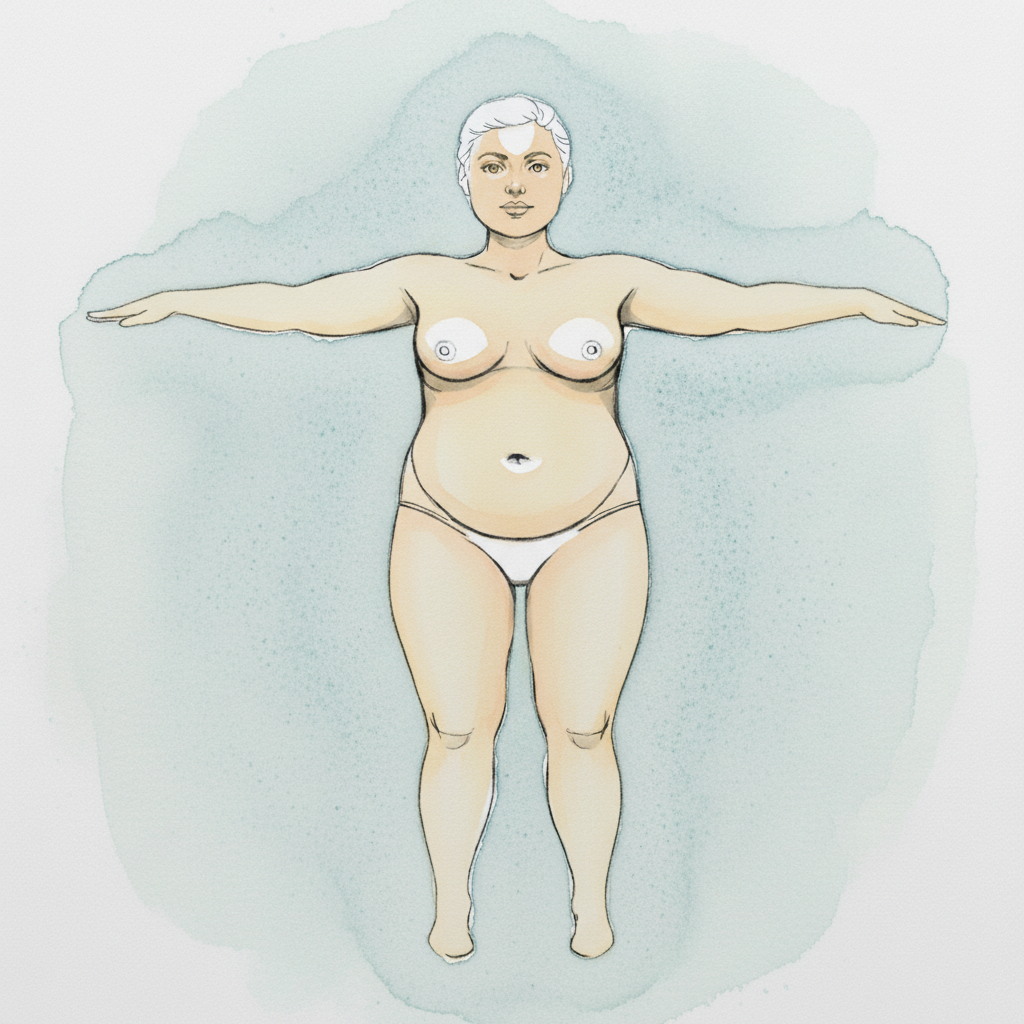
Step 11
With the first washes dry, glaze in your first layer of soft shadows. This begins to give the figure volume and form.
Step 12
Deepen the modeling by adding a second, darker glaze just to the core of the shadows. This will make the form feel truly round.
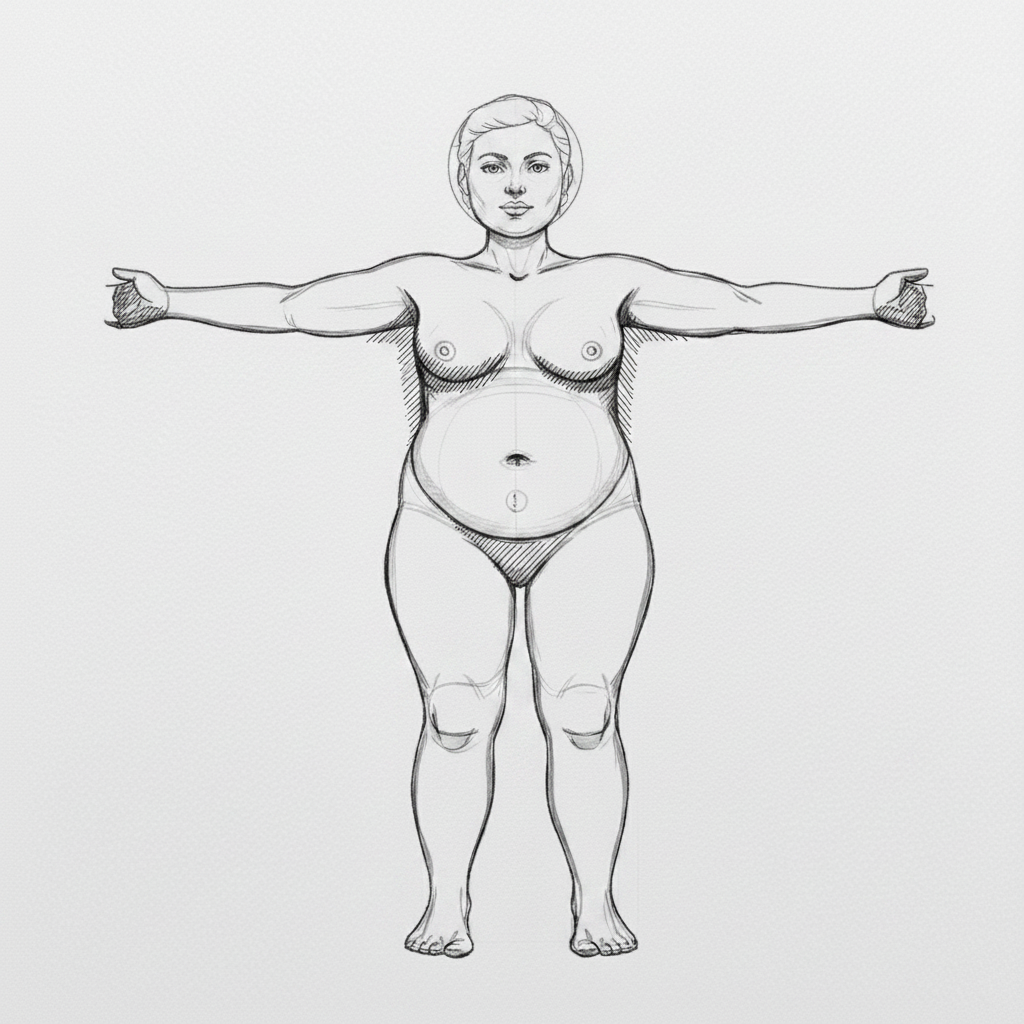
Step 13
Using a small brush and thick paint, add your darkest darks. Place these small, powerful accents in the deepest shadow areas only.
Step 14
Go back in with your pen to reinforce a few key lines. This final touch brings the drawing's structure back into focus over the soft washes.
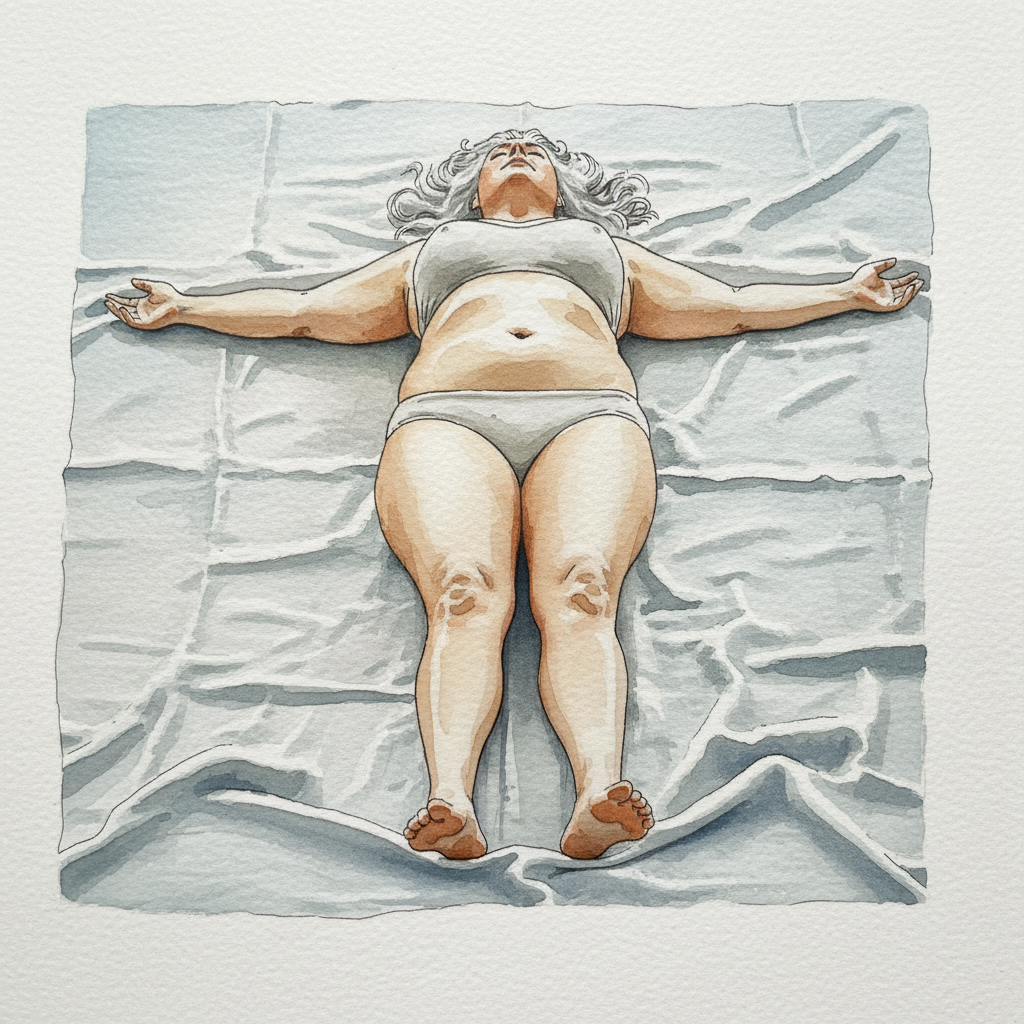
Step 15
Your painting is complete. Add any final tiny highlights with opaque white, sign your work, and remove the tape to reveal the clean border.
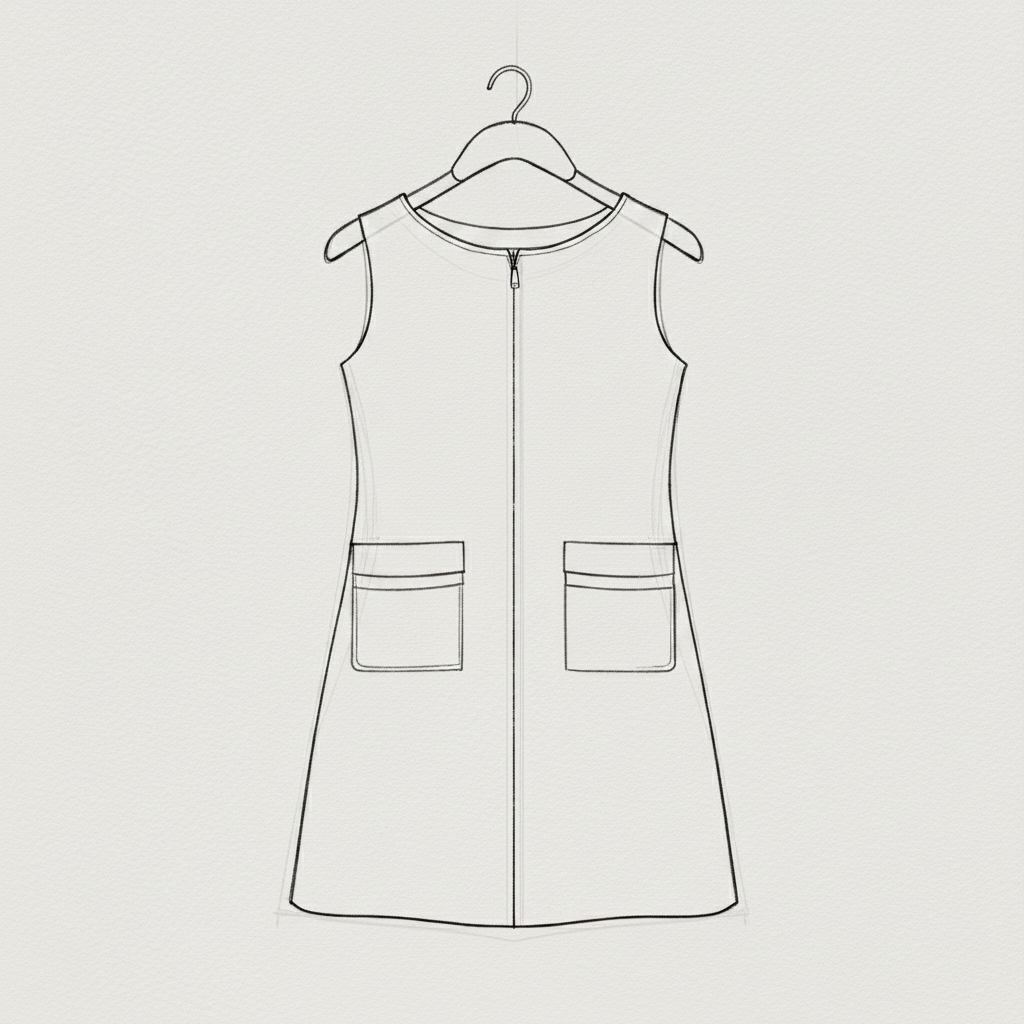
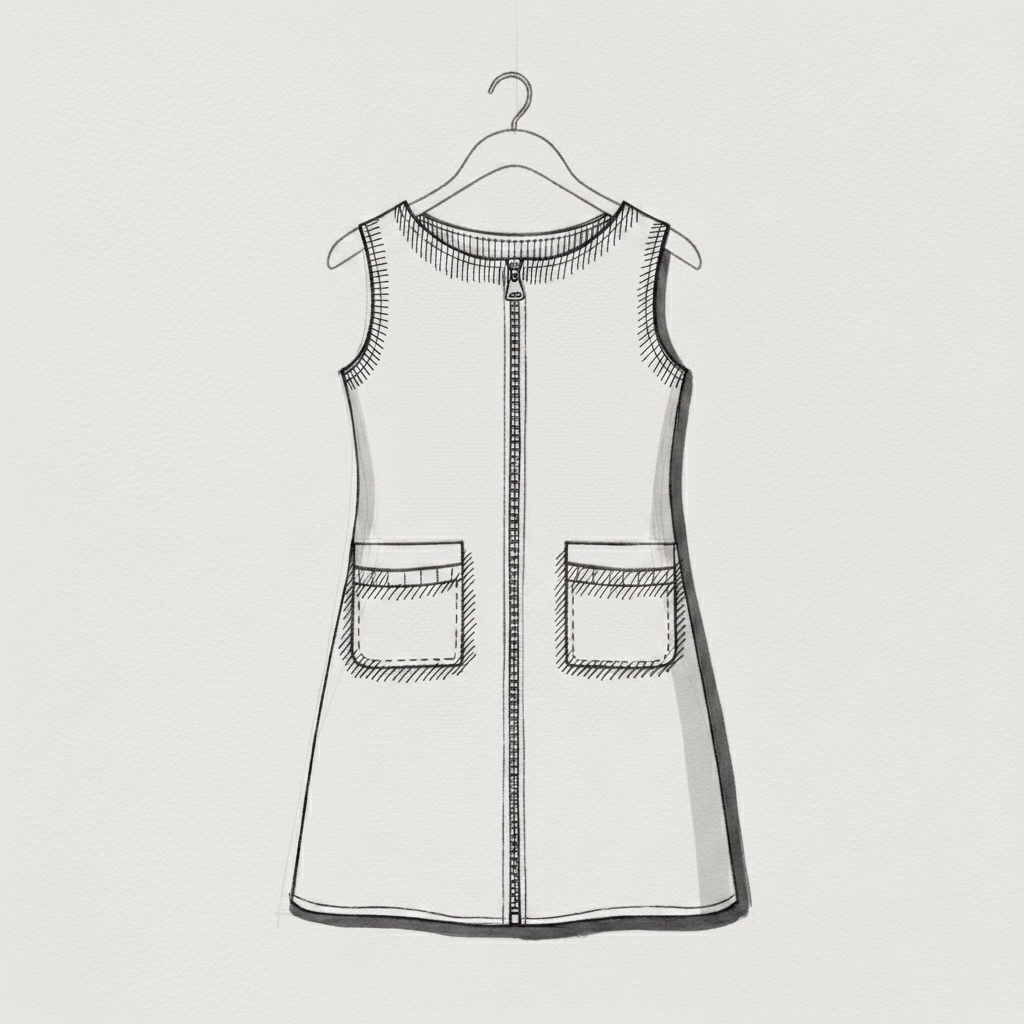
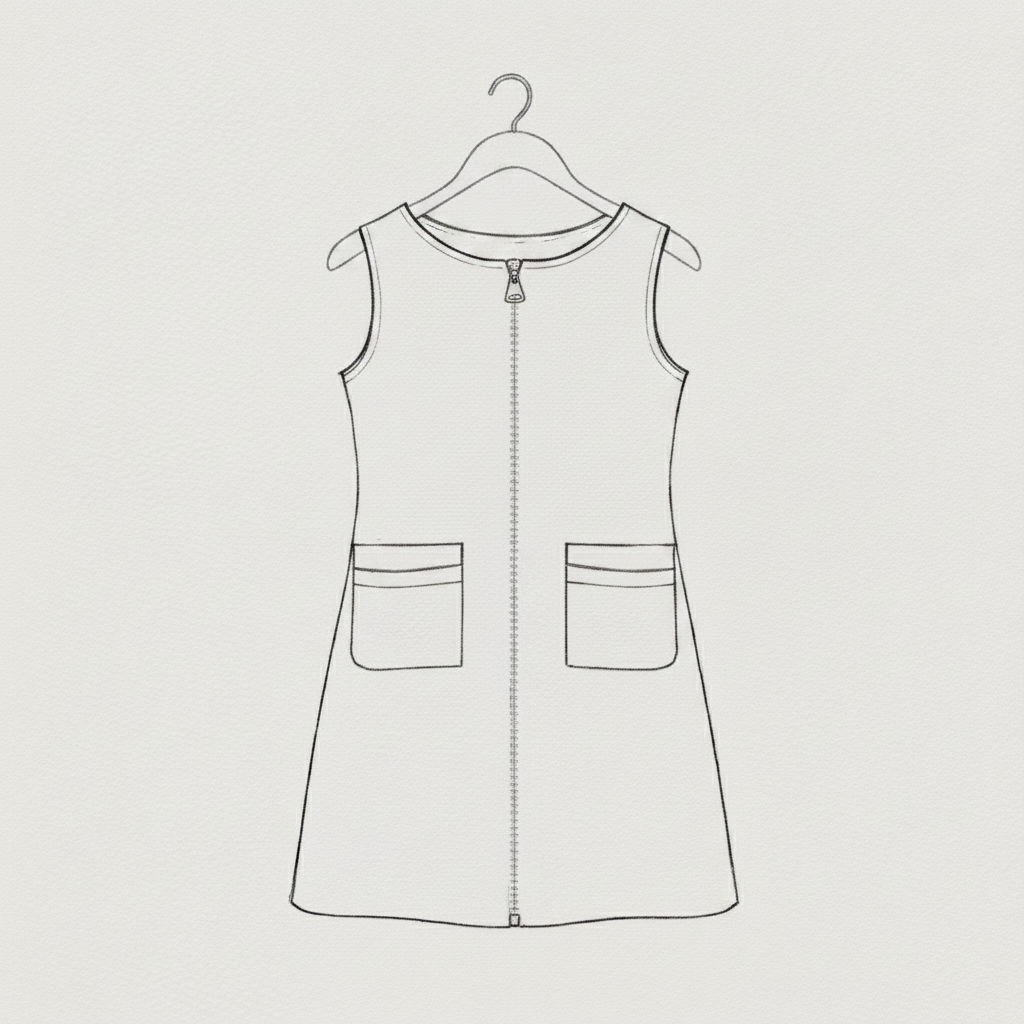
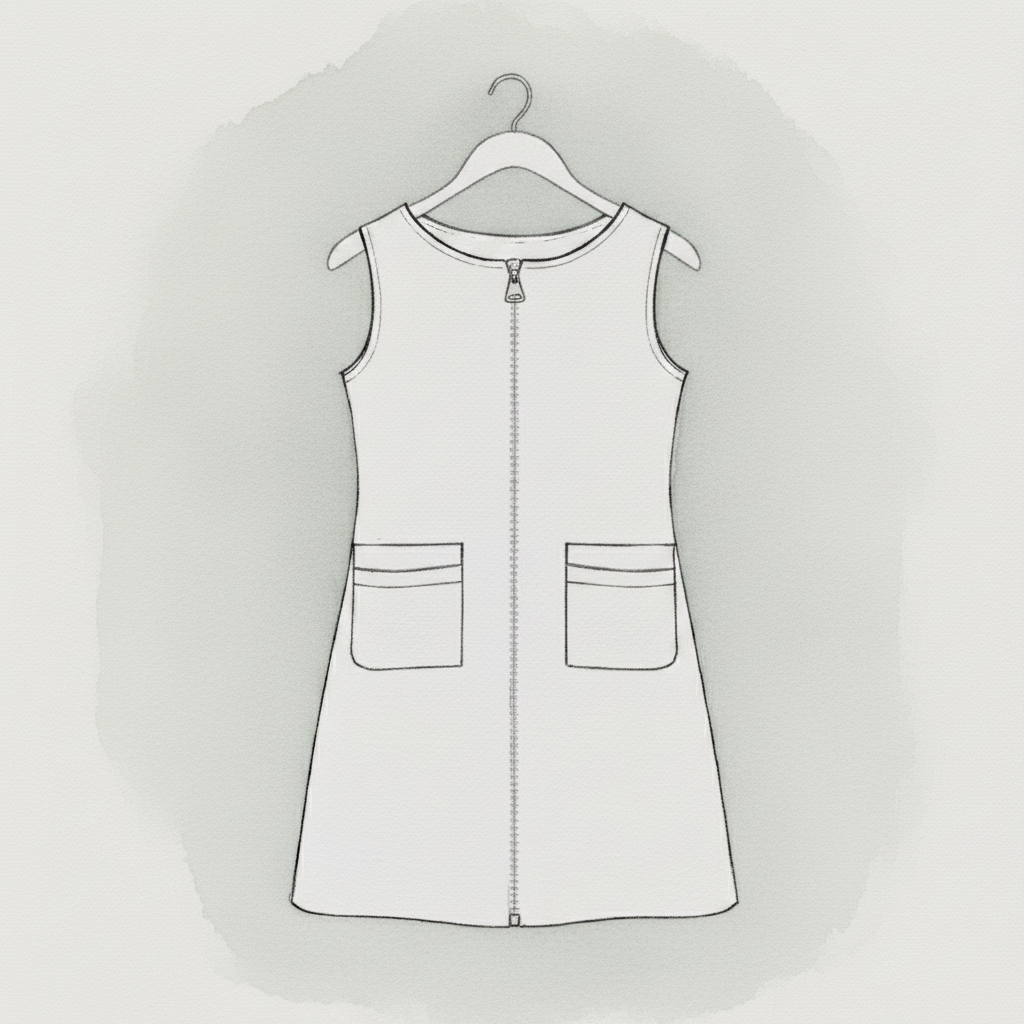
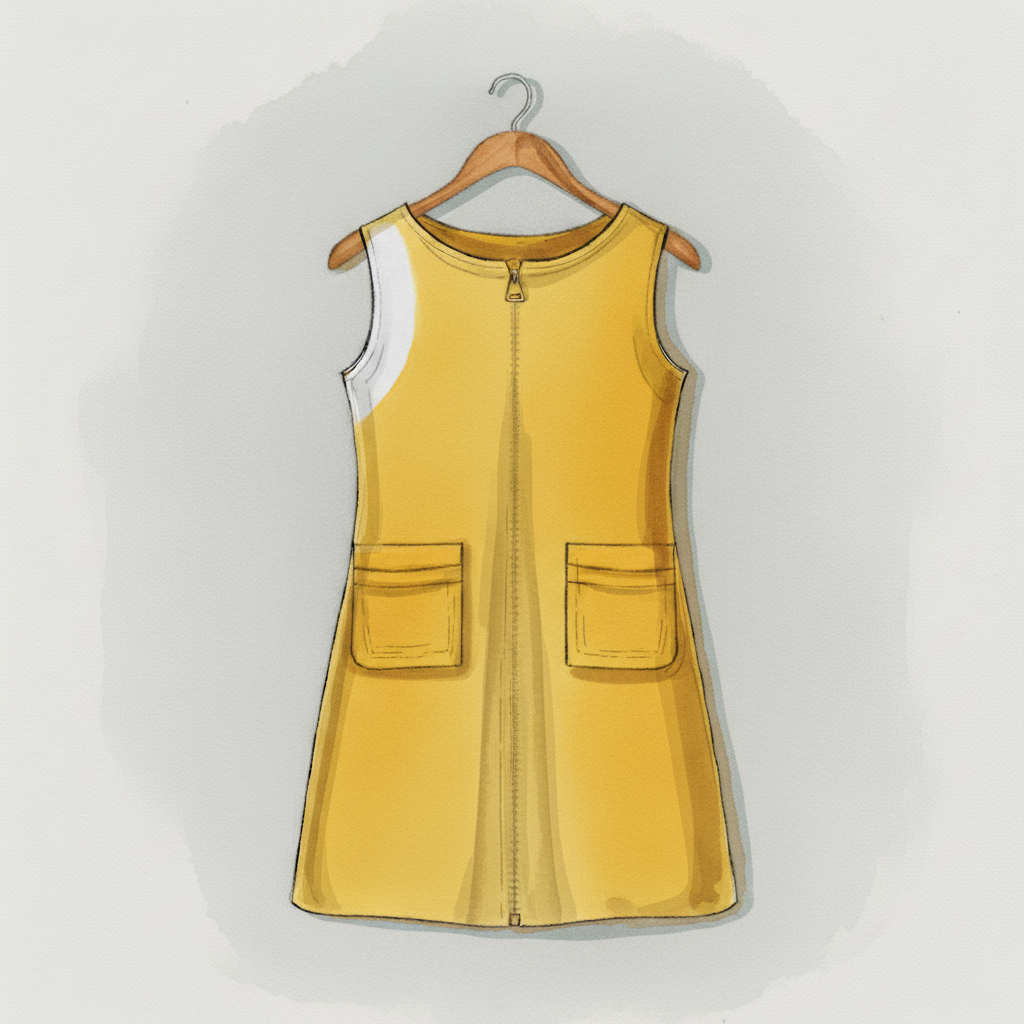
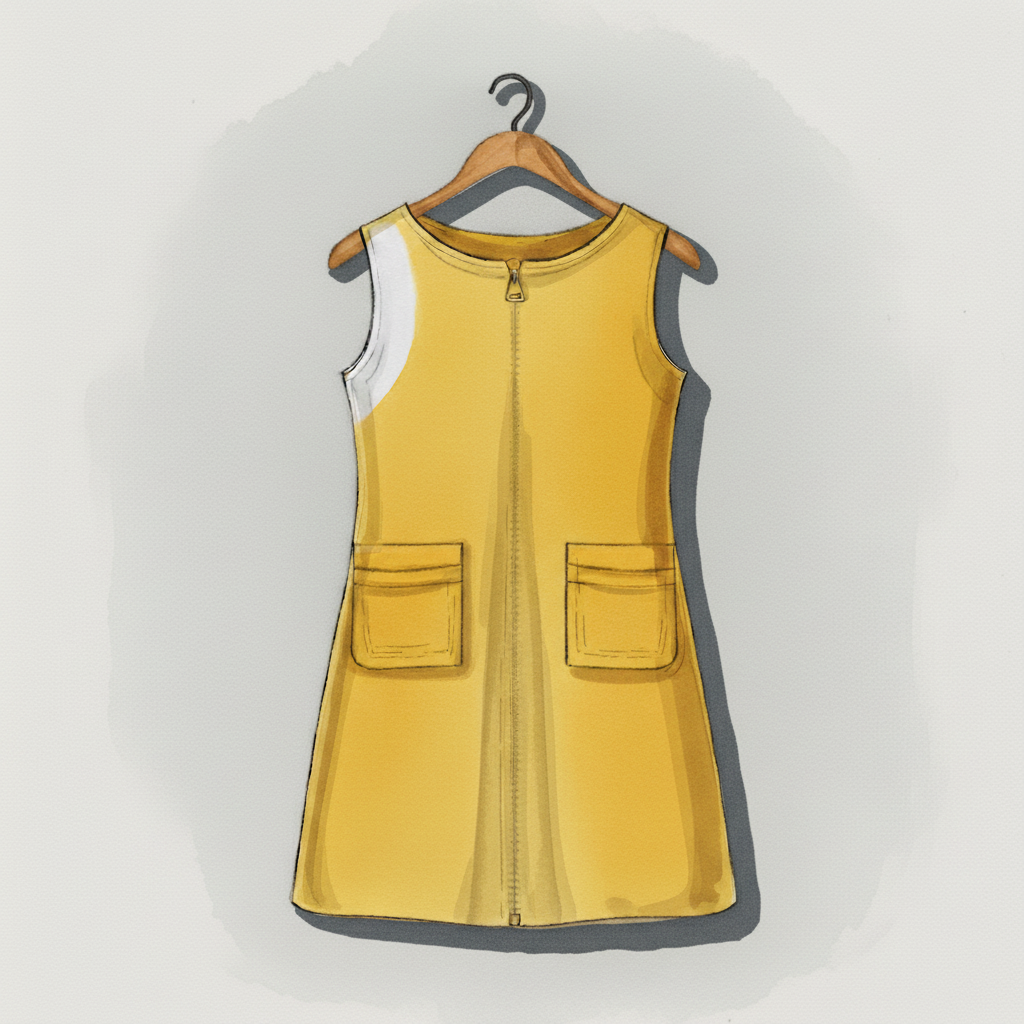
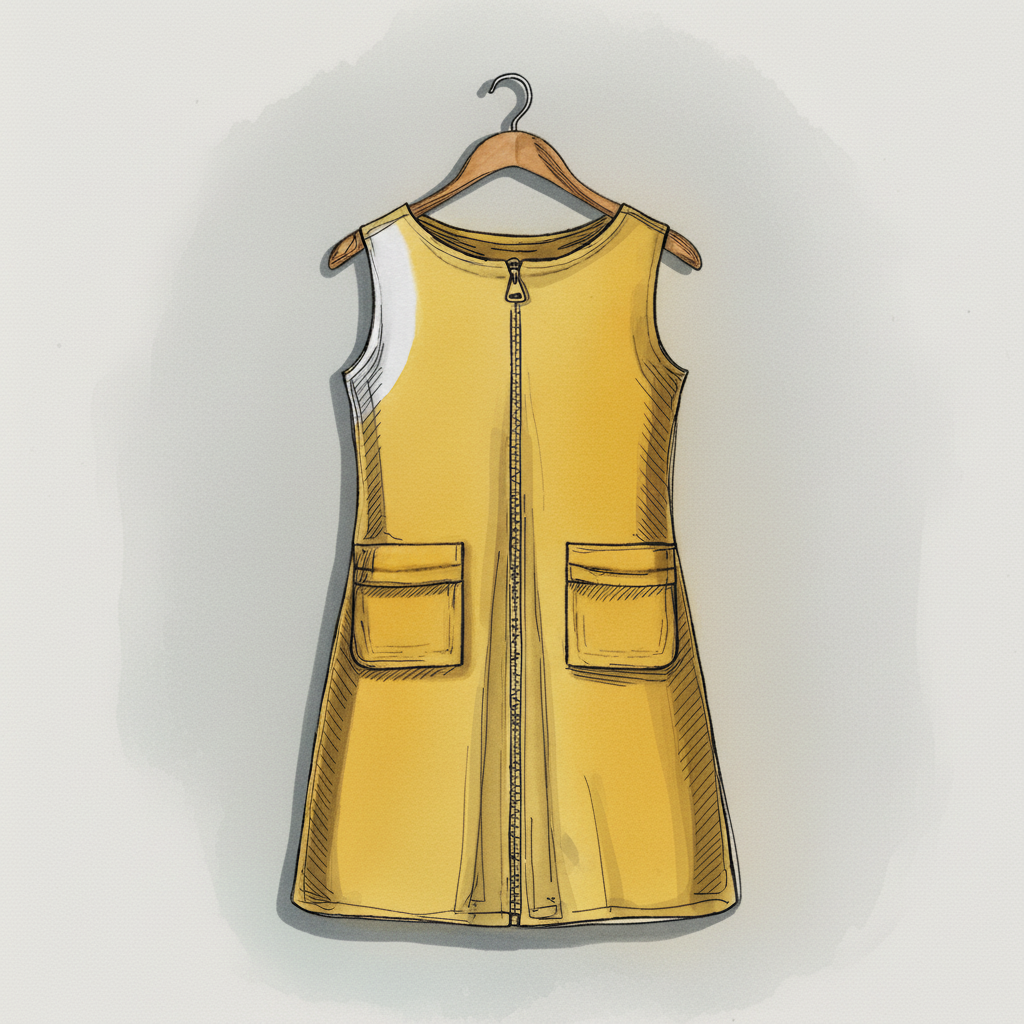
Tutorial 7 — A-line shift dress on padded hanger
Pen + Watercolor · Loose pen and watercolor line-and-wash
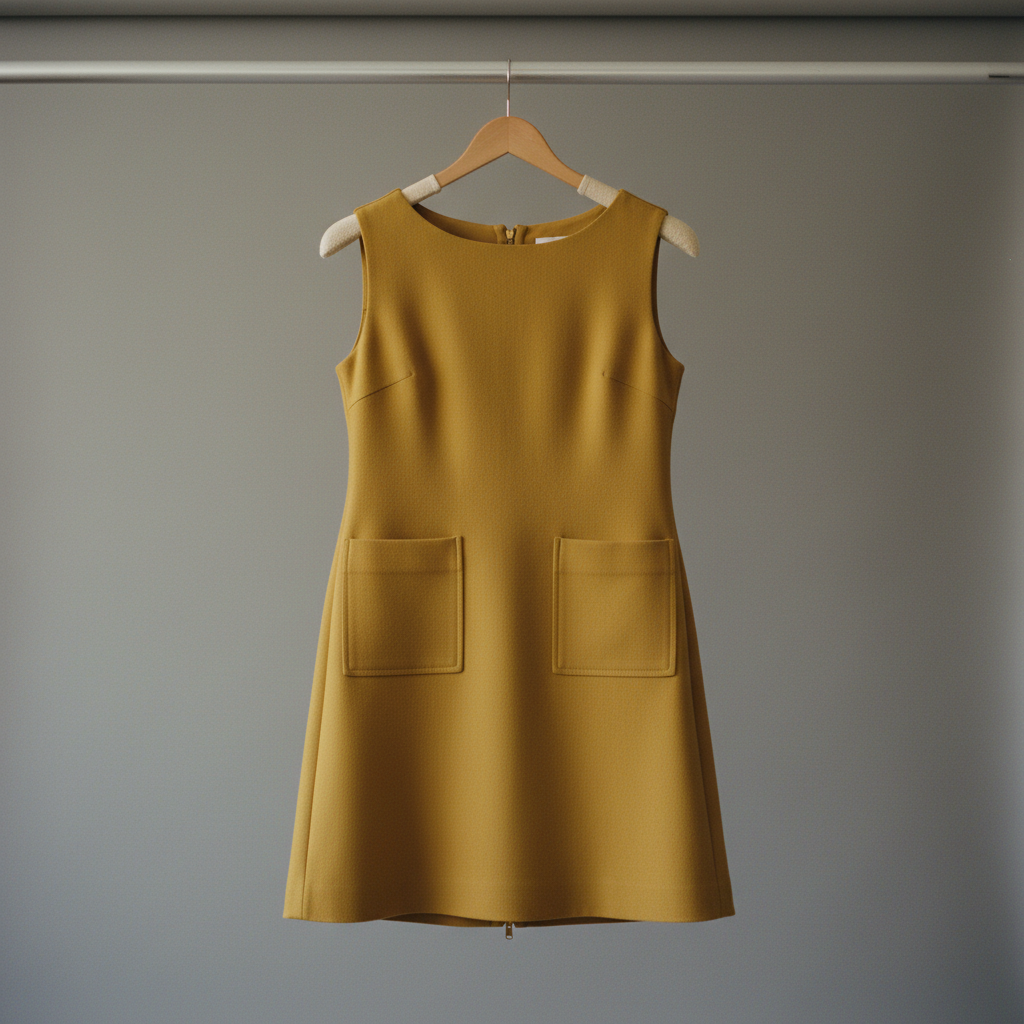
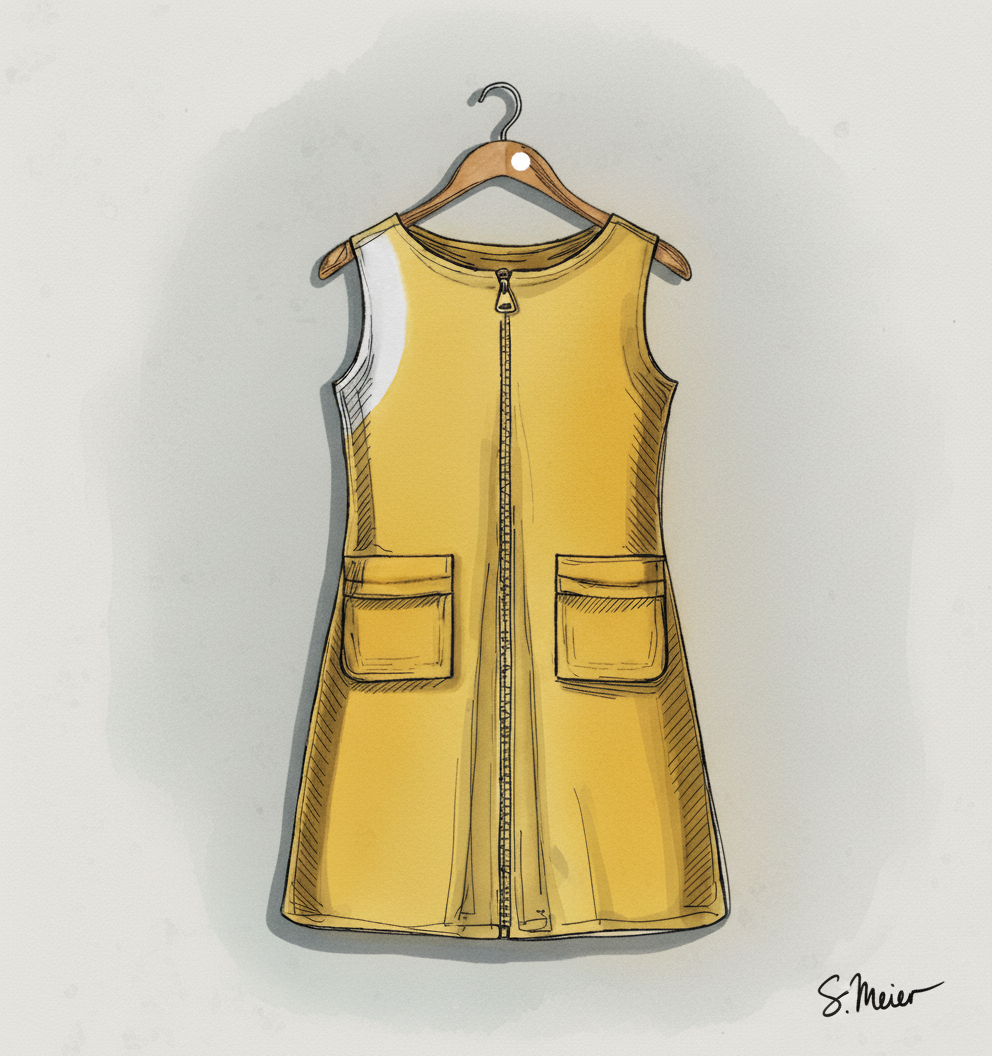
15 Steps
Each image shows where your drawing should be at the end of that step.
Step 1
Begin by lightly blocking in the largest simple shapes with a pencil. A triangle for the hanger and a trapezoid for the dress will establish the overall placement and scale.
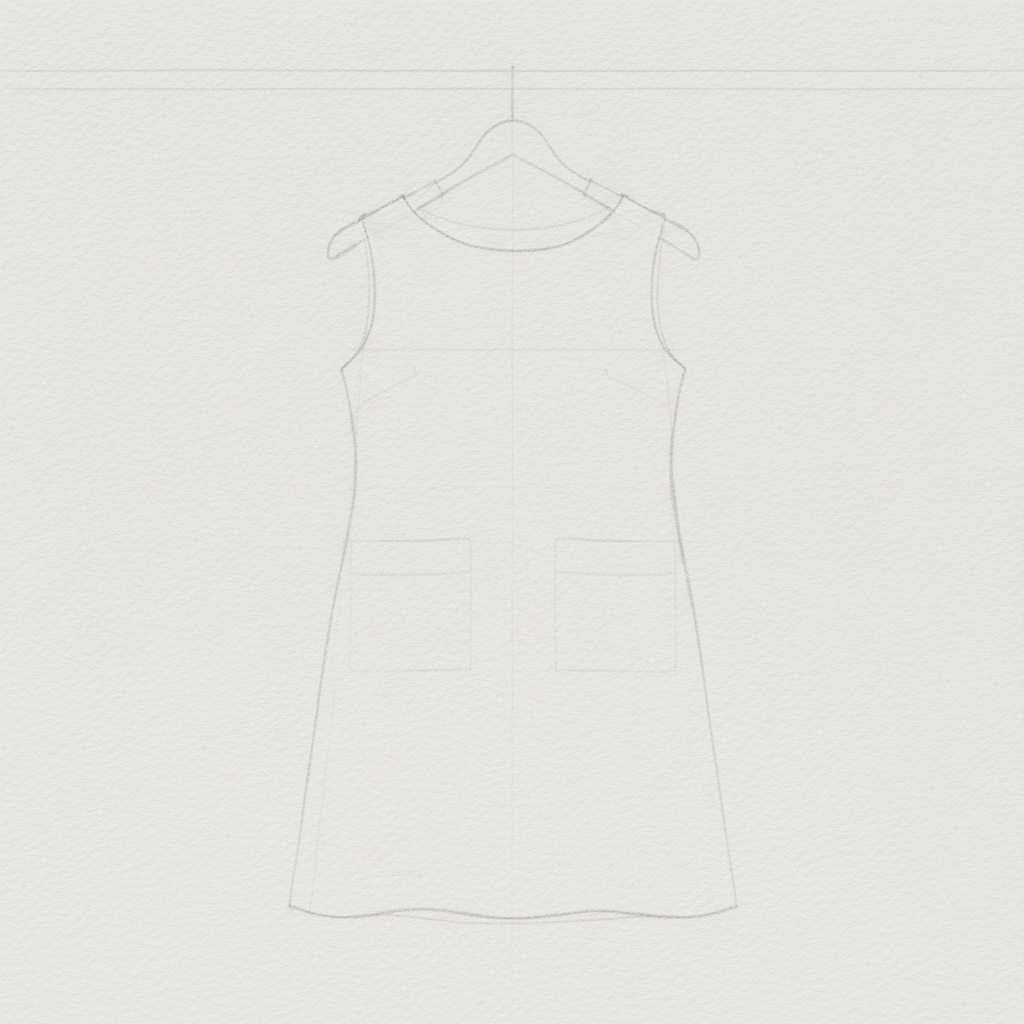
Step 2
Block in the secondary shapes. Add the hanger's hook, the wide ellipse of the neckline, and the squares for the pockets, still keeping your pencil lines light.
Step 3
Refine your block-in, connecting the simple shapes to define the final contours. Add key details like the zipper line and the subtle curve of the hem.
Step 4
Gently lift the graphite with a kneadable eraser until only a faint guide remains. This prepares the drawing for clean inking and painting.

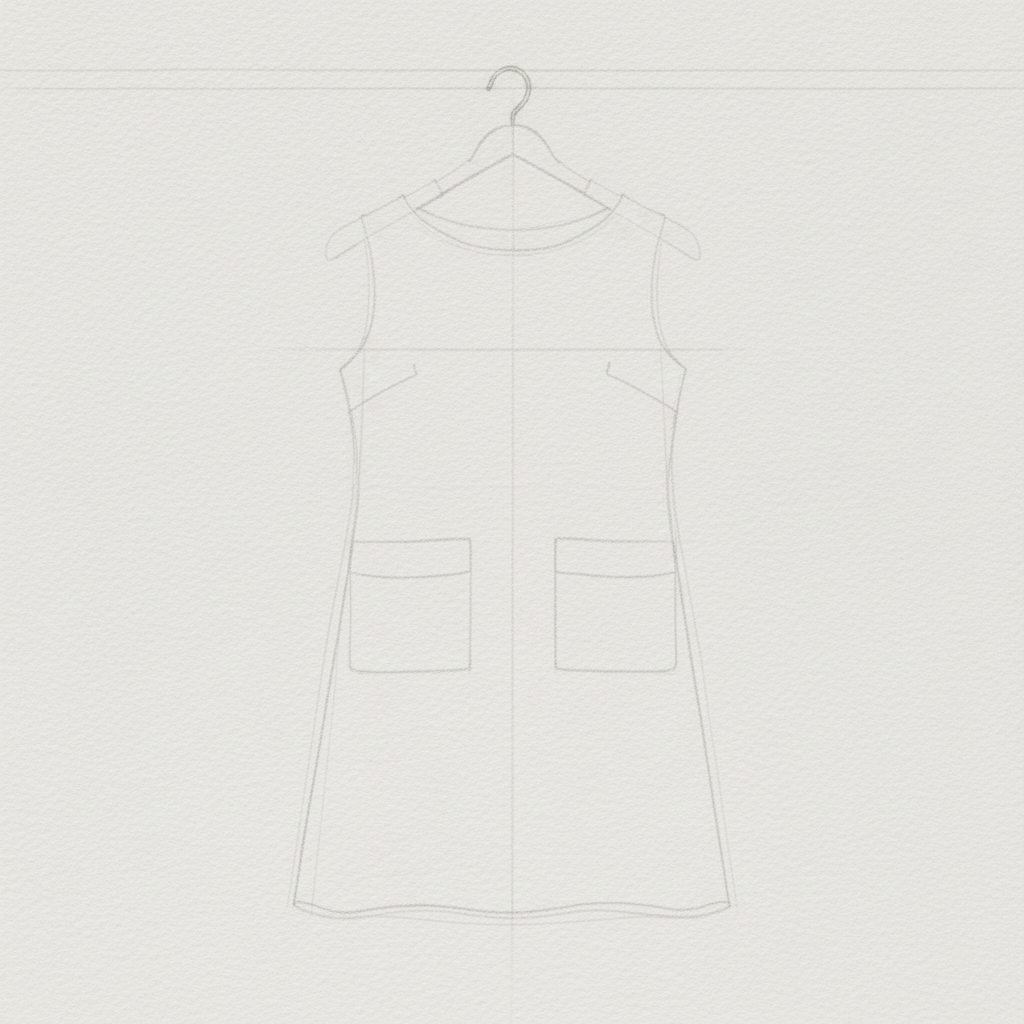
Step 5
Begin the inking pass by tracing the main outer contours of the dress and hanger. Use a smooth, confident motion for a clean line.
Step 6
Ink the internal details and begin varying your line weight. Make lines thicker on the shadow side to start building a sense of light and form.
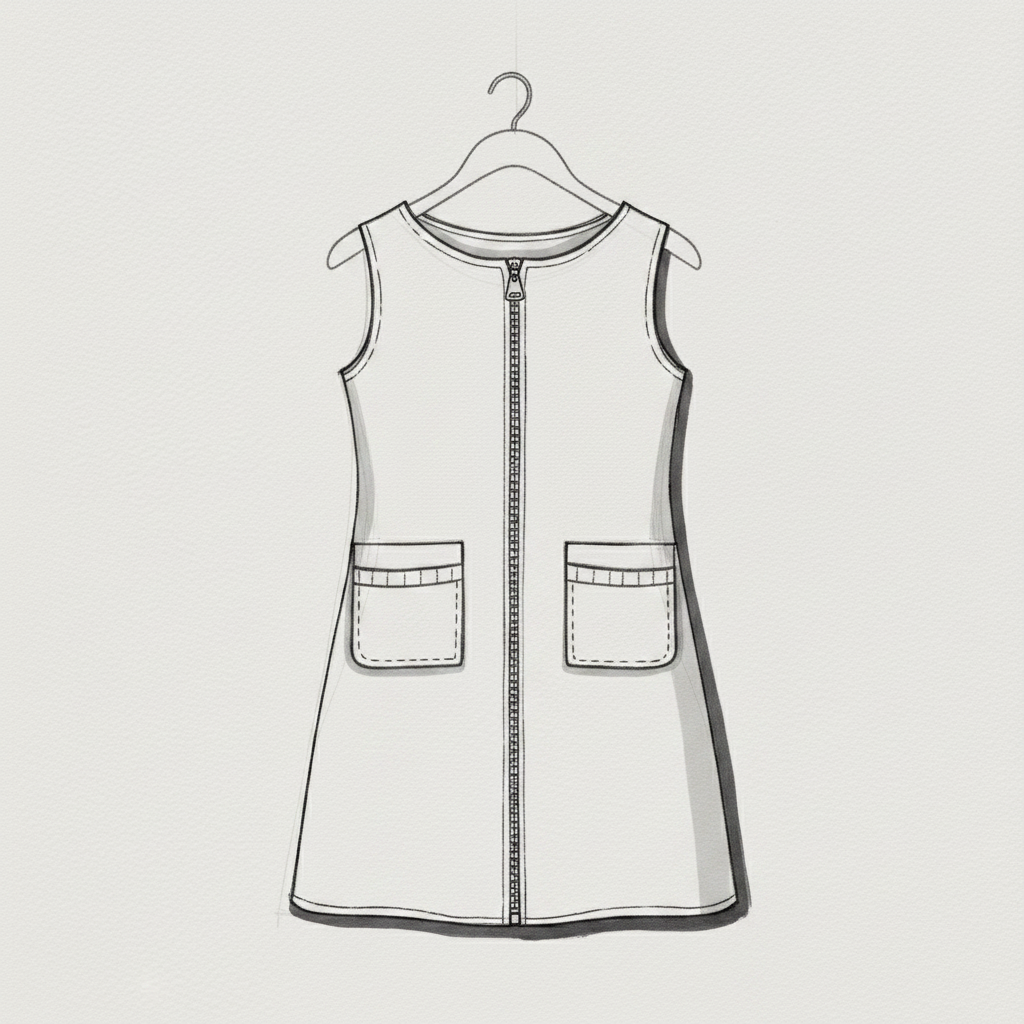
Step 7
Finish the inking by adding small, selective bits of hatching in the darkest accent areas. Keep it minimal; the watercolor will do the heavy lifting.
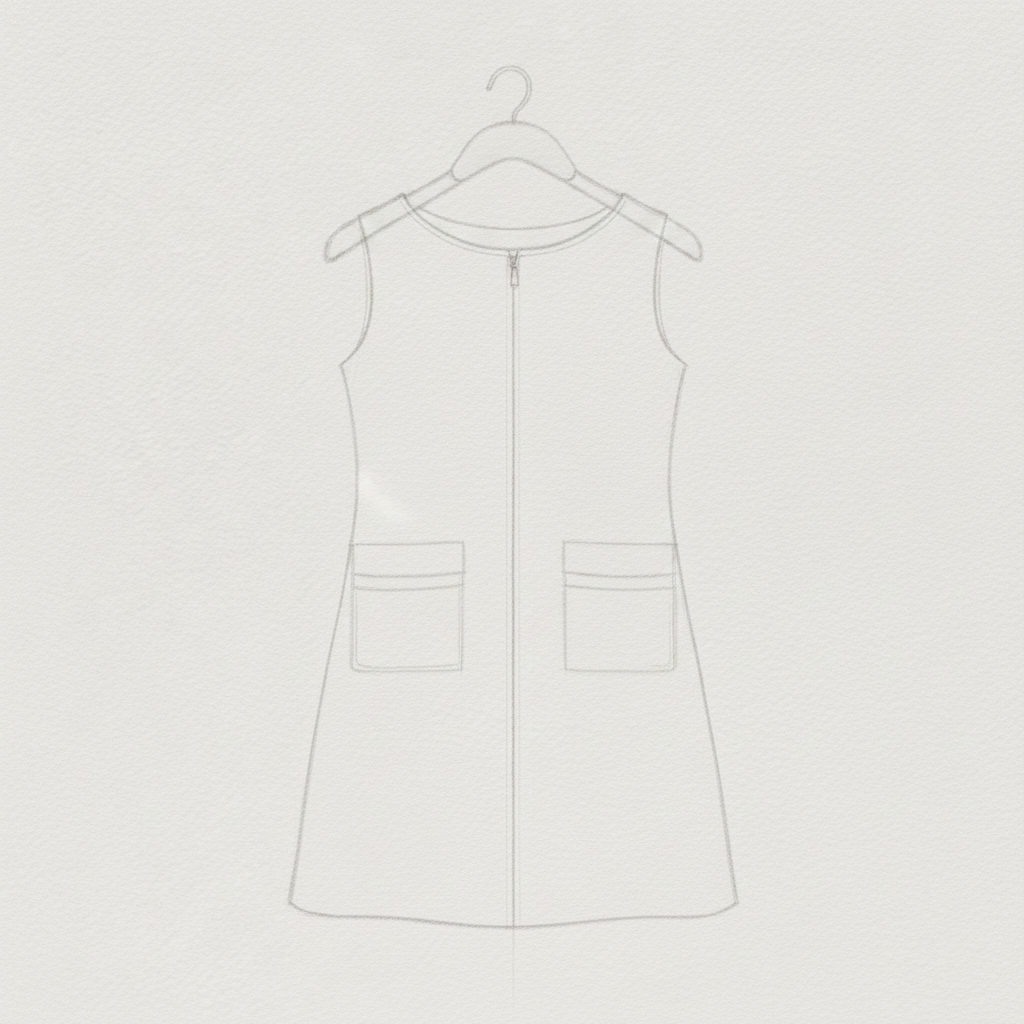
Step 8
Let the ink dry completely, then gently erase all underlying pencil lines. You should now have a clean ink drawing on white paper.
Step 9
Lay in the background with a soft, wet-on-wet wash of a neutral color. Carefully paint around your inked subject, leaving it as white paper for now.
Step 10
Once the background is bone-dry, apply the first flat washes of color to the dress and hanger, carefully painting around your brightest highlights.
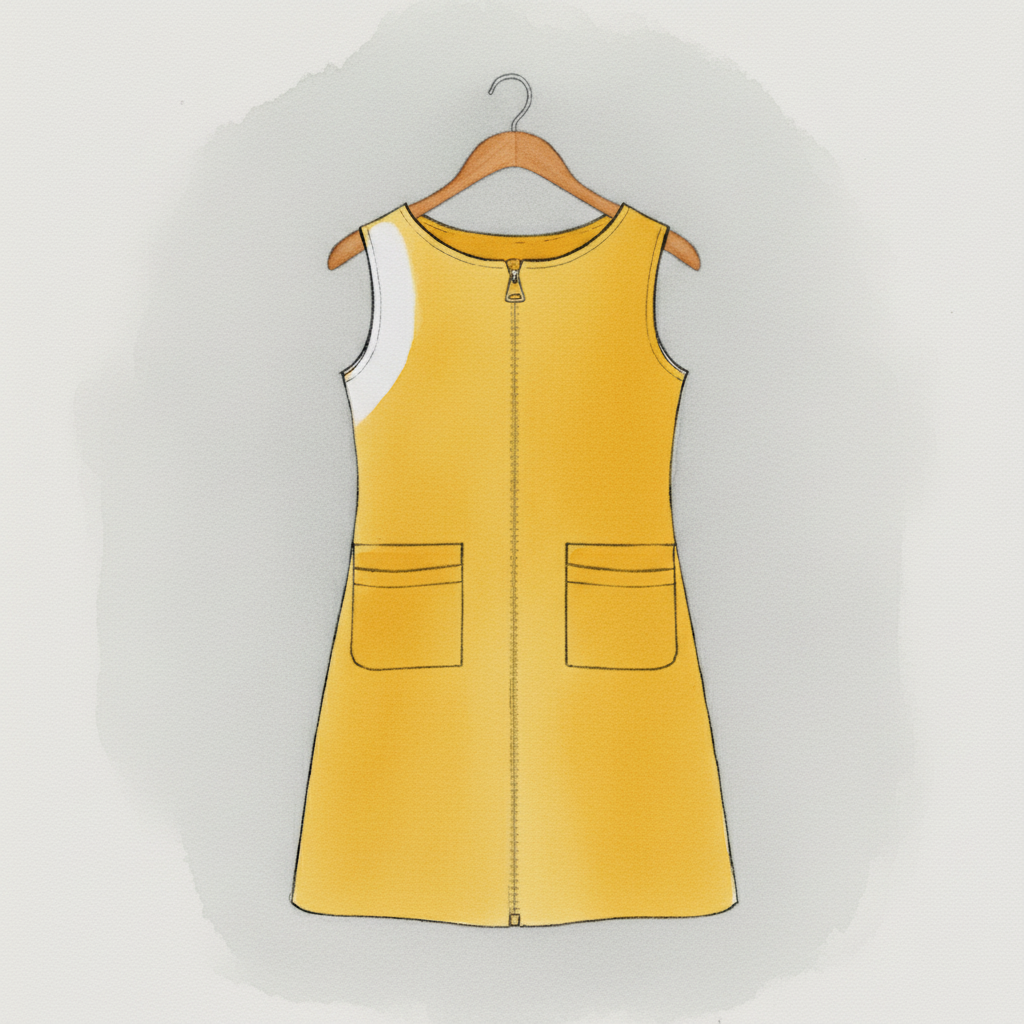
Step 11
Let all the base color washes dry completely. The painting should look flat at this stage; depth comes from the next layers.
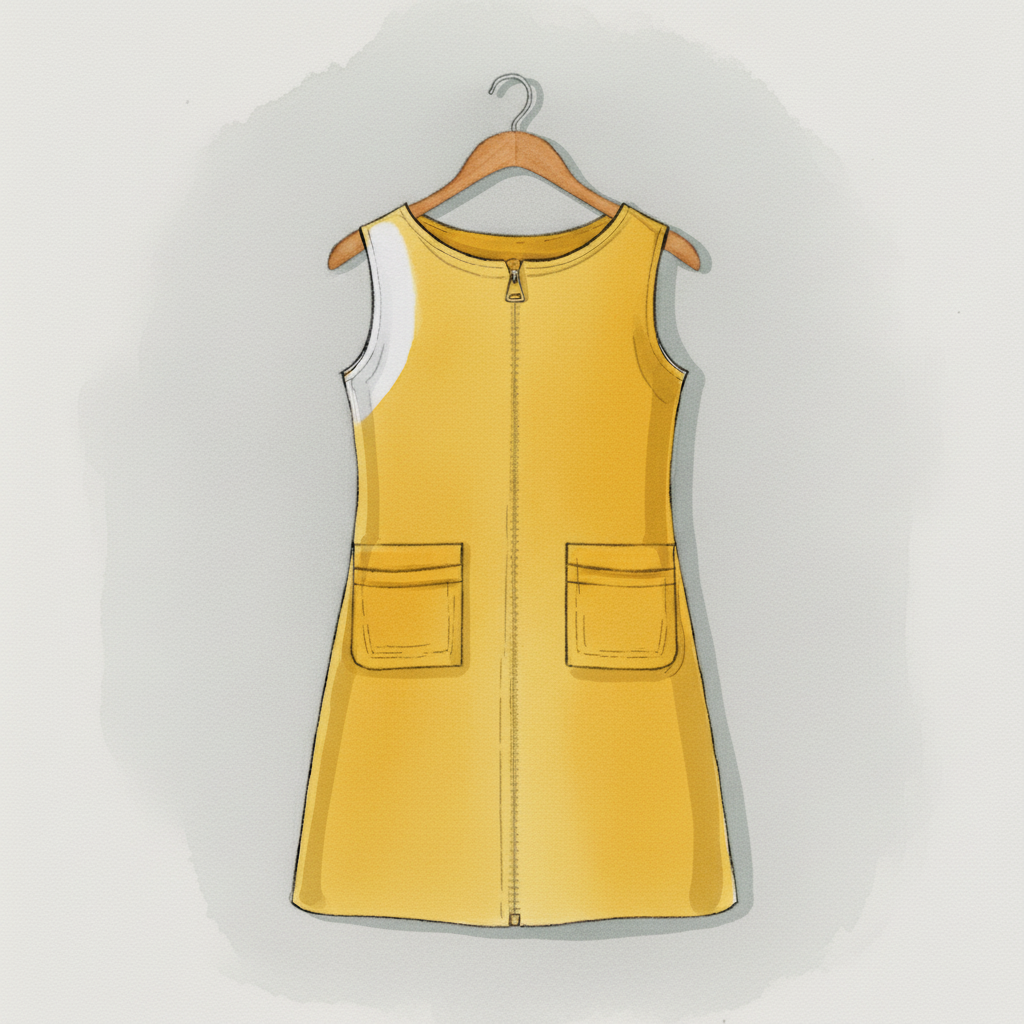
Step 12
Now, glaze a transparent shadow color over the dry base washes to model the form. Apply this layer only to the areas turning away from the light.
Step 13
Add the final dark accents and the cast shadow. Use a thick paint mix for these small, high-impact marks to anchor your painting.
Step 14
For the final touch, go back in with your pen to reassert any key lines that the watercolor washes may have softened. This brings back the crispness.
Step 15
The piece is finished! Add a tiny dot of opaque white for a final sparkle and sign your work.